
Introduction to Grow a Lush Garden: Transplanting Seedlings Successfully
Are you dreaming of a vibrant garden bursting with life? Transplanting seedlings successfully is one of the best ways to achieve that lush garden you envision. This process combines the art of gardening with practical techniques that ensure your plants thrive after being moved from their starter pots to their permanent homes. Have you ever wondered why some plants flourish while others wilt? A successful transplant can make all the difference.
Transplanting seedlings is more than just moving them around; it involves understanding your plants’ needs and respecting their delicate stages of growth. This project is quite special because it is easy enough for beginners yet provides a rewarding experience as you watch your plants grow healthier and stronger. Plus, it is budget-friendly, as you often only need a few tools and some basic materials.
On average, it takes just a couple of hours to transplant seedlings, making it a quick weekend project. Whether you’re doing this indoors or outdoors, you’ll appreciate how rewarding it is to see your garden thrive. With the right approach, a few simple steps, and a sprinkle of patience, you’ll enjoy a lush garden in time for the next planting season.
Table of Contents
Key Benefits of Grow a Lush Garden: Transplanting Seedlings Successfully
Why You’ll Love This Build
- Cost-Effective: Growing your plants saves money compared to buying fully grown ones.
- Nurturing Connection: Transplanting helps you bond with your plants as you care for them.
- Skill Development: You’ll learn valuable gardening skills that will benefit future projects.
- Increased Thriving Rate: Properly transplanted seedlings tend to adapt better and grow faster.
- Customization: You can choose your own varieties based on personal preferences and garden aesthetics.
What Makes It Stand Out
This project shines because it doesn’t require advanced skills or expensive tools, making it accessible to everyone. You can customize your garden layout to suit your space and preferences, ensuring your plants get the best light and air circulation possible. Unlike store-bought plants that may be over-potted or stressed from transportation, home-transplanted seedlings often thrive better due to their adapted environment. Watching the fruits of your labor flourish provides incredible satisfaction.
Project Specs for Grow a Lush Garden: Transplanting Seedlings Successfully
At-a-Glance Details
- Skill Level: Beginner to Intermediate
- Estimated Time: 1-2 hours (depending on the number of seedlings)
- Estimated Cost: $20-$50 (depending on materials)
- Dimensions: Varies based on seedlings and planting area; average garden bed size is 4’x8′ (1.22m x 2.44m)
- Indoor/Outdoor Suitability: Both indoor and outdoor gardening
- Tools Needed at a Minimum: Trowel, watering can, gardening gloves
Materials and Tools for Grow a Lush Garden: Transplanting Seedlings Successfully
Complete Materials List with Measurements
- Seedlings (variety and quantity based on your choice)
- Potting soil (1-2 bags, 12-16 quarts per bag)
- Mulch (optional, 1-2 bags, 2 cubic feet each)
- Fertilizer (slow-release formula, 1 bag)
- Watering can (2-5 gallons)
- Labels (for marking seedlings)
Complete Tools List
- Trowel (small hand trowel for digging)
- Watering can (to ensure seedlings are well hydrated)
- Gardening gloves (for protection)
- Rake (to smooth soil if needed)
- Hand pruners (for trimming if necessary)
Substitutes and Alternatives
If you’re on a tight budget, consider using recycled materials for pots, such as yogurt containers or egg cartons, while ensuring they have drainage holes. Instead of purchasing specialized gardening gloves, standard latex or nitrile gloves can be a great alternative. Use compost instead of store-bought potting soil to enrich your garden without extra costs.
Cut List and Measurements for Grow a Lush Garden: Transplanting Seedlings Successfully
- Seedlings: Use desired plant varieties, spacing them appropriately.
- Pots/Containers: If using larger pots, aim for sizes of 6-8 inches (15-20 cm) diameter.
- Labels: Cut from wooden stakes or any surplus materials around your home.
Safety and Prep for Grow a Lush Garden: Transplanting Seedlings Successfully
Before beginning your transplanting journey, ensure your workspace is clean and free from clutter. Wear gardening gloves to protect your hands from soil and any harsh elements. It’s essential to measure and mark where your seedlings will go accurately, optimizing sunlight and spacing. If you’re working outside, consider the weather conditions, ensuring you have proper ventilation if indoors.
How to Build Grow a Lush Garden: Transplanting Seedlings Successfully – Step-by-Step Directions
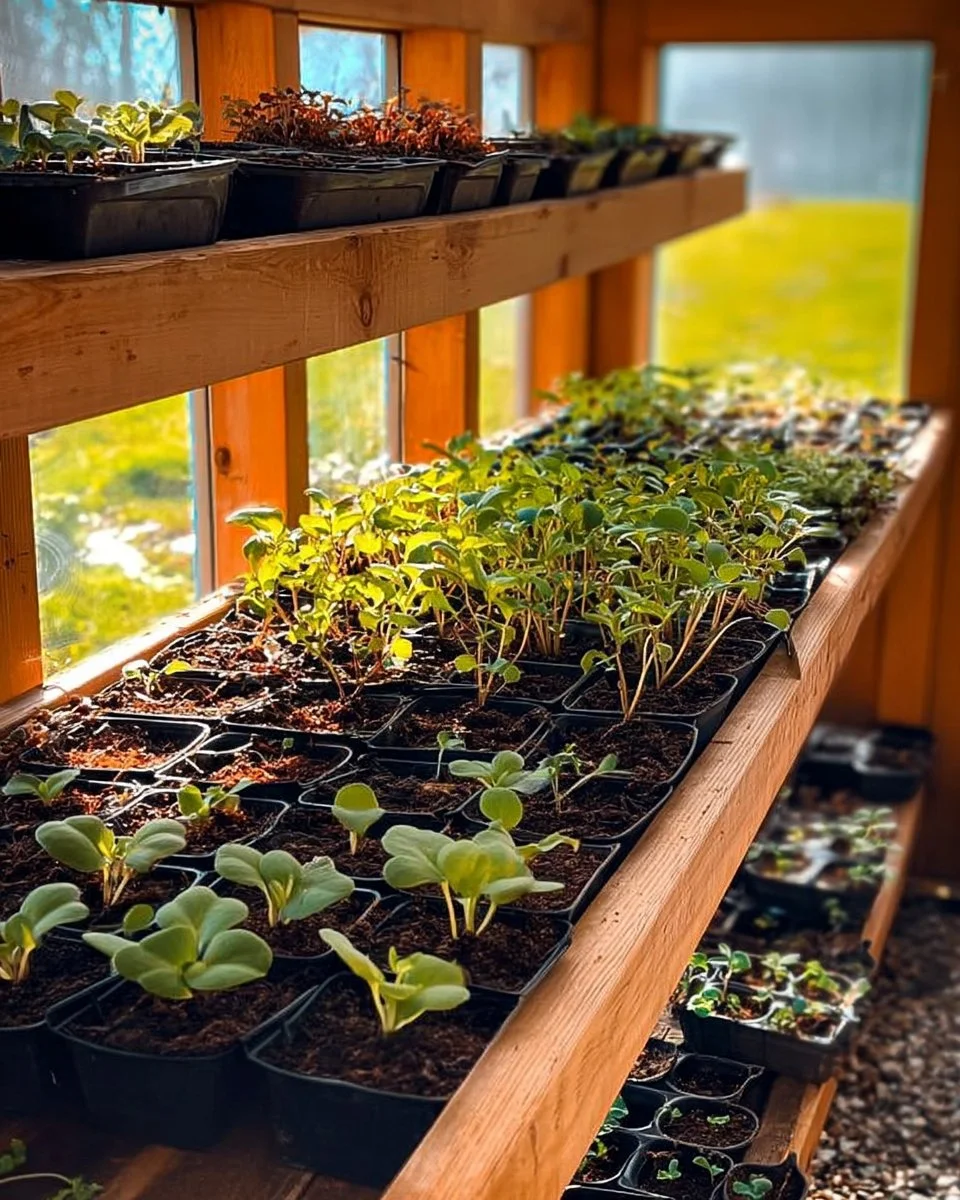
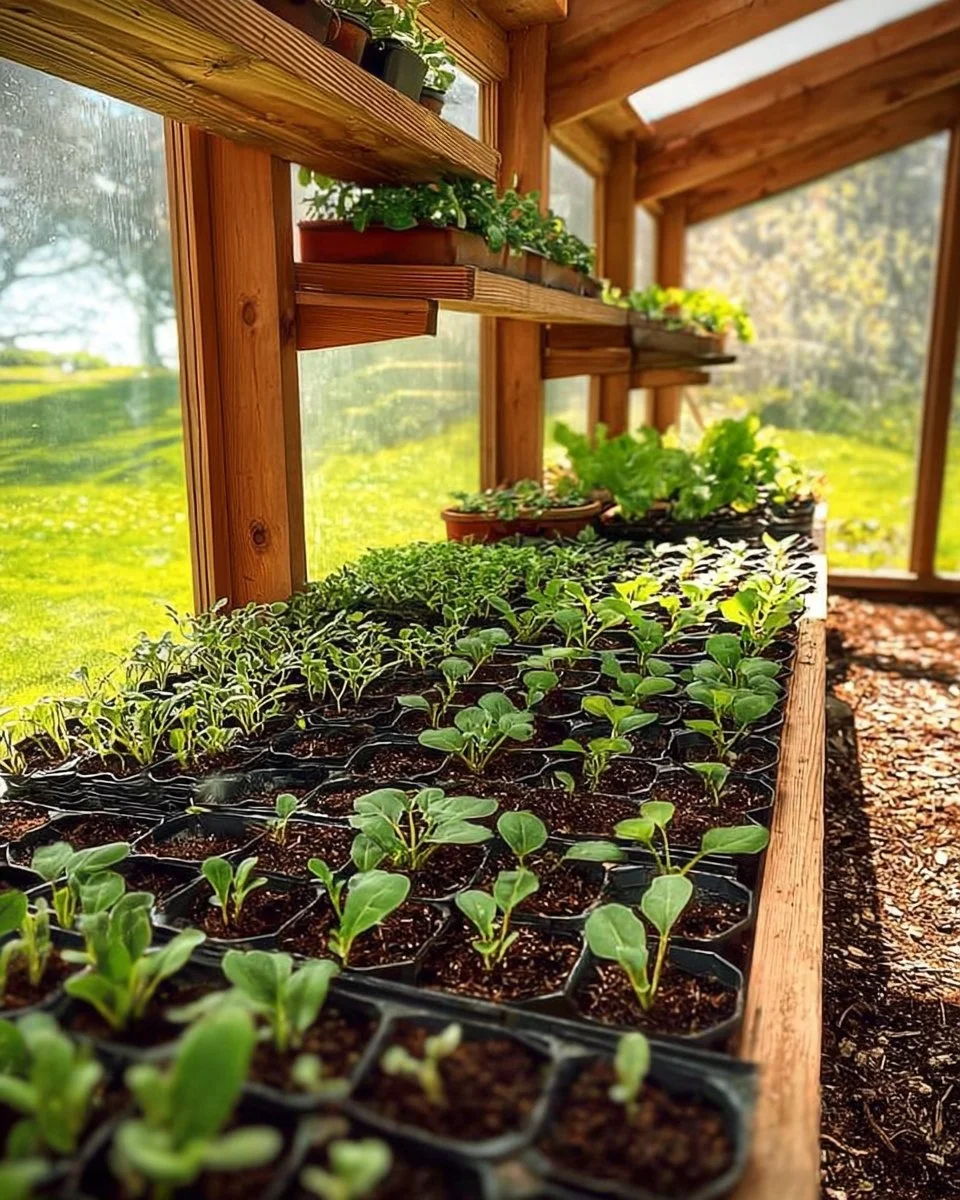
Step 1 – Prep and Layout
Start by deciding where you want to plant your seedlings. Ensure the area gets adequate sunlight and is free from weeds. Measure out the spacing for each seedling, generally about 12-18 inches apart, depending on the plant type.
Step 2 – Cut and Label Pieces
Using labels, mark each type of seedling clearly so you know where each plant is going. This will help you keep track of your garden layout and ensure you plant things in their ideal locations.
Step 3 – Dry Fit and Mark Joinery
Make sure all seedlings are securely planted in the designated locations before digging. This is a good time to visualize the final layout. Adjust as needed for aesthetics and plant health.
Step 4 – Assemble the Frame/Body
If using a raised bed or container, assemble it according to your design. Ensure it’s sturdy, with proper drainage to avoid waterlogging the seedlings.
Step 5 – Reinforce and Square
If necessary, use stakes or additional supports to secure the framework. Check to ensure everything is level and square to maintain an organized garden aesthetic.
Step 6 – Attach Surfaces or Panels
Once your frame is set, fill it with potting soil, leaving a few inches at the top for your seedlings. This prevents soil from overflowing when watering.
Step 7 – Sanding and Edge Treatment
If you’ve used wood for your bed, ensure the edges are smooth to prevent injury and snagging on clothing when you garden.
Step 8 – Finish Application
Finally, before planting your seedlings, thoroughly water the soil until moist but not overly saturated. This ensures a good environment for your new plants to take root successfully.
FAQ
Can I transplant seedlings at any time of the year?
No, it’s best to transplant seedlings during optimal seasons for growth, such as spring or fall.
How deep should I plant my seedlings?
Seeds should generally be planted at a depth that is twice their width. For most seedlings, this is about 1-2 inches deep.
What should I do if my seedlings wilt?
If your seedlings appear wilted, check for adequate moisture, especially after transplanting. They may need more water or protection from direct sunlight.
Is it necessary to fertilize after transplanting?
A slow-release fertilizer can benefit seedlings after transplanting, but ensure it’s applied at recommended rates to avoid burning the roots.
How often should I water after transplanting?
Newly transplanted seedlings should be watered every couple of days until they establish roots, then adjust according to the plant’s needs.