
Introduction to Gardeners Supply
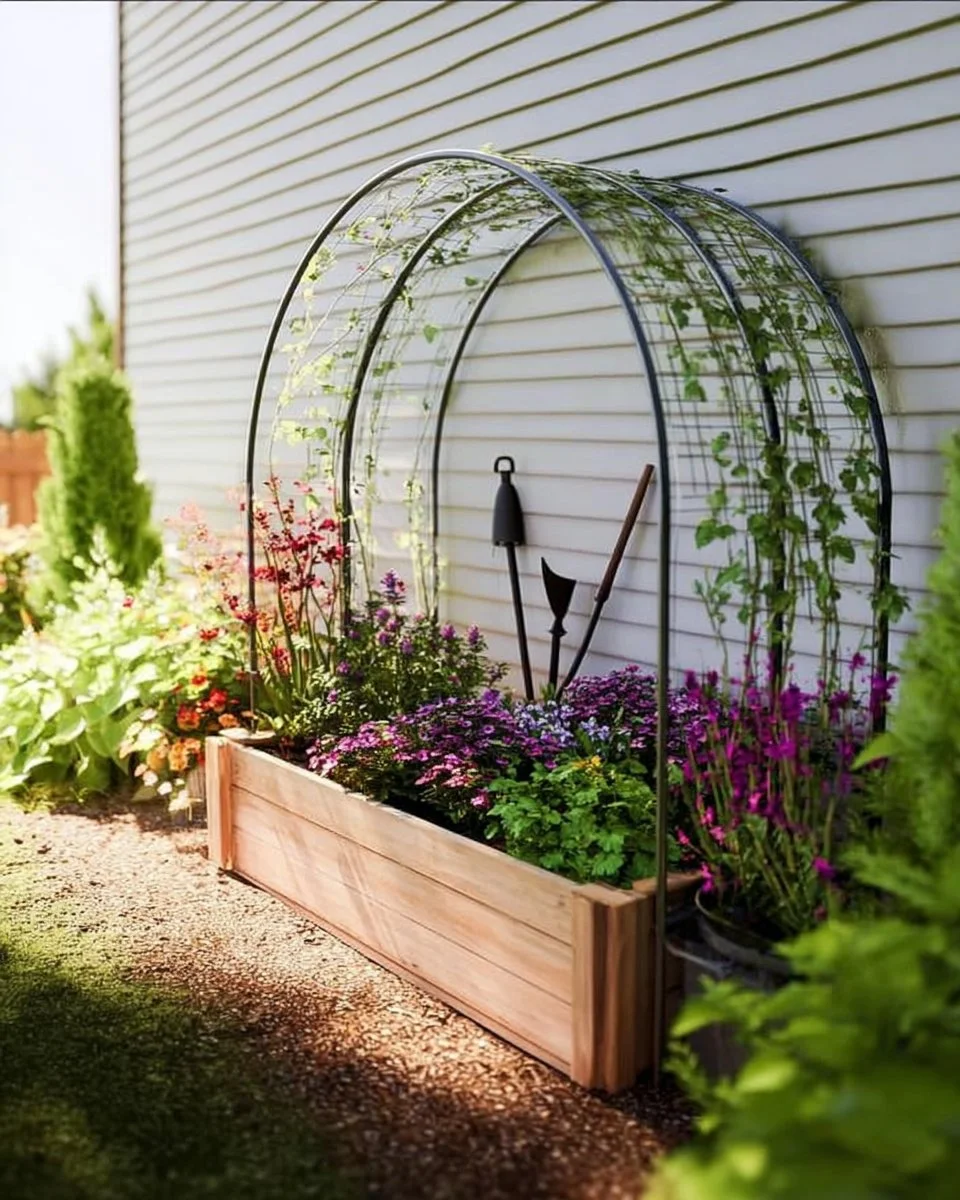
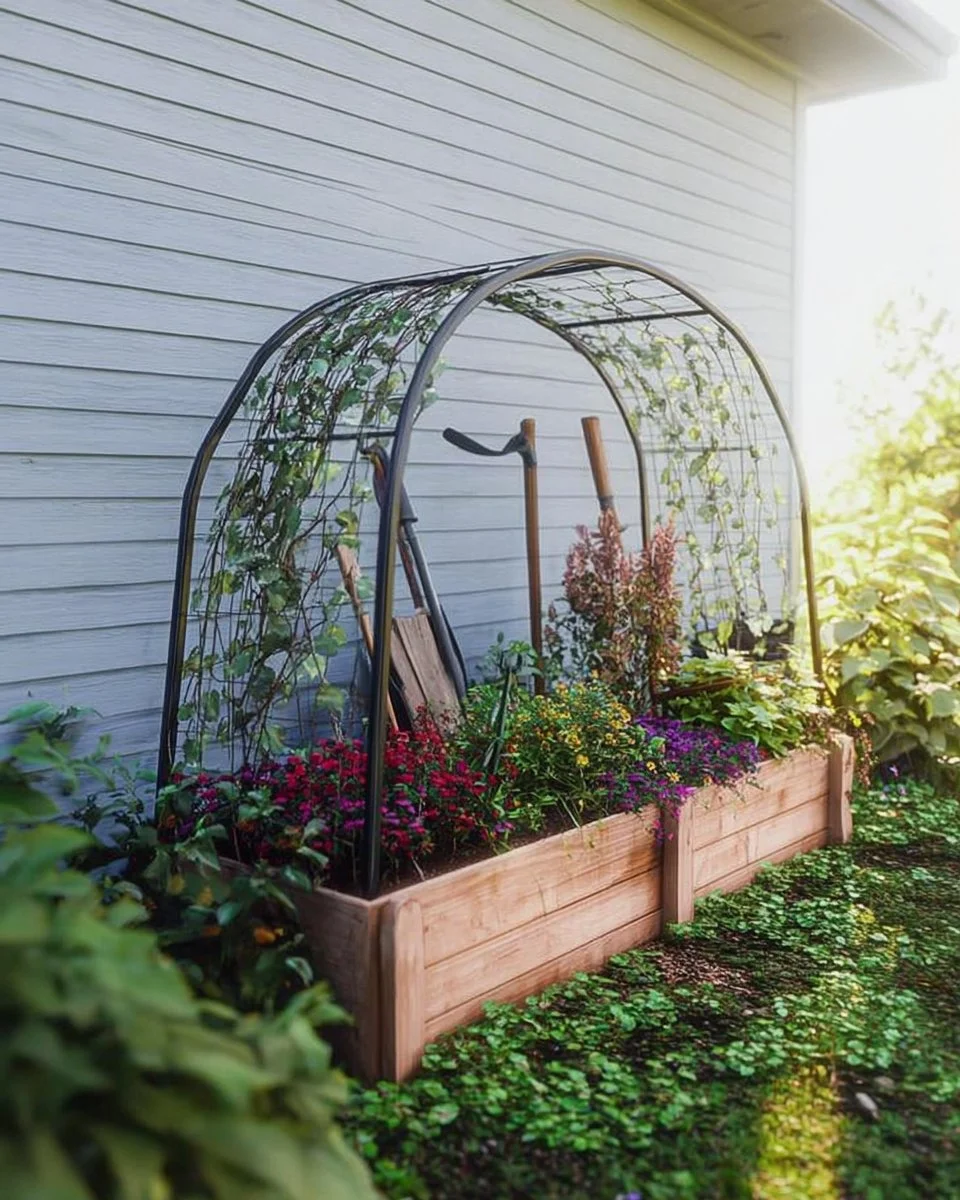
Have you ever dreamed of creating a beautiful garden, filled with vibrant plants, colorful flowers, and delicious vegetables? Building a personal garden space can be a fulfilling experience, and using Gardeners Supply can turn that dream into reality. Imagine cultivating your own herbs or vegetables, right outside your door. This DIY project not only offers a practical solution to gardening but also makes your outdoor area more appealing and functional.
Creating your own garden supply area is a fantastic way to organize tools and supplies, making your gardening tasks easier and more enjoyable. And the best part? You don’t need to be a professional carpenter or an experienced gardener to get started. This project can generally be completed in a weekend and is budget-friendly, making it accessible for everyone.
This build is unique because it combines storage and utility, providing a dedicated space for your plants and gardening tools. It allows you to customize the space according to your needs, whether that means adding shelves for pots or a workbench for planting. Ready to dig in? Let’s explore why creating a Gardeners Supply area will be one of the best decisions you make for your gardening journey.
Table of Contents
Key Benefits of Gardeners Supply
Why You’ll Love This Build
- Durability: Constructed with sturdy materials, ensuring your supplies are safe and sound.
- Simplicity: A straightforward build that makes the process enjoyable and stress-free.
- Versatility: Adaptable design allows you to create a space tailored to your gardening needs.
- Portability: Easy to move if you decide to change the layout of your garden.
- Weather Resistance: Choosing the right materials can protect your supplies from the elements.
- Cost Savings: A DIY project is often cheaper than buying pre-made storage solutions.
What Makes It Stand Out
What sets this project apart is its ability to cater to gardeners of all levels, from novices to experts. Unlike store-bought options, which can be generic and lack personalization, this build invites creativity. You can customize size, shelving, and finishes to suit your style and garden layout.
Moreover, the Gardeners Supply area can serve various functions beyond storage. You can incorporate a potting bench, a workstation for planting seeds, or even a display for your favorite pots or tools. It’s not just a build; it’s a personalized hub for all things gardening.
Project Specs for Gardeners Supply
At-a-Glance Details
- Skill Level: Beginner to Intermediate
- Estimated Time: 8–12 hours
- Estimated Cost (USD): $150 – $300
- Dimensions:
- Height: 72 inches (183 cm)
- Width: 48 inches (122 cm)
- Depth: 24 inches (61 cm)
- Indoor/Outdoor Suitability: Outdoor
- Tools Needed at a Minimum:
- Drill/Driver
- Circular Saw
- Measuring Tape
- Level
- Safety Glasses
Materials and Tools for Gardeners Supply
Complete Materials List with Measurements
- Plywood (for shelves and back):
- 3 sheets (4’ x 8’ x ¾”)
- 2×4 Lumber (for frame):
- 8 pieces (8’ long)
- Wood Screws:
- 2 boxes (1.25” and 2.5” screws)
- Wood Glue:
- 1 bottle (for added stability)
- Outdoor Paint or Stain:
- 1 gallon (color of your choice)
- Roofing Material (optional for weather resistance):
- 1 roll (if creating a roof above)
Complete Tools List
- Drill/Driver: Cordless or corded for efficiency.
- Circular Saw: Essential for making straight cuts.
- Measuring Tape: For precise dimensions.
- Level: Ensures your build will be even.
- Safety Glasses: Protect your eyes during cutting and drilling.
Substitutes and Alternatives
If you’re looking for cost-effective alternatives, consider using recycled materials like pallets for the frame. Pallet wood can provide a rustic charm and save on lumber costs. Additionally, choose plywood or OSB instead of higher-end hardwood if you want to lower costs while maintaining stability.
For tools, if a circular saw isn’t available, a handsaw can work, but it will require more effort. Similarly, borrow tools from friends or neighbors to cut costs and promote community spirit.
Cut List and Measurements for Gardeners Supply
- Plywood (for shelves & back):
- 3 pieces (24” x 48” or 61 x 122 cm; should be smooth)
- 2×4 Lumber (for frame):
- 4 pieces (72” for vertical supports)
- 4 pieces (48” for horizontal supports)
- Hardware:
- Wood screws: 1.25” (32 mm) for shelves
- Wood screws: 2.5” (64 mm) for frame construction.
Pay attention to the grain direction when cutting wood, as this will affect the looks and strength of your build. Make sure to pre-drill for screws to prevent splitting.
Safety and Prep for Gardeners Supply
Safety must come first. Always wear your safety glasses and gloves when working with wood, especially when cutting or sanding. Set up your workspace in a well-ventilated area to avoid inhaling any dust or fumes from your materials. Ensure that your measuring tools are calibrated for accuracy, as even a small mistake can lead to problems later on.
Use clamps to hold pieces in place while you work, taking care to measure twice before cutting. This will help in achieving precise cuts and smoother assembly.
How to Build Gardeners Supply – Step-by-Step Directions
Step 1 – Prep and Layout
Start by planning the layout for your Gardeners Supply area. Mark the area where your build will sit, ensuring it is a level surface. Use stakes to outline the dimensions, double-checking for squareness with a level.
Step 2 – Cut and Label Pieces
Next, cut each piece of wood according to your cut list. Label the pieces (e.g., sides, top, shelves) as you go. This will help keep your workspace organized and make assembly straightforward.
Step 3 – Dry Fit and Mark Joinery
Before permanent assembly, dry fit all parts. Identify where joints will be and mark pilot holes for your screws. Dip your screws in wood glue for a stronger hold and ensure you have proper alignment.
Step 4 – Assemble the Frame/Body
Assemble the frame first using your 2×4 lumber. Attach two vertical supports to form the left side and two for the right. Use wood screws and glue at each joint, ensuring it is sturdy.
Step 5 – Reinforce and Square
Check that your frame is square by measuring diagonally from corner to corner. If there is any discrepancy, make adjustments before fully securing the frame. Reinforce corners with additional screws if necessary.
Step 6 – Attach Surfaces or Panels
Attach your plywood pieces for the back and shelves. Ensure even spacing with a level across all sections. Secure with wood screws, making sure they are flush with the surface to prevent snagging.
Step 7 – Sanding and Edge Treatment
Once assembled, sand all surfaces starting with medium grit (80) and moving to fine grit (220). This smooths out imperfections and prepares the surface for finishing. Wipe off dust with a damp cloth before proceeding.
Step 8 – Finish Application
Apply your chosen outdoor paint or stain in thin coats, letting each coat dry completely before applying another. If using a sealer, follow label directions for application and drying times. Proper weather protection will greatly extend the life of your Gardeners Supply area.
FAQ about Gardeners Supply
Q: What type of wood is best for outdoor use?
A: Cedar, redwood, or pressure-treated lumber is ideal since they resist rot and insect damage.
Q: Can I customize the size of the build?
A: Absolutely! You can adjust the dimensions based on your available space.
Q: Is this build difficult for a beginner?
A: No, the project is beginner-friendly with straightforward steps and minimal tool requirements.
Q: How can I protect my build from the elements?
A: Use outdoor-rated paint or sealant to finish your Gardeners Supply and protect against moisture.
Q: What if I don’t have certain tools?
A: You can rent tools from a hardware store or borrow them from friends.
Q: How long will this build last?
A: With proper materials and maintenance, it can last several years, making it a lasting investment in your gardening lifestyle.