
Introduction to 20 of Our Favorite Garden Projects Before and After • Gardenary
Have you ever wandered through a garden, admiring its beauty and wondering how you could create a similar paradise in your own backyard? The project “20 of Our Favorite Garden Projects Before and After • Gardenary” is just what you need to ignite that creative spark. This collection showcases transformative projects that can rejuvenate any outdoor space, reflecting the creator’s personality while maximizing functionality and aesthetic appeal.
The beauty of these garden projects lies in their practicality. Many are designed to be affordable and accessible, meaning you won’t have to break the bank to create your dream garden. Best of all, the skills needed range from beginner to intermediate, so there’s something for everyone, regardless of your level of expertise.
Throughout this article, you’ll discover how simple ideas can lead to stunning outcomes. Whether you’re looking for a dramatic overhaul or subtle enhancements, these projects can be tackled in a weekend or less, allowing you to enjoy your handiwork shortly after you begin. So, roll up your sleeves and get ready to dive into these inspiring transformations!
Table of Contents
Key Benefits of 20 of Our Favorite Garden Projects Before and After • Gardenary
Why You’ll Love This Build
- Durability: Many projects use materials that withstand the test of time and weather.
- Simplicity: Most tasks can be completed with basic tools and skills.
- Versatility: Suitable for various spaces, from small balconies to expansive backyards.
- Portability: Some designs can be easily moved for flexibility in your garden layout.
- Weather Resistance: Chosen materials often resist damage from rain and sun.
- Cost Savings: These DIY projects often save money compared to hiring professionals.
What Makes It Stand Out
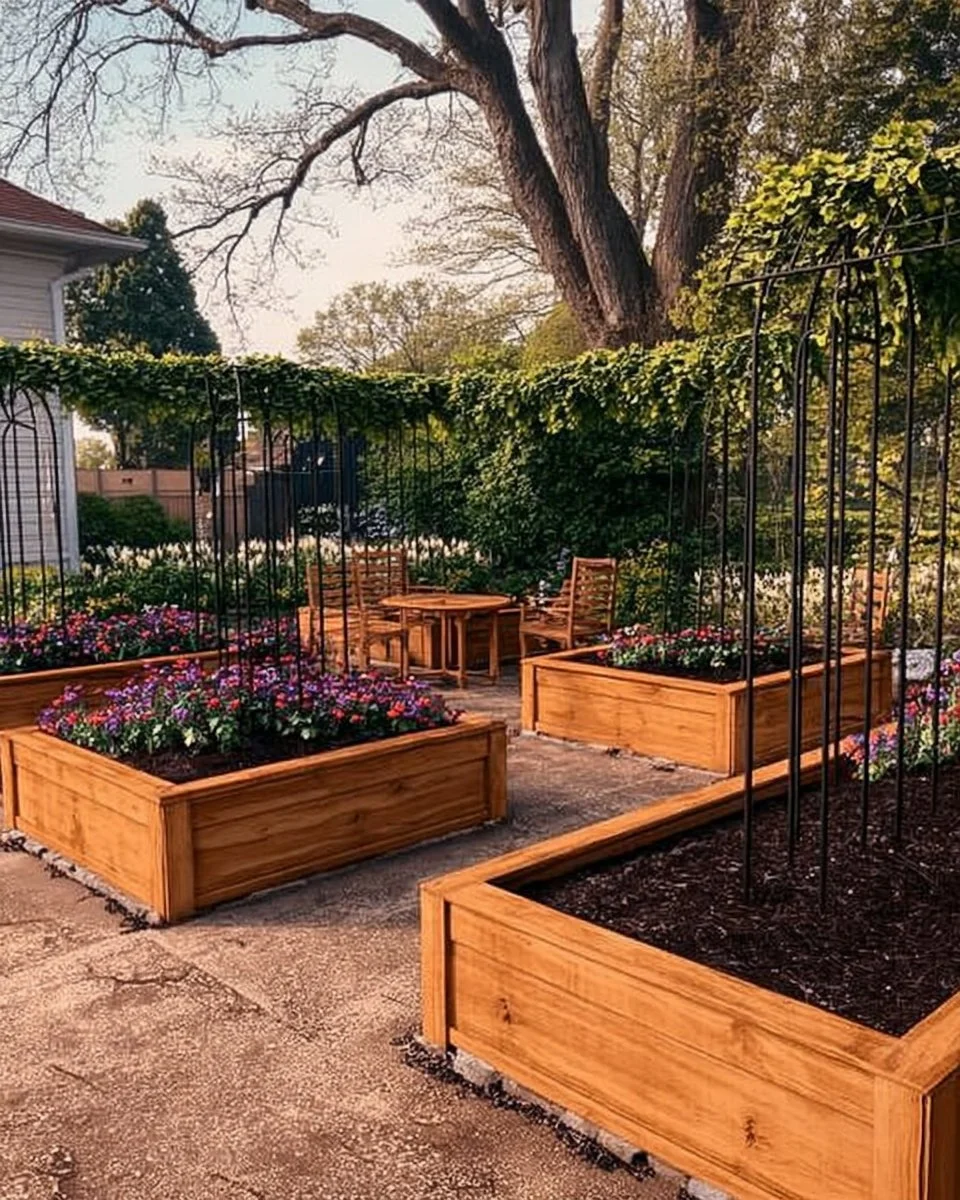
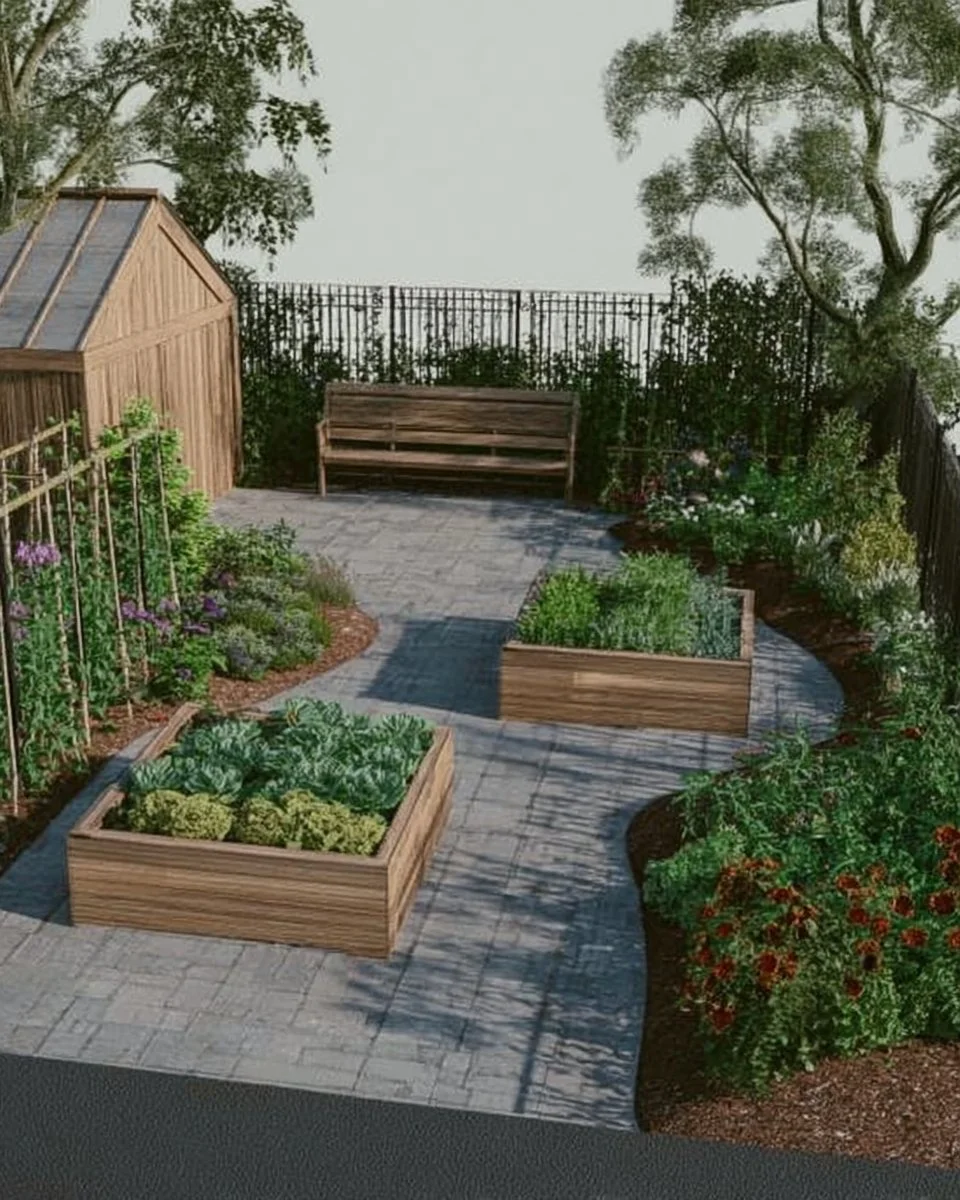
What truly sets this selection apart is the originality each project embodies. Whether it’s a raised garden bed, a DIY trellis, or an outdoor seating area, these builds allow you to inject your personal style into your garden. Customization options abound, from choosing colors and finishes to adjusting sizes to fit your unique space.
These projects shine in comparison to store-bought alternatives, which often lack the same character and don’t always cater to specific needs. By engaging in DIY projects, you cultivate not only plants but also a rewarding hobby, filled with pride in creating something with your own hands.
Project Specs for 20 of Our Favorite Garden Projects Before and After • Gardenary
At-a-Glance Details
- Skill Level: Beginner to Intermediate
- Estimated Time: 4–8 hours, depending on the project
- Estimated Cost: $50–$300 USD, depending on materials and scale
- Dimensions: Varies by project, typically 2-4 feet (61-122 cm) in width/length
- Indoor/Outdoor Suitability: Primarily outdoor projects
- Tools Needed: Saw, drill, measuring tape, level, safety goggles
Materials and Tools for 20 of Our Favorite Garden Projects Before and After • Gardenary
Complete Materials List with Measurements
- Wood (Cedar or Pine): 2x4s, 4x4s depending on project size.
- Screws: 2.5-inch decking screws (or equivalent).
- Wood Glue: High-quality exterior wood glue.
- Sealer or Stain: Weather-resistant choice, optional.
- Landscape Fabric: For garden bed projects.
- Plants or Seeds: Your choice to fill the newly made garden spaces.
Complete Tools List
- Circular Saw: For cutting wood.
- Drill: To create pilot holes and drive screws.
- Measuring Tape: For precise measurements.
- Level: Ensures structure is even.
- Safety Goggles: Protects your eyes when cutting and drilling.
Substitutes and Alternatives
If you’re on a budget, explore alternatives for wood such as reclaimed materials or pressure-treated lumber for outdoor projects. Plywood can also serve as a cost-effective solution for structures not exposed directly to moisture. When it comes to tools, consider borrowing from friends or renting for infrequent use to save money. Be mindful of ensuring materials are treated for outdoor conditions, particularly in humid or wet climates.
Cut List and Measurements for 20 of Our Favorite Garden Projects Before and After • Gardenary
- 2x4s: 8 pieces at 48 inches (122 cm) – Frame for beds.
- 4×4 posts: 4 pieces at 36 inches (91 cm) – Corner posts for trellis.
- Plywood (if applicable): 1 piece at 48×48 inches (122×122 cm) – Base for a planter.
Safety and Prep for 20 of Our Favorite Garden Projects Before and After • Gardenary
Before you begin, gather your personal protective equipment, including goggles and gloves, to safeguard yourself from potential hazards. Set up your workspace in a well-ventilated area, free of clutter, and ensure you have adequate lighting for precision. Accuracy is key, so take the time to mark all your cuts and measurements carefully. It’s also wise to clamp your materials securely while cutting to maintain stability.
How to Build 20 of Our Favorite Garden Projects Before and After • Gardenary – Step-by-Step Directions
Step 1 – Prep and Layout
Begin by determining the space for your garden project. Measure out the area and mark the corners using stakes and string to ensure your layout is squared and accurate. This step sets the foundation for your entire build, so double-check all dimensions.
Step 2 – Cut and Label Pieces
Using your circular saw, cut all your wood according to the cut list provided. Once cut, label each piece to keep track of what goes where. This organization will facilitate a smoother assembly process.
Step 3 – Dry Fit and Mark Joinery
Before gluing or screwing, dry fit the pieces together to ensure everything aligns correctly. Mark any points where you’ll need to drill pilot holes to prevent wood from splitting during assembly.
Step 4 – Assemble the Frame/Body
Begin assembling your frame by attaching the long pieces first. Use your drill to secure screws into the pilot holes. Ensure everything is firm and aligned at this stage, as this will determine the stability of your project.
Step 5 – Reinforce and Square
Once the initial assembly is done, check for squareness by measuring the diagonals. If they’re equal, your frame is square. If not, adjust as necessary before adding additional support.
Step 6 – Attach Surfaces or Panels
For projects like planter boxes, it’s time to attach the bottom or side panels. Space your fasteners equidistantly, ensuring there’s enough support. Allow any glue used to cure as per manufacturer instructions before moving on.
Step 7 – Sanding and Edge Treatment
Sanding is critical for durability and aesthetics. Start with a coarse grit and gradually move to finer grits, removing all dust thoroughly afterward to ensure a smooth surface for finishing.
Step 8 – Finish Application
Finally, apply the desired stain or sealant. Follow the manufacturer’s guidelines for drying times between coats. This final step will protect your project and enhance its visual appeal, making it a centerpiece in your garden.
FAQ Section for 20 of Our Favorite Garden Projects Before and After • Gardenary
What is the best time of year to start these garden projects? Spring or early summer is ideal when the threat of frost has passed, allowing for planting and growth.
How can I ensure my projects are weather-resistant? Use high-quality, treated wood and sealants designed for outdoor use to withstand the elements.
Are these projects suitable for beginners? Many of the projects cater to all skill levels, with simple designs for beginners and more intricate builds for experienced DIYers.
Can I customize the size of the projects? Yes, you can adjust the dimensions to better fit your specific space and needs without compromising functionality.
What plants are best for these DIY garden beds? Consider your local climate and hardiness zone. Popular choices include herbs, vegetables, or flowering plants.
Do I need special tools for these projects? Most projects require basic tools. If you lack certain equipment, consider renting or borrowing from friends.
By engaging in 20 of Our Favorite Garden Projects Before and After • Gardenary, you can transform any outdoor space, and with this guide as your roadmap, you’ll be well on your way to creating a beautiful and functional garden that reflects your personal style. Enjoy the process and the vibrant results!