
Introduction to Easy Guide to a 5-Gallon Bucket Garden for Beginners
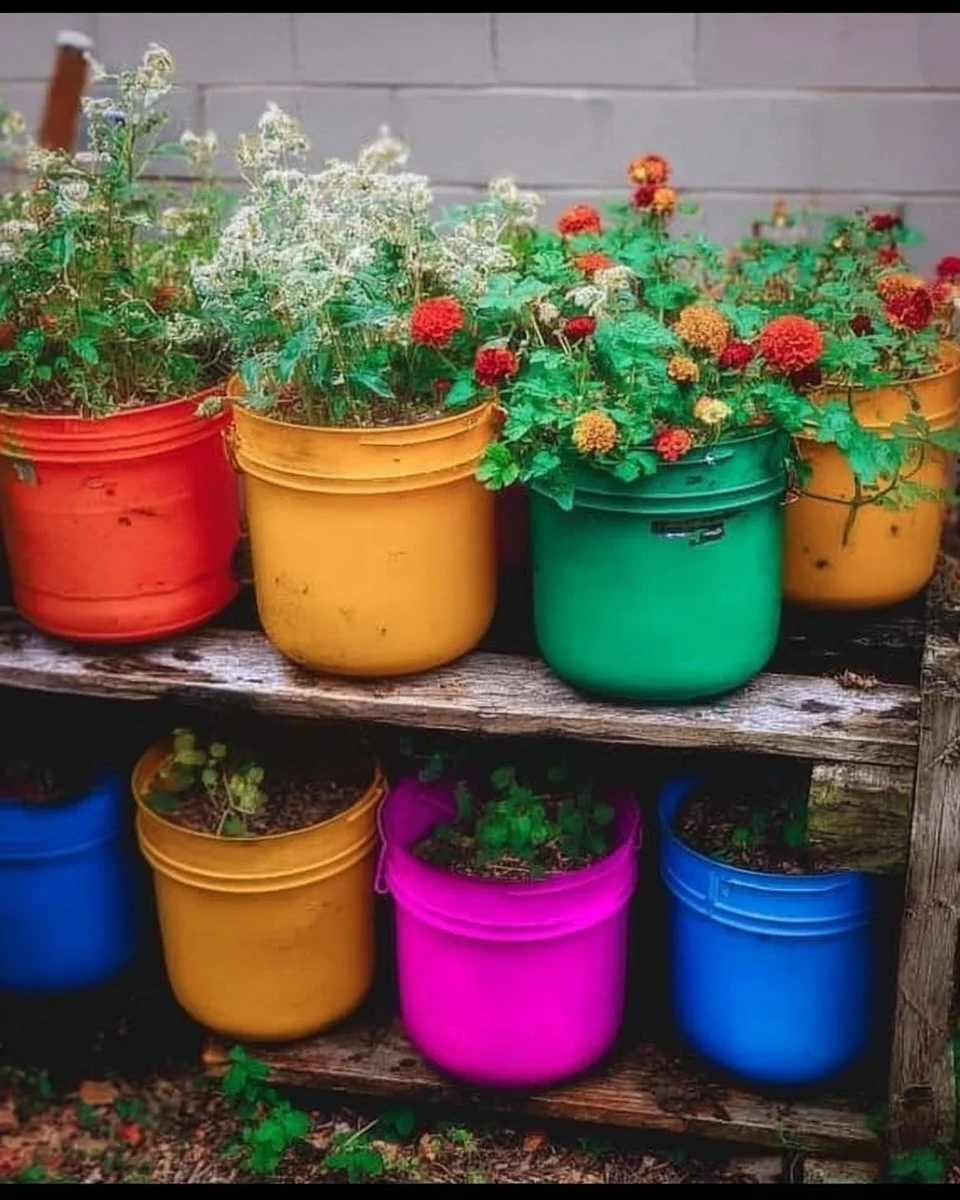
Are you looking for a quirky and efficient way to start your gardening journey? The Easy Guide to a 5-Gallon Bucket Garden for Beginners offers an exciting opportunity to grow plants in a compact and manageable way. Whether you’re short on space, want to grow herbs on your balcony, or need a garden you can easily relocate, this DIY project fits the bill.
Imagine having fresh tomatoes, herbs, or flowers thriving right at your doorstep—all without needing an expansive backyard. This project is not only practical and affordable; it also injects life and beauty into otherwise mundane spaces. With just a few materials and some simple tools, you can create your mini-garden in under a weekend.
The cost is minimal, typically ranging between $20 to $50, depending on your plant choices and materials. Plus, if you follow the step-by-step guide, even the most novice gardeners can successfully cultivate their green-thumb skills. This project can be done indoors or outdoors, adding versatility to your green aspirations.
Are you tempted to give this a shot? With some patience and love, your 5-gallon bucket garden can flourish, providing vegetables and flowers for you and your family while also serving as an introduction to the world of gardening.
Table of Contents
Key Benefits of Easy Guide to a 5-Gallon Bucket Garden for Beginners
Why You’ll Love This Build
- Space-efficient: Ideal for small spaces, you can place it on porches or patios.
- Affordable: Inexpensive materials mean you can start without breaking the bank.
- Portable: Easily move your garden to catch the sun or avoid bad weather.
- Customizable: Experiment with various plants or bucket designs to suit your style.
- Sustainable: Grow your own food, reducing reliance on store-bought produce.
- Constant engagement: A fantastic way to learn and enjoy gardening without the heavy lifting.
What Makes It Stand Out
This project is beloved for its distinct ability to make gardening accessible and manageable for everyone. Unlike traditional gardening methods, using buckets allows for greater control over soil quality, drainage, and sunlight. The easy-to-manage size means less physical strain compared to digging up a garden bed.
Moreover, you can customize each bucket for different plants, ensuring you provide optimal growing conditions. Want to grow tomatoes in one and herbs in another? No problem! This flexibility is a significant draw compared to store-bought plants. With your bucket garden, you not only get to cultivate flowers and vegetables that thrive in your local climate but can do so in a stylish and functional manner.
Project Specs for Easy Guide to a 5-Gallon Bucket Garden for Beginners
At-a-Glance Details
- Skill Level: Beginner
- Estimated Time: 2-4 hours, depending on setup
- Estimated Cost: $20-$50
- Dimensions: 5-gallon buckets (approximately 12 inches diameter, 15 inches tall / 30.48 cm diameter, 38.1 cm tall)
- Indoor/Outdoor Suitability: Both
- Tools Needed: Drill, screwdriver, utility knife
Materials and Tools for Easy Guide to a 5-Gallon Bucket Garden for Beginners
Complete Materials List with Measurements
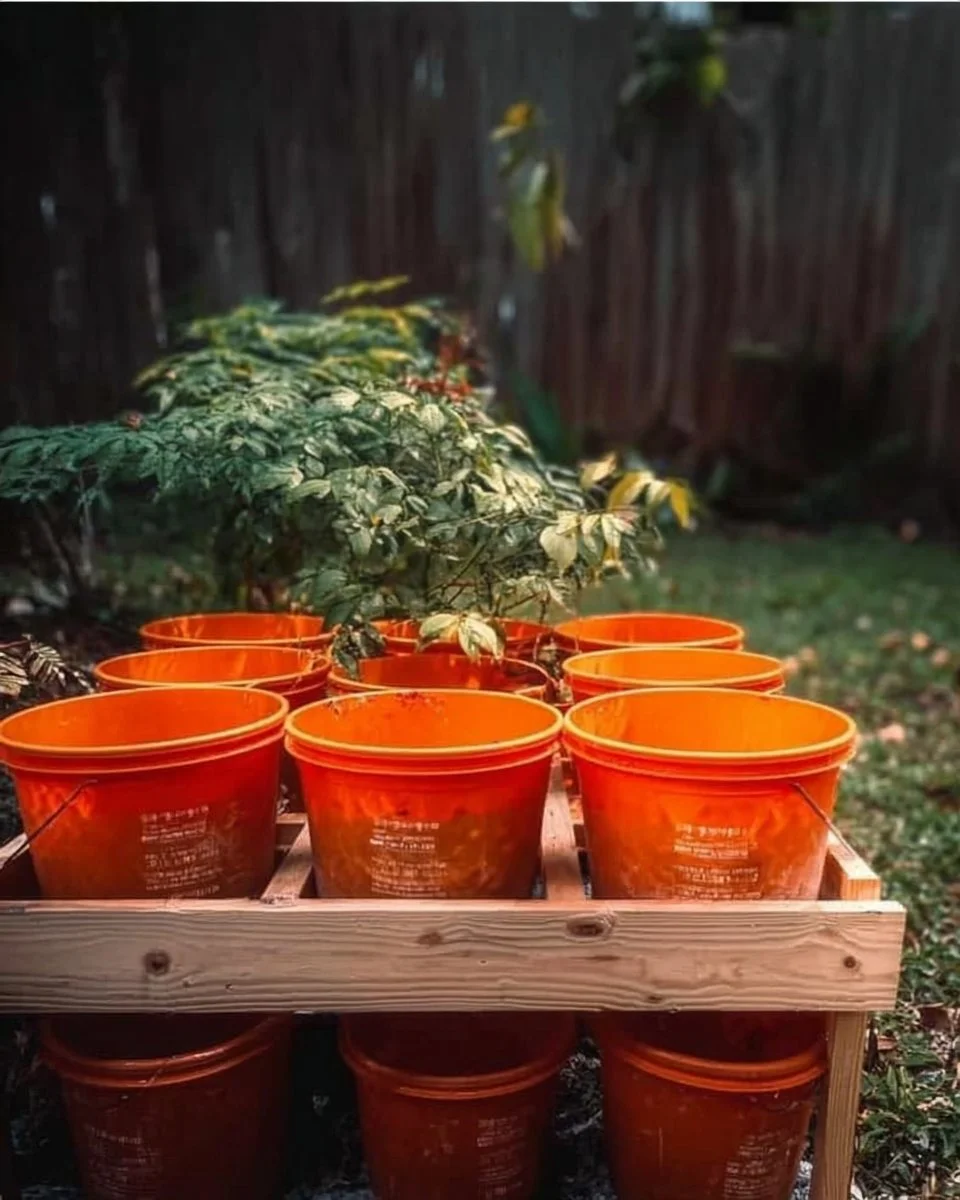
- 5-Gallon Buckets: 2-4 buckets for your garden setup.
- Potting Soil: Approximately 1 cubic foot for each bucket.
- Fertilizer: Slow-release fertilizer, as per package instructions.
- Seeds or Seedlings: Your choice of herbs, veggies, or flowers.
- Drainage Rocks or Gravel: About 2 inches layer for the bottom of each bucket.
Complete Tools List
- Drill: For creating drainage holes in buckets.
- Screwdriver: To secure any additional components (like supports).
- Utility Knife: For cutting through tough bucket materials.
- Measuring Tools: Ruler or tape measure for precise measurements if necessary.
- Gloves: To protect your hands while gardening.
Substitutes and Alternatives
If purchasing buckets isn’t in your budget, consider reusing old food-grade containers. Just ensure they are free from harmful chemicals. Instead of traditional potting soil, you might opt for a homemade compost mix if you have the materials available at home. The idea is to keep it as economical and eco-friendly as possible.
You can also substitute various tools depending on availability. For instance, a hand-drill can replace a power drill for creating drainage holes, or you may use a sharp object to puncture the buckets if you lack a utility knife.
Cut List and Measurements for Easy Guide to a 5-Gallon Bucket Garden for Beginners
Precise Cut List
- Bucket Drainage Holes: Drill 4-6 holes, ½ inch (1.27 cm) in diameter, at the bottom center of each bucket.
- Optional Support Stakes: If using plants that require support, cut wooden stakes to a height of approximately 3 feet (0.91 m) to accommodate taller plants.
Safety and Prep for Easy Guide to a 5-Gallon Bucket Garden for Beginners
Before diving into your project, it’s essential to prepare adequately. Always wear gloves when handling tools and materials, particularly when working with a drill. Setting up your workspace should be in a clean, open area, preferably outdoors, to avoid dust and debris.
Measure and mark accurately before cutting or drilling to ensure that your design remains symmetrical and functional. Use clamps to stabilize the buckets while you drill holes to prevent them from slipping. Proper ventilation is critical, especially if you’re working indoors, to escape any dust or chemical fumes from products that might be used.
How to Build Easy Guide to a 5-Gallon Bucket Garden for Beginners – Step-by-Step Directions
Step 1 – Prep and Layout
Start by choosing a location that receives at least six hours of sunlight daily. Lay out your buckets in a grid pattern for a neat appearance or spread them across your space. Ensure the ground is level for stability.
Step 2 – Cut and Label Pieces
Using a drill, create evenly spaced drainage holes at the bottom of each bucket. It’s best to label your buckets based on the seeds or seedlings you’ll be planting, making it easier to keep track of each garden spot.
Step 3 – Dry Fit and Mark Joinery
Before adding any dirt or plants, dry fit your buckets in their designated spots. Ensure each bucket is stable, upright, and aligned to your chosen design. Make sure the drill holes extend adequately for efficient drainage.
Step 4 – Assemble the Frame/Body
If you are incorporating supports, install your wooden stakes around the perimeter or at the back of each bucket. This step helps prevent any falling over, especially with taller plants. Ensure everything is secure and aligned.
Step 5 – Reinforce and Square
Check each bucket by gently shaking them to confirm they are stable. Adjust any uneven ones and ensure they are squared evenly in their respective spaces.
Step 6 – Attach Surfaces or Panels
If you’re using additional panels for aesthetics around your buckets, now is the time to secure them. This addition might be more relevant if you decide to create a multi-tiered garden setup.
Step 7 – Sanding and Edge Treatment
While buckets don’t typically require sanding, ensuring that the edges of any cuts or seams are smooth is vital for safety and aesthetics. Use a sanding block for any rough edges, especially on the wooden stakes.
Step 8 – Finish Application
Lastly, if desired, paint or seal your buckets for added longevity. Make sure to use waterproof and weather-resistant paint. Allow adequate drying time before planting seeds or seedlings.
Frequently Asked Questions
Can I use any kind of bucket?
Yes, ensure they are food-grade and free from toxic materials.
What plants should I start with?
Begin with easy-to-grow seeds like herbs, lettuce, or peppers.
Do I need to drill holes in the buckets?
Definitely, drainage holes are essential to prevent waterlogging.
How often should I water my bucket garden?
Water when the top inch of soil feels dry. It may vary based on the plant types and weather.
Can I keep the buckets indoors?
Yes, but make sure they have sufficient sunlight or consider using grow lights.
How much soil do I need for each bucket?
Each bucket typically requires about 1 cubic foot of potting soil.