
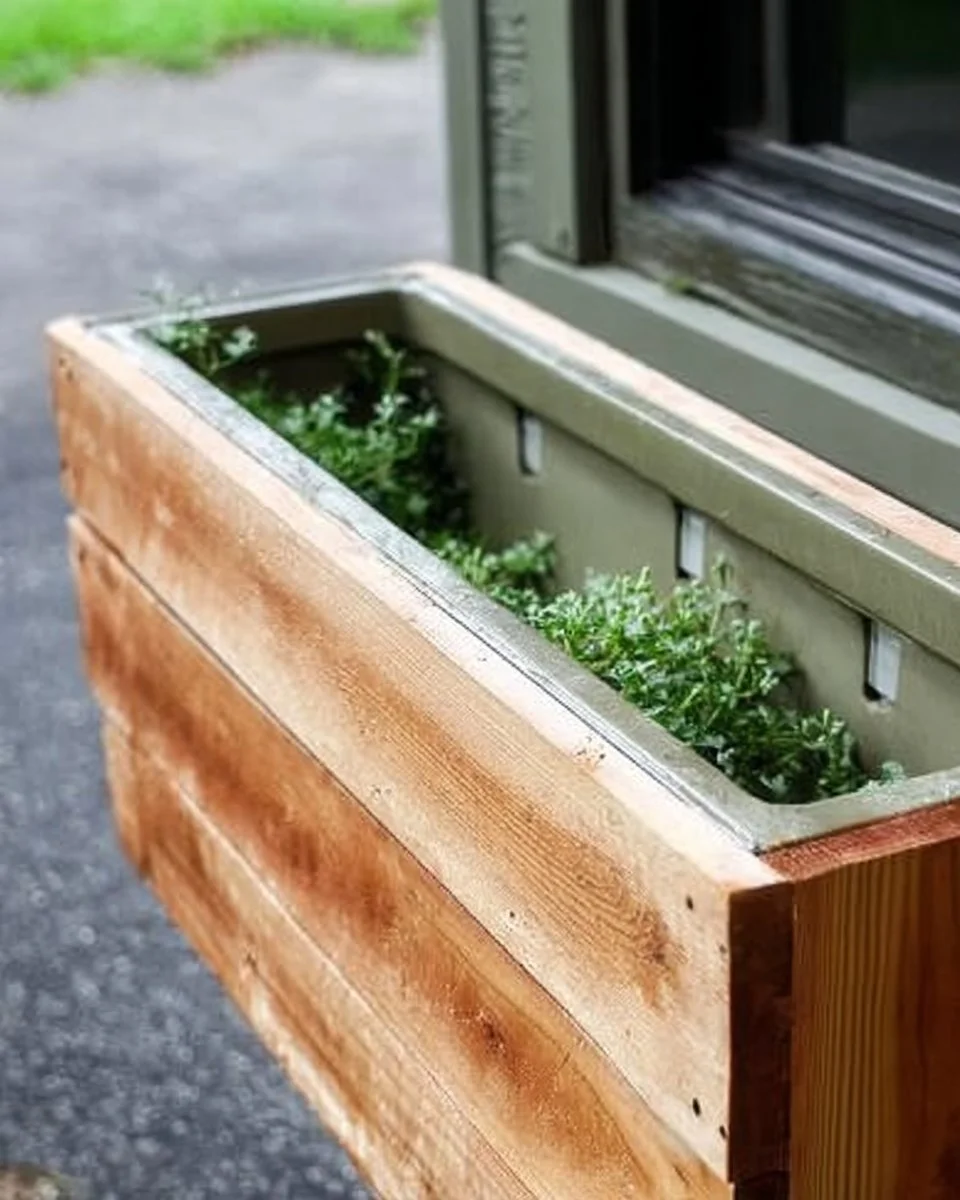
Introduction to Easy DIY Cedar Window Boxes
Are you ready to elevate your home’s curb appeal? One of the simplest yet most impactful ways to do just that is by adding window boxes. The Easy DIY Cedar Window Boxes project is a fantastic opportunity to infuse character into your home while providing a perfect space for your favorite flowers or herbs. This project stands out not just because of its aesthetic appeal but also due to the affordability and practicality of using cedar wood.
What makes this build truly special? Cedar is naturally resistant to rot and moisture, making it an ideal choice for outdoor use. The project is simple enough for beginners, and the materials are easily accessible. Additionally, this project can be completed in a weekend, allowing you to enjoy your beautiful window boxes almost immediately.
As for your budget, the total cost is surprisingly low when you consider the materials involved. If you’re eager to unleash your creativity, this project is also customizable to fit your home’s design. It’s family-friendly—perfect for adults and older kids alike—making it a great bonding activity. Let’s dive deeper into why the Easy DIY Cedar Window Boxes are a must-try for any homeowner or DIY enthusiast.
Table of Contents
Key Benefits of Easy DIY Cedar Window Boxes
Why You’ll Love This Build
- Durability: Cedar wood is resistant to decay and insect damage.
- Simplicity: Perfect for beginners, with clear steps to follow.
- Versatility: Suitable for a variety of plants, from flowers to herbs.
- Portability: Easily removable should you want to rearrange your outdoor space.
- Weather Resistance: Cedar withstands outdoor conditions better than many other woods.
- Cost Savings: DIY saves money compared to store-bought decorative boxes.
What Makes It Stand Out
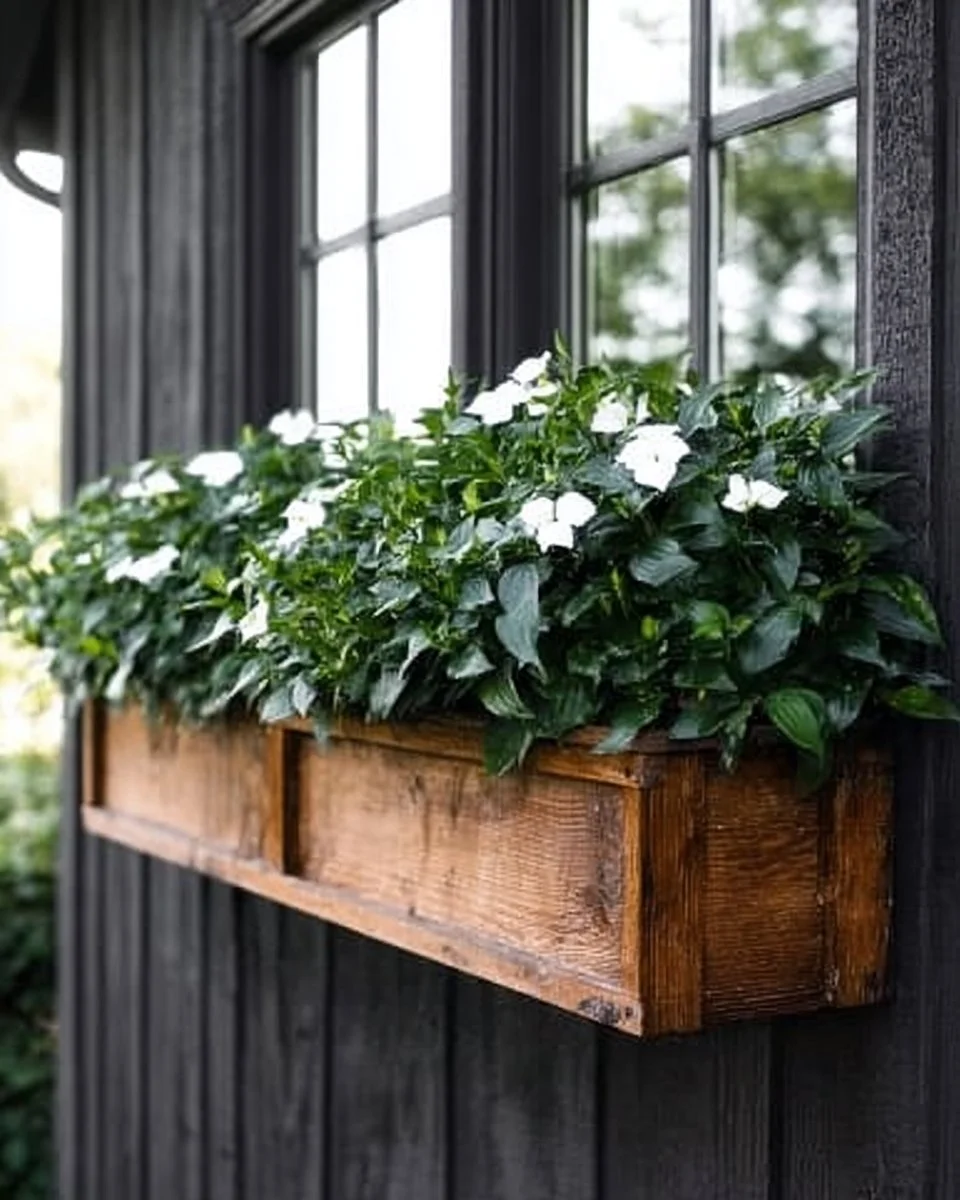
Unlike many store-bought window boxes, the Easy DIY Cedar Window Boxes offer a personal touch. You can customize the dimensions to fit your specific windows and select the plants that resonate with your style. This project allows you to express creativity while practicing a new skill. Additionally, making it yourself ensures quality, allowing you to create something that not only looks great but lasts for years. Whether it’s a cottage aesthetic or a modern flair, this project can adapt to complement any home.
Project Specs for Easy DIY Cedar Window Boxes
At-a-Glance Details
- Skill Level: Beginner
- Estimated Time: 4-6 hours
- Estimated Cost (USD): $40-$100
- Dimensions: Customizable; suggested size 36″x10″x10″ (91.4cm x 25.4cm x 25.4cm)
- Indoor/Outdoor Suitability: Outdoor
- Tools Needed at a Minimum:
- Circular saw
- Drill/driver
- Square
Materials and Tools for Easy DIY Cedar Window Boxes
Complete Materials List with Measurements
- Cedar boards:
- 1″x6″ boards, 8 ft long (x3)
- 1″x2″ boards, 8 ft long (x2)
- Wood screws: 1.25” screws (1 box)
- Wood glue: Waterproof wood glue (1 bottle)
- Sandpaper: 120 and 220-grit (1 pack each)
- Wood stain or sealer: Outdoor-rated (choose your color)
Complete Tools List
- Circular saw: For cutting boards to the right lengths.
- Drill/driver: To drive screws and create pilot holes.
- Square: To ensure cuts are straight and pieces are square.
- Clamps: To hold pieces together during assembly.
- Measuring tape: For accurate measurements.
Substitutes and Alternatives
If cedar is not available, you can consider using pressure-treated pine or cedar alternatives like redwood or fir. However, remember that they may not have the same weather resistance. For tools, you can often rent tools like circular saws from hardware stores, saving money if you’re not frequently undertaking DIY projects. For safety gear, prioritize a good mask for dust, especially when sanding, and goggles for eye protection.
Cut List and Measurements for Easy DIY Cedar Window Boxes
- Front and back panels:
- Two pieces 36″ long (91.4cm) for the width.
- Side panels:
- Two pieces 10″ long (25.4cm) for the depth.
- Bottom panel:
- One piece 34″ long (86.4cm) for the interior width.
- Braces (if desired):
- Two pieces 36″ long (91.4cm) to reinforce the structure.
- Pilot holes: Pre-drill with a 1/8″ (3mm) bit for all screw placements.
Safety and Prep for Easy DIY Cedar Window Boxes
Before you dive into this project, ensure that you have the proper personal protective equipment (PPE). Wear safety goggles to protect your eyes from wood dust, and a mask to avoid inhaling particles, especially during sanding. Set up your workspace in a well-ventilated area to minimize any exposure to fumes from glues or stains.
Measuring and marking accurately is crucial for achieving good results. Use a measuring tape and square to ensure all pieces are straight and to check for squareness. When transferring measurements onto wood, use a pencil for easy visibility.
Clamping is important during assembly, so make sure you have a few clamps handy to secure pieces while the glue dries. This helps in maintaining alignment and structural integrity. Lastly, always ensure good ventilation when applying finishes to avoid hazards related to fumes.
How to Build Easy DIY Cedar Window Boxes – Step-by-Step Directions
Step 1 – Prep and Layout
Start by prepping your workspace and gathering all materials. Measure out your window space with a measuring tape, ensuring size compatibility. A standard window box should be approximately the same length as the window itself, not extending beyond it.
Step 2 – Cut and Label Pieces
Using a circular saw, cut your cedar boards according to the cut list provided. Label each piece (e.g., “Front,” “Back,” “Side”) to keep track of them during assembly. Ensure all cuts are straight and smooth to prevent snags.
Step 3 – Dry Fit and Mark Joinery
Before you glue or screw anything together, dry fit all the pieces. This allows you to make adjustments as needed. Mark where your screws will go and drill pilot holes using a 1/8″ drill bit to prevent splintering.
Step 4 – Assemble the Frame/Body
Begin assembling by attaching the side panels to the front, using wood glue and 1.25” screws. Ensure the corners are flush and aligned. Repeat this with the back panel. Clamping helps maintain pressure while the glue sets.
Step 5 – Reinforce and Square
After the initial assembly, check that the box is square by measuring the diagonals from corner to corner. They should be equal. If there is any skewing, adjust by applying gentle pressure until aligned.
Step 6 – Attach Surfaces or Panels
Now it’s time to add the bottom panel, which should fit tightly within the frame. Secure it with screws spaced about 6-8 inches apart. Consider using a few additional screws along the edges for extra support, especially if planning to fill with heavy soil and plants.
Step 7 – Sanding and Edge Treatment
Once the assembly is good to go, it’s time to smooth things out. Use 120-grit sandpaper to start and follow up with 220-grit for a finer finish. Ensure you sand all edges and corners to prevent any splinters.
Step 8 – Finish Application
The last step is to apply an outdoor-rated wood sealer or stain. Allow the first coat to dry based on the manufacturer’s instructions before applying a second coat for optimal protection against the elements. This can extend the life of your window boxes tremendously.
FAQ About Easy DIY Cedar Window Boxes
What type of plants can I use in my cedar window boxes?
You can use a variety of plants, including flowers like petunias and herbs like basil or mint. Ensure they have similar sunlight and watering needs for best results.
How do I ensure my window boxes drain properly?
Make sure to drill a few drainage holes in the bottom of the box. This prevents water accumulation, protecting the roots of your plants.
Can I leave the cedar untreated?
While untreated cedar is naturally resistant, applying a stain or sealer will significantly extend the lifespan of your window boxes against harsh weather.
How do I clean my window boxes?
You can wash the boxes with mild soap and water. Avoid pressure washing as it can damage the wood’s surface.
How often should I replace my window boxes?
With proper care and maintenance, cedar window boxes can last many years. However, check for signs of rot or damage, and replace if needed.