
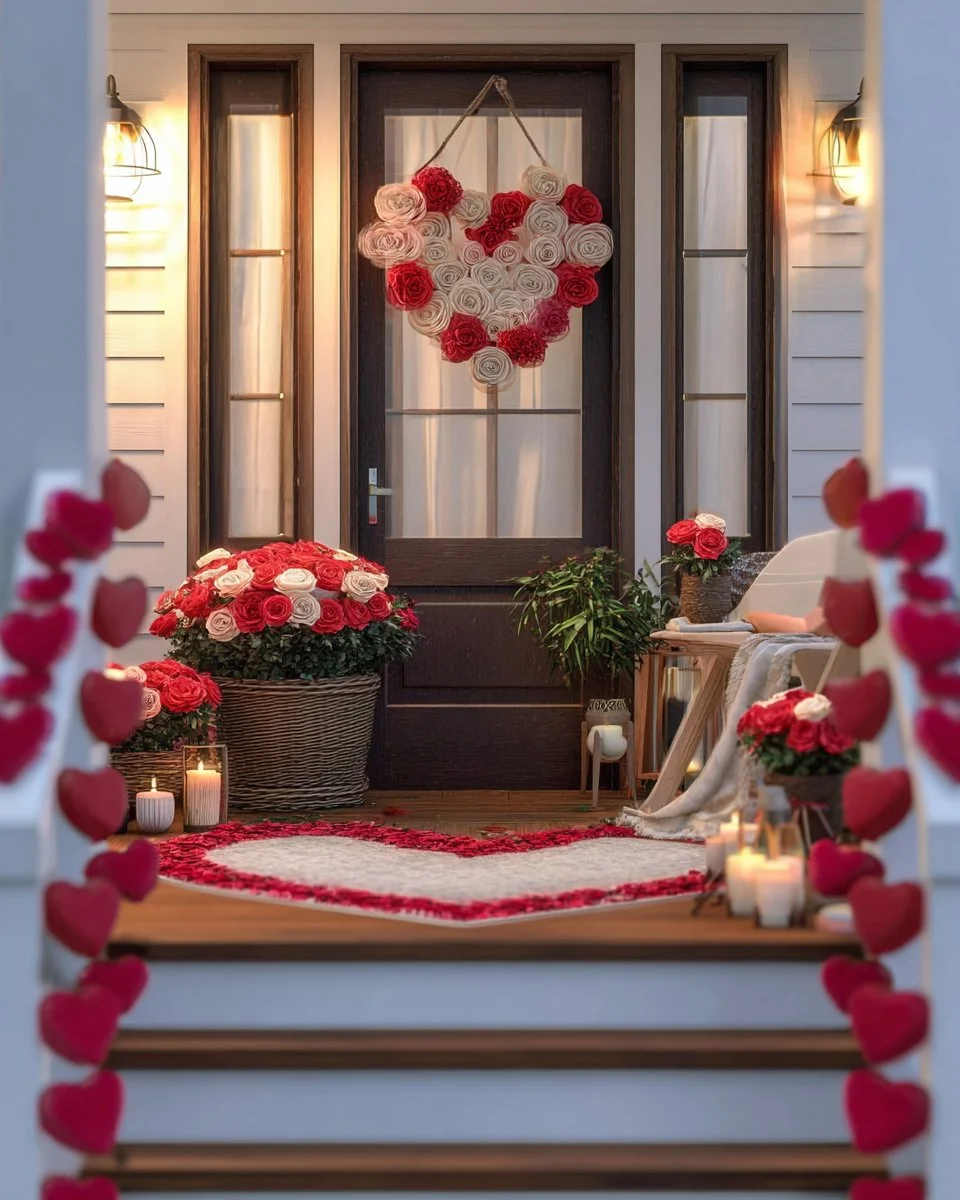
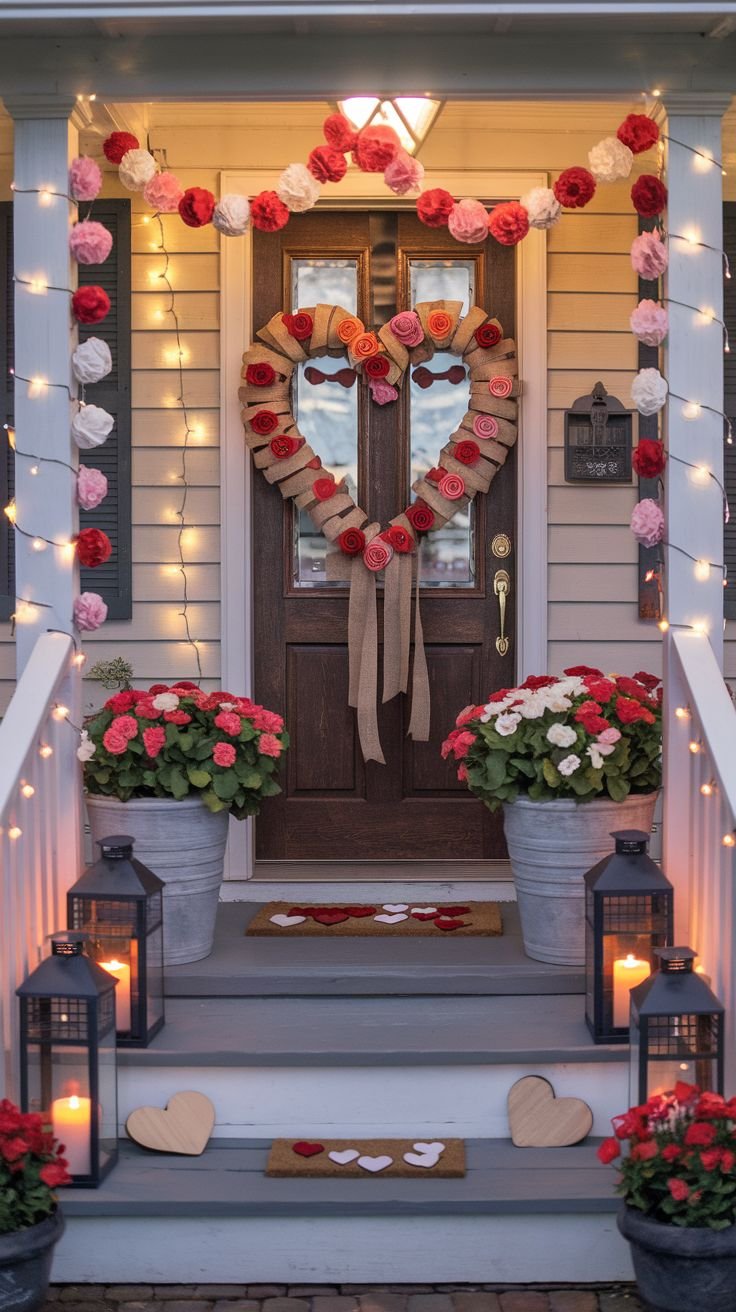
Introduction to DIY Valentine’s Day Room Decor
Valentine’s Day is around the corner, and that means it’s time to show your love and affection not just through gifts but through the ambiance of your living space. What better way to do that than with some eye-catching DIY Valentine’s Day room decor? This project isn’t just about festive decorations; it’s a chance for you to express creativity while crafting a space that radiates warmth and love.
Imagine creating a romantic atmosphere right in your home without breaking the bank. DIY Valentine’s Day room decor is perfect for those looking to personalize their spaces in a practical, affordable way. Whether you are preparing for a romantic evening, hosting a gathering with friends, or simply wanting to spread the love throughout your home, these decorations will elevate the experience.
This project typically requires a few hours of your time, and the cost will vary based on your chosen materials, but it’s easily adaptable to fit any budget. Best of all, the skill level needed is beginner-friendly, making this an excellent choice for all ages. You can craft these decorations indoors, ensuring that they add charm and elegance to your space.
Table of Contents
Key Benefits of DIY Valentine’s Day Room Decor
Why You’ll Love This Build
- Cost-Effective: Save money compared to store-bought items.
- Personal Touch: Customizations to fit your style make it uniquely yours.
- Creative Outlet: Provides a fun and expressive way to showcase your personality.
- Engaging Activity: Enjoyable to create alone or with loved ones.
- Seasonal Flexibility: Use the ideas for other occasions too.
- Sustainable Choices: Craft with eco-friendly materials if desired.
What Makes It Stand Out
What sets this DIY Valentine’s Day room decor apart from store-bought alternatives? It’s all in the personal touch and creative freedom! When you create something by hand, it reflects your individual style. You get to choose colors, shapes, and designs that speak to your heart and resonate with your space.
Moreover, the ability to customize ensures that you can create decor that fits perfectly in your home. Want to fit a theme or color palette? You have full control. Unlike generic items found in stores, your handcrafted decor tells a story and sparks conversations.
Project Specs for DIY Valentine’s Day Room Decor
At-a-Glance Details
- Skill Level: Beginner
- Estimated Time: 2-4 hours
- Estimated Cost: Approximately $30-50 USD
- Dimensions: Varies based on designs
- Indoor/Outdoor Suitability: Indoor
- Tools Needed: Scissors, glue gun, paintbrush, cutting mat, ruler
Materials and Tools for DIY Valentine’s Day Room Decor
Complete Materials List with Measurements
- Colored paper (red, pink, white): 2 sheets each
- Craft foam sheets: 2 sheets each (optional for sturdiness)
- String lights: 1 set (approximately 10-20 feet for impact)
- Glue (multi-purpose): 1 bottle
- Tape: 1 roll
- Scissors: 1 pair
- Markers or paint pens: 1 set
- Heart templates: 3 different sizes (printable or homemade)
Complete Tools List
- Glue gun: for fast bonding
- Craft knife: for detailed cuts
- Cutting mat: to protect surfaces
- Ruler: for measuring
- Pencil: for marking
Substitutes and Alternatives
If you’re on a tight budget or want to use what you already have, consider alternatives. Old magazines or newspapers can be cut into shapes for a charming collage effect. If you don’t have string lights, candles or LED tea lights will create a similar ambiance. You can opt for thick cardboard instead of foam sheets, providing a sturdy base for decorations without the cost.
Cut List and Measurements for DIY Valentine’s Day Room Decor
- Heart shapes: 6 pieces, various sizes (e.g. 4in x 4in (10cm x 10cm), 6in x 6in (15cm x 15cm), and 8in x 8in (20cm x 20cm))
- Banners/garlands: 3 pieces, each 2 ft (61cm) long
- Frames (if used): 2 pieces of craft foam, 12in x 12in (30cm x 30cm)
No special grain direction is required. If using wooden frames, pre-drill holes for easier assembly.
Safety and Prep for DIY Valentine’s Day Room Decor
Before starting your DIY project, ensure your workspace is clean and spacious. Gather all your materials nearby to avoid disruptions. Wear safety gear such as gloves if needed, especially while using a hot glue gun or sharp tools. Mark all cuts precisely with a ruler and pencil for accuracy to ensure all pieces fit together nicely. If you’re using paint or glue, ensure good ventilation in your area to avoid inhaling fumes.
How to Build DIY Valentine’s Day Room Decor – Step-by-Step Directions
Step 1 – Prep and Layout
Start by gathering your materials and tools in a well-lit workspace. Decide on the overall design theme. Lay out your heart templates on colored paper or foam sheets to visualize your layout. Measure and cut them out, ensuring symmetry and uniformity for a polished look.
Step 2 – Cut and Label Pieces
Using the scissors or craft knife, carefully cut out the heart shapes from your colored paper or foam. Label the different sizes as you go to keep track of your pieces, which will make assembling easier later on.
Step 3 – Dry Fit and Mark Joinery
Before gluing anything down, dry fit your hearts and decorative elements on a flat surface to check how they fit together. If you’re creating a banner, arrange the hearts along the string to see the spacing and alignment. Mark areas where you’ll want to apply glue.
Step 4 – Assemble the Frame/Body
If you’re using frames, assemble them first. Apply glue to the edges and secure them with tape while they dry for a few minutes. For garlands, begin attaching the hearts to the string that will hold them.
Step 5 – Reinforce and Square
Check for stability. If using frames, ensure they are square by measuring diagonally from corner to corner. Adjust if necessary to avoid wobbling. For garlands, space out hearts evenly.
Step 6 – Attach Surfaces or Panels
Once your frames are ready or the garland is spaced well, begin attaching the hearts. For the frames, glue them onto the background. For the garland, secure each heart with glue as previously marked.
Step 7 – Sanding and Edge Treatment
If you have rough edges on any cut foam or paper, lightly sand them with fine-grit sandpaper for a smooth finish. Remove any dust using a soft cloth before proceeding.
Step 8 – Finish Application
Let everything dry fully. If you want to add a protective or decorative finish, apply a clear coat or paint seals. For frame interiors, consider adding a splash of glitter or patterns to enhance their festive look.
FAQ on DIY Valentine’s Day Room Decor
Can I use materials I already have at home?
Absolutely! Repurposing old items can add personal charm to your decor.
How long will this decor last?
With careful handling, most of it can last through the season and beyond.
What if I don’t have string lights?
You can use candles or LED tea lights for a romantic atmosphere.
Is this project suitable for children?
Yes, but adult supervision is recommended, especially with sharp tools and hot glue.
Are there variations for other seasons?
Definitely! The same techniques can be used for other holidays with different colors and themes.