
Introduction to DIY Simple Window Box Planter
Have you ever looked at a bare window and thought it could use a burst of color? Turning that vision into reality is easier than you think with a DIY Simple Window Box Planter. This project combines creativity with functionality, allowing you to showcase your favorite flowers or herbs while adding a touch of charm to your home. It’s particularly special because it not only beautifies your space but can also be a delightful weekend project that brings family or friends together.
The best part? Building a window box planter is highly affordable. You can complete the project for under $50, depending on your material choices. Even those with minimal DIY experience can dive into this project and create something beautiful. If you fancy embracing the outdoors, this project suits exterior windows perfectly, bringing life to your home’s facade.
Imagine the satisfaction of stepping back to admire your creation, knowing you crafted it yourself. Why settle for store-bought options when you can customize every inch to fit your style? Whether you prefer a rustic wooden look or a sleek modern design, the potential is limitless.
Table of Contents
Key Benefits of DIY Simple Window Box Planter
Why You’ll Love This Build
- Cost-Effective: Save money by creating a beautiful planter yourself.
- Durable: Choose materials that withstand the elements.
- Customizable: Tailor the size and style to fit your window and personal aesthetic.
- Easy to Build: Even beginners can accomplish this with straightforward instructions.
- Versatile Placement: Adapt the design for indoor or outdoor use.
- Space-Saving: Perfect for smaller gardens or condos with limited space.
What Makes It Stand Out
One of the most impressive aspects of the DIY Simple Window Box Planter is its adaptability. You can experiment with different types of wood, paint, and design elements to match your home’s style. It allows for creativity, letting you go all out with colors, or keep it minimalist with natural finishes.
Additionally, building your own planter box is often more durable than purchasing mass-produced options. Store-bought planters can be flimsy and lack character, whereas a handcrafted window box speaks volumes about your attention to detail and love for your home.
Project Specs for DIY Simple Window Box Planter
At-a-Glance Details
Skill Level: Beginner
Estimated Time: 2-4 hours
Estimated Cost: $30 – $50 USD
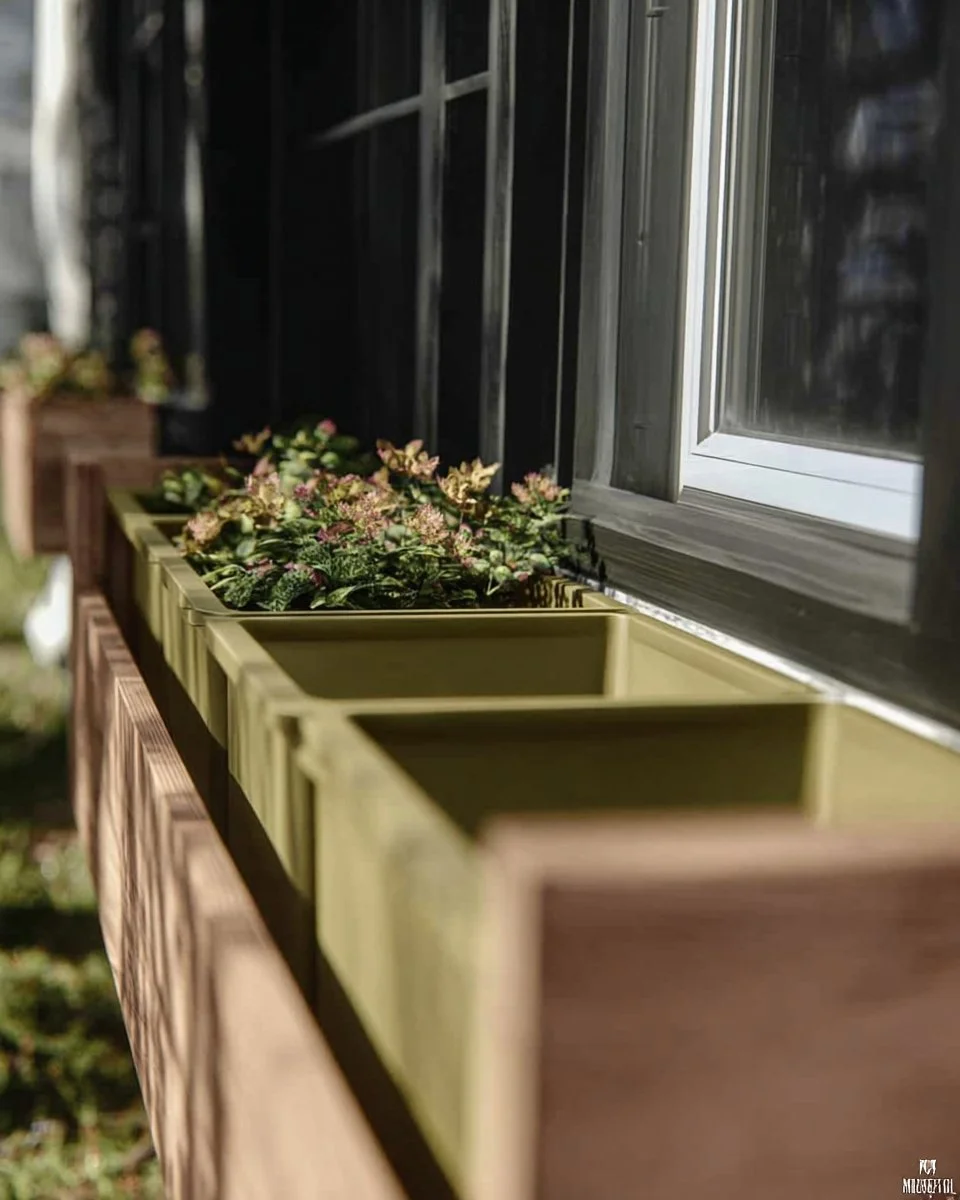
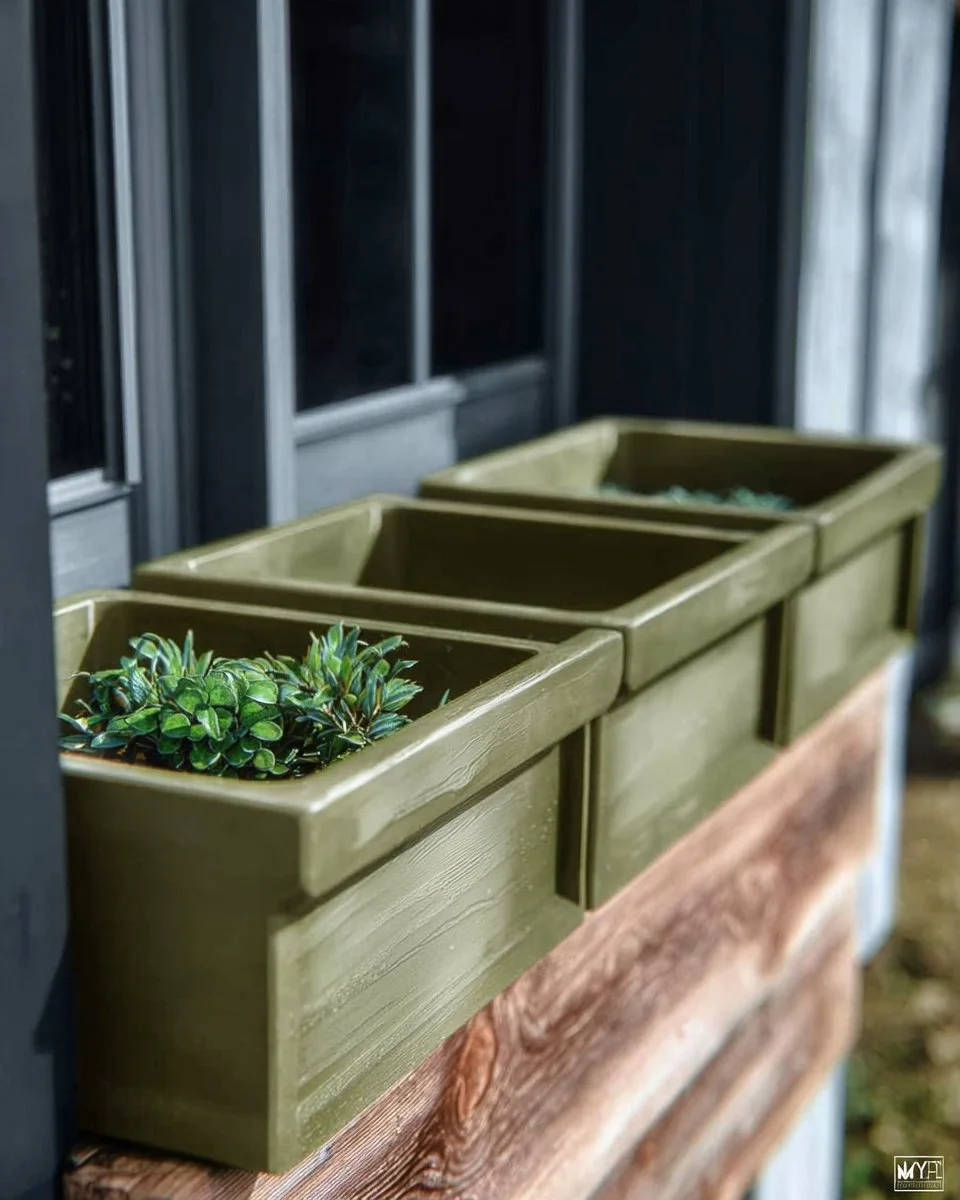
Dimensions: 36″ L x 8″ W x 8″ H (91 x 20 x 20 cm)
Indoor/Outdoor Suitability: Outdoor
Tools Needed at Minimum:
Saw
Drill
Screwdriver
Measuring tape
Safety goggles
Materials and Tools for DIY Simple Window Box Planter
Complete Materials List with Measurements
- 2 x 6 Cedar Lumber (x2, 36″) for the bottom of the box
- 1 x 6 Cedar Lumber (x6, 8″) for the sides of the box
- Wood Screws (2.5” length) – Quantity varies based on assembly
- Wood Glue – 1 bottle for extra durability
- Wood Sealant/Paint (Optional)
Complete Tools List
- Miter Saw or Circular Saw
- Cordless Drill with drill and screw bits
- Screwdriver
- Measuring Tape
- Safety Goggles
Substitutes and Alternatives
If you’re looking for a budget-friendly alternative, consider using pine instead of cedar. Though pine may not be as rot-resistant outdoors, it’s still a great option if treated properly with sealant. For tools, you might borrow them from a friend or look for rentals at local hardware stores.
If you’d rather skip staining or painting, embrace the natural look of untreated wood, letting it develop its character over time.
Cut List and Measurements for DIY Simple Window Box Planter
- Bottom Panel: 2 x 6 Cedar Lumber, 36″ L x 6″ W (91 x 15 cm)
- End Panels: 1 x 6 Cedar Lumber, 8″ H x 5″ W (20 x 13 cm)
- Side Panels: 1 x 6 Cedar Lumber, 8″ H x 36″ L (20 x 91 cm)
- Pilot Holes: Pre-drill 1/8” holes for screws to prevent splitting
Safety and Prep for DIY Simple Window Box Planter
Before starting your project, ensure you’re in a well-ventilated workspace. Use safety goggles to protect your eyes and consider a dust mask if you’ll be sanding. Measure your parts accurately, taking the time to double-check each length and angle.
Having a clean, organized space allows for efficient work. Utilize clamps to hold pieces together as you assemble them, which helps in achieving both precision and safety during construction.
How to Build DIY Simple Window Box Planter – Step-by-Step Directions
Step 1 – Prep and Layout
Start by laying out all your materials in your workspace. Confirm your measurements using your measuring tape. Sketch a simple diagram if that helps visualize the final layout, ensuring everything fits together snugly.
Step 2 – Cut and Label Pieces
Using your saw, cut down all pieces as per the cut list. Label each part with a pencil to keep track of which are the sides, ends, and base. This step is crucial for ensuring a smooth assembly process later.
Step 3 – Dry Fit and Mark Joinery
Before fastening anything, perform a dry fit. Arrange the pieces together and mark where the screws will go using a pencil. This helps avoid confusion later and ensures accuracy when drilling your pilot holes.
Step 4 – Assemble the Frame/Body
Begin assembling the sides to the ends using wood screws. Use the drill to secure screws at each corner. It’s essential to not over-tighten, as this may warp your wood.
Step 5 – Reinforce and Square
Check the squareness of the box by measuring diagonally from corner to corner. Adjust as needed to ensure that it sits level. Tighten all screws once satisfied, reinforcing the structure.
Step 6 – Attach Surfaces or Panels
With the frame set, attach the base panel. Ensure it’s flush with the ends and sides. Fasten using screws, ensuring they are spaced evenly along all edges to avoid warping.
Step 7 – Sanding and Edge Treatment
Once the structure is assembled, sand down all edges and surfaces. Begin with a coarse grit and progress to a finer one for a smooth finish. Be sure to remove all dust residues to prepare for painting or sealing.
Step 8 – Finish Application
Apply your chosen wood sealant or paint. Use a quality brush for an even coat, and follow the manufacturer’s instructions for drying times. Two coats are usually best, ensuring thorough coverage.
Step-by-Step Build Complete
FAQ About DIY Simple Window Box Planter
Q: What plants can I put in my window box planter?
A: You can plant a variety of flowers, herbs, and even small vegetables. Just check their sunlight and water requirements.
Q: How do I ensure my window box lasts outside?
A: Use rot-resistant wood like cedar, and apply a weatherproof sealant to protect against moisture.
Q: Can I grow vegetables in a window box?
A: Yes, many small vegetables can thrive in a window box, such as lettuce, radishes, and herbs.
Q: How do I prevent my window box from rotting?
A: Ensure good drainage by drilling holes in the bottom and using a moisture barrier if necessary.
Q: What is the best location for my window box?
A: Place it in a spot that receives appropriate sunlight for the types of plants you choose, avoiding excessively shaded areas.