
Introduction to How to Make a DIY Potting Bench from Pallets
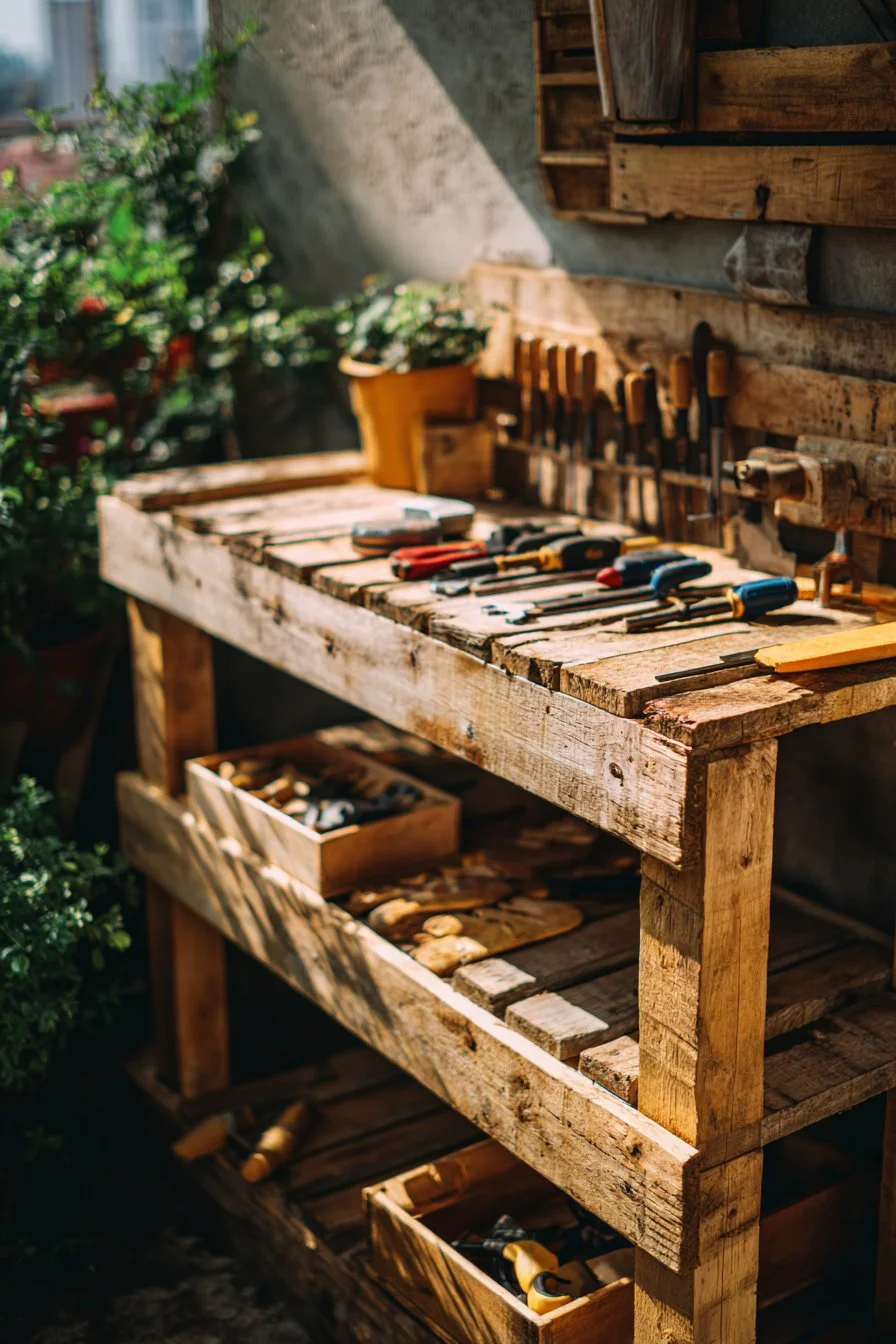
Are you looking to enhance your gardening experience while giving your backyard a charming touch? A DIY potting bench from pallets might just be the perfect project for you! Not only is this build practical, but it’s also an affordable way to organize your tools and workspace. Crafting your own potting bench allows you to customize it to fit your particular style and preferences, making it a unique addition to your garden.
One of the most appealing aspects of this project is its simplicity. With just a few hours and minimal cost, you can create a beautiful and functional potting bench. Whether you are a seasoned gardener or a novice exploring your green thumb, this bench will provide the perfect surface for your planting potting activities. It’s suitable for outdoor use, so you can enjoy working in the fresh air as you plant flowers, herbs, or vegetables.
Constructing a potting bench from pallets not only aids in enhancing your gardening but also promotes sustainability by repurposing wood that would otherwise go to waste. Plus, with a little creativity, you can paint or stain it in colors that match your garden’s aesthetic. Whether you want to keep it rustic or go for a sleek modern finish, the choice is entirely yours.
Time-wise, you can expect to devote just a weekend to this project, and as for costs, it can be done for less than $100! With a moderate skill level, most DIY enthusiasts can manage this project with ease. So, let’s delve into how to make a DIY potting bench from pallets and create your very own functional gardening station!
Table of Contents
Key Benefits of How to Make a DIY Potting Bench from Pallets
Why You’ll Love This Build
- Durability: Made from robust pallets that can withstand various weather conditions.
- Affordability: A budget-friendly option compared to pre-built benches.
- Simplicity: Easy to follow steps make it accessible for beginners.
- Versatility: Adaptable design suitable for various sizes and styles.
- Environmentally Friendly: Reuses materials, reducing waste and promoting sustainability.
- Space Efficiency: Streamlines your garden tools and supplies in one convenient location.
What Makes It Stand Out
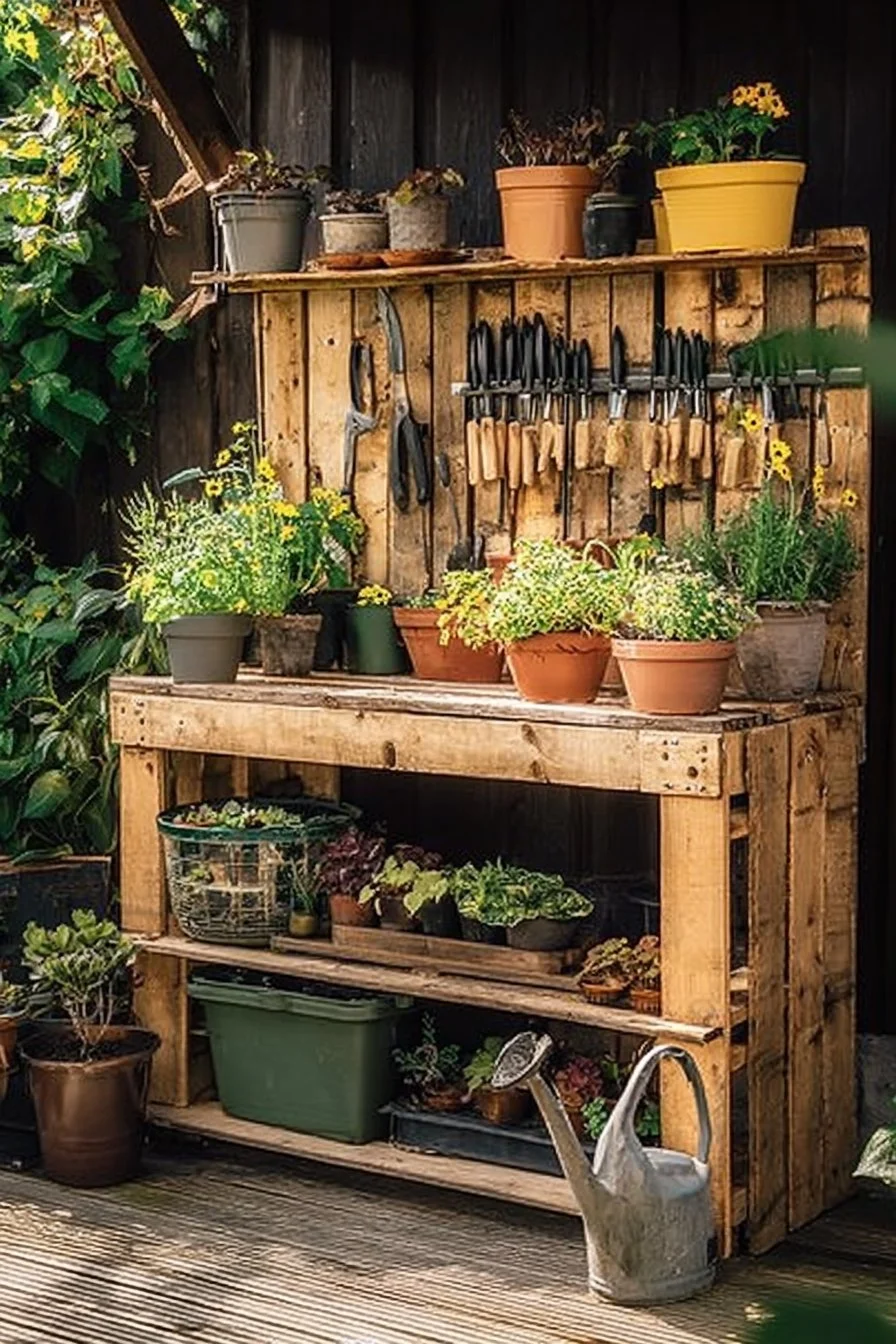
One of the standout features of the potting bench made from pallets is its level of customization. Unlike store-bought alternatives, you can select the dimensions, finishes, and additional features that suit your garden’s needs. Whether you want extra shelving for pots or a built-in sink for watering plants, the options are endless.
Moreover, this project shines due to its sustainability aspect. By using discarded pallets, you not only save money but also contribute to environmental conservation. It’s the perfect blend of creativity, practicality, and eco-friendliness, making it a project you can feel good about.
Project Specs for How to Make a DIY Potting Bench from Pallets
At-a-Glance Details
- Skill Level: Moderate
- Estimated Time: 6-8 hours
- Estimated Cost: $50-$100
- Dimensions:
- Length: 48 inches (122 cm)
- Width: 24 inches (61 cm)
- Height: 36 inches (91 cm)
- Indoor/Outdoor Suitability: Outdoor
- Tools Needed at a Minimum: Circular saw, drill, measuring tape, square, sandpaper.
Materials and Tools for How to Make a DIY Potting Bench from Pallets
Complete Materials List with Measurements
- Wood Pallets:
- 3 standard pallets (42″x48″ or 107×122 cm)
- Wood Screws:
- 1.5-inch (3.8 cm) screws, approximately 50 pcs
- Wood Glue:
- Non-toxic wood glue, 1 bottle
- Sandpaper:
- 80-grit and 220-grit, 1 sheet each
- Wood Finish (Optional):
- Exterior-grade paint or sealer
Complete Tools List
- Circular Saw: For cutting the pallets to size.
- Drill: To make holes for screws and assemble pieces.
- Measuring Tape: To ensure precise measurements.
- Square: To check and maintain right angles.
- Clamps: For holding pieces together while drying or being screwed.
Substitutes and Alternatives
If pallets aren’t readily available, consider using reclaimed wood or other durable lumber. For the screws, you can use decking screws, which are designed for outdoor use. If you can’t find non-toxic wood glue, any outdoor-grade adhesive will work effectively.
For finishes, if paint is not desired, opt for a wood stain or a weatherproof wood sealer to enhance durability and appearance. Always check the climate compatibility of your chosen materials.
Cut List and Measurements for How to Make a DIY Potting Bench from Pallets
- Top Surface:
- 4 pieces, 48″ long (122 cm) × 6″ wide (15 cm)
- Side Panels:
- 2 pieces, 36″ long (91 cm) × 24″ wide (61 cm)
- Back Panel:
- 1 piece, 48″ long (122 cm) × 36″ high (91 cm)
- Legs:
- 4 pieces, 36″ long (91 cm) × 4″ wide (10 cm)
- Shelves (optional):
- 2 pieces, 44″ long (112 cm) × 20″ wide (51 cm)
Note: Ensure the grain direction runs horizontally for aesthetic appeal and stability. Pre-drill holes for screws to prevent splitting.
Safety and Prep for How to Make a DIY Potting Bench from Pallets
Before you begin your project, make sure to wear personal protective equipment (PPE) such as safety goggles and ear protection. Set up a clean and organized workspace where you have enough room to move around the pallets freely. Accuracy is crucial, so carefully measure and mark every piece before making cuts.
Use clamps to secure your materials while working, especially when drilling, to prevent movement. Ensure you have proper ventilation in your workspace, particularly if you’re using adhesives or finishes that can have strong fumes.
How to Build How to Make a DIY Potting Bench from Pallets – Step-by-Step Directions
Step 1 – Prep and Layout
Begin by gathering all materials and tools. Lay your pallets out to assess the best pieces for the potting bench. Ensure that the surface is clean and any nails or debris are removed. Mark the dimensions of your desired bench on the ground for a clear layout.
Step 2 – Cut and Label Pieces
Using a circular saw, cut the pallets according to the cut list provided. Label each piece with a marker for easy identification during assembly. This will save time and ensure accuracy in the following steps.
Step 3 – Dry Fit and Mark Joinery
Assemble the pieces without fastening them together. Check for any gaps or misalignments. Mark where pilot holes will go for screws, maintaining even spacing to ensure strength and stability.
Step 4 – Assemble the Frame/Body
Start by attaching the legs to the top frame. Drill pilot holes and secure with screws, ensuring the frame is square. Use a square tool to check angles and maintain stability as you build.
Step 5 – Reinforce and Square
Once the frame is assembled, check for squareness by measuring diagonally across the frame. Adjust the legs if necessary and add additional screws for reinforcement. This step is crucial to prevent any wobbling.
Step 6 – Attach Surfaces or Panels
Secure the top surface pieces to the frame using wood glue and screws. Ensure they are spaced evenly, leaving no gaps. Allow the glue to cure for the recommended time before proceeding.
Step 7 – Sanding and Edge Treatment
Using sandpaper, begin with 80-grit to smooth rough edges, followed by 220-grit for a finer finish. Pay special attention to corners and edges to prevent any splinters or rough surfaces. Clean off dust with a damp cloth.
Step 8 – Finish Application
Apply a protective finish to the potting bench. If using paint, allow it to dry thoroughly between coats. For stains or sealers, follow the manufacturer’s instructions for application and drying times, ensuring the potting bench is ready for outdoor use.
Frequently Asked Questions
What type of wood pallets should I use?
Look for heat-treated pallets, which are safer and less likely to harbor pests.
Can I use this potting bench indoors?
While it’s primarily designed for outdoor use, it can fit indoors as well if space permits.
How long will the bench last?
With proper maintenance and weatherproofing, your potting bench can last for years.
What should I do if my pallets are damaged?
Choose only the pieces that are in good condition, or use the damaged ones for smaller, non-structural components.
Is it necessary to use a finish?
While not strictly necessary, a finish will significantly prolong the life of your potting bench.
Can I personalize my potting bench?
Absolutely! You can customize size, design, and finishes to match your garden’s aesthetic and your personal preferences.