

Introduction to How to Make a DIY Potting Bench from Pallets
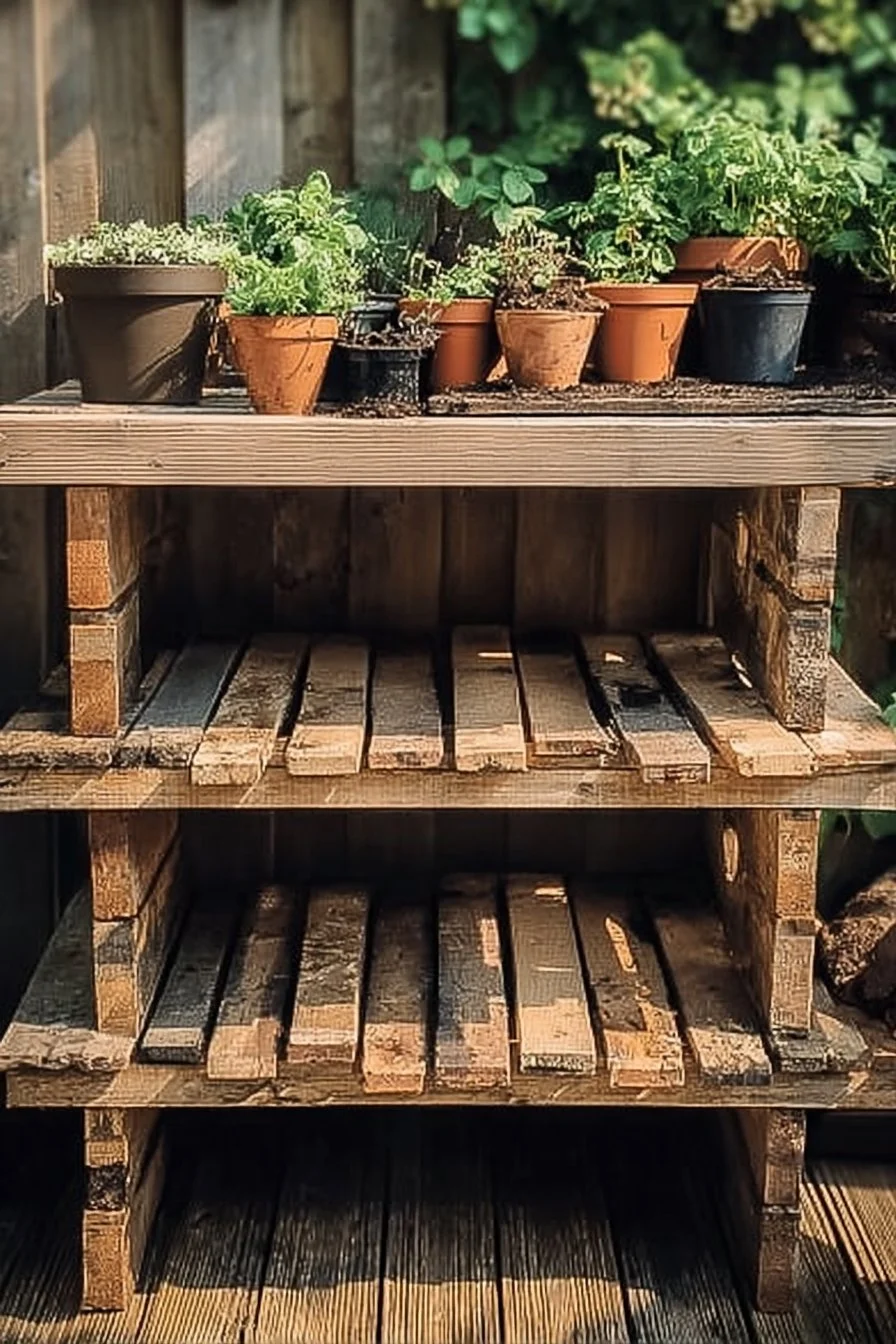
Are you an avid gardener looking for the perfect workspace? A potting bench could be exactly what you need! Learning how to make a DIY Potting Bench from Pallets is not only a creative way to repurpose materials but also an exciting project that allows you to create a functional piece of outdoor furniture. Have you ever considered how much easier planting and potting can be with a designated workspace? This project is specially designed to fulfill that need while being practical, affordable, and unique in style.
Creating a potting bench using pallets is a weekend-friendly project, typically taking a few hours to complete. The best part? It can be done on a shoestring budget, making it an appealing choice even for beginner DIYers. Plus, you’ll find countless customization options to make it uniquely yours. Whether you want to integrate shelves, hooks, or a sink, there’s no limit to what you can create. It’s the perfect DIY project for both indoor and outdoor gardening enthusiasts.
Table of Contents
Key Benefits of How to Make a DIY Potting Bench from Pallets
Why You’ll Love This Build
- Durable: Pallets are often made of robust wood that withstands the test of time.
- Simplicity: Minimal tools and straightforward steps make it ideal for beginners.
- Versatile: Customize the design to fit your gardening needs and space.
- Portable: Easy to move around, perfect for changing garden layouts.
- Weather-resistant: With proper finishes, it holds up well outdoors.
- Cost-saving: Utilizing reclaimed materials drastically reduces project costs.
What Makes It Stand Out
This potting bench stands out for its eco-friendly nature and versatility. Using pallets not only gives you a functional workspace but also contributes to recycling efforts, helping reduce waste in your community. You can customize the bench with hooks for tools, shelves for supplies, or even a small sink for convenient washing.
Compared to store-bought alternatives, a DIY potting bench allows for personalization that suits your gardening style, ensuring it fits perfectly in your yard or garden. This functional piece can evolve with your gardening needs, making it an investment for years to come.
Project Specs for How to Make a DIY Potting Bench from Pallets
At-a-Glance Details
- Skill Level: Intermediate
- Estimated Time: 4-6 hours
- Estimated Cost: $50 – $100
- Dimensions: 48″ W x 24″ D x 36″ H (122 cm x 61 cm x 91 cm)
- Indoor/Outdoor Suitability: Outdoor
- Tools Needed at a Minimum: Circular saw, drill, sander
Materials and Tools for How to Make a DIY Potting Bench from Pallets
Complete Materials List with Measurements
- Pallets: 3–5 standard pallets (varying sizes)
- 2″x4″ lumber: 2 pieces, 36″ long (91 cm) for the legs
- 1″x4″ lumber: 5 pieces, 48″ long (122 cm) for the top and shelves
- Wood screws: 2.5″ (6.35 cm), approx. 50 screws
- Wood glue: 1 bottle for added stability
- Wood finishes: Optional outdoor sealant or paint
Complete Tools List
- Circular saw: For cutting the pallets and lumber.
- Drill: For driver bits and for any holes needed.
- Sander: For smoothing wood surfaces.
- Measuring tape: To ensure accurate cuts.
- Safety gear: Gloves and goggles for protection.
Substitutes and Alternatives
If pallets are difficult to find, consider using plywood or reclaimed wood for a similar aesthetic. Additionally, using screws can be replaced with nails, though screws typically offer stronger connections. If you don’t own a circular saw, many local hardware stores offer rental services, or consider asking a friend who has one.
Cut List and Measurements for How to Make a DIY Potting Bench from Pallets
- Pallets: No cuts needed, but make sure they are uniform.
- 2″x4″ lumber (legs): 2 pieces, 36″ (91 cm) long.
- 1″x4″ lumber (top and shelves):
- 3 pieces, 48″ (122 cm) long
- 2 pieces, 24″ (61 cm) long
- Note: Ensure the wood grain runs vertically for support.
Safety and Prep for How to Make a DIY Potting Bench from Pallets
Before starting your project, prioritize safety by wearing gloves and goggles to protect against splinters. Set up your workspace in a well-ventilated area to minimize inhaling sawdust and fumes from wood finishes. Measure your cuts carefully, as precision ensures stability. Clamping pieces while working can help maintain alignment and accuracy, especially during assembly.
How to Build How to Make a DIY Potting Bench from Pallets – Step-by-Step Directions
Step 1 – Prep and Layout
Start by selecting your pallets and laying them out. Decide on the desired dimensions of your potting bench. Ensure the pallets are relatively level and check for any necessary repairs before getting started.
Step 2 – Cut and Label Pieces
Using the circular saw, cut your 2″x4″ lumber for the legs and label them accordingly. Also, cut the 1″x4″ lumber to the specified lengths for the top and shelves. Ensure all cuts are clean to promote better assembly.
Step 3 – Dry Fit and Mark Joinery
Lay out all pieces and begin a dry fit to see how they align. Mark any joinery points with a pencil to avoid confusion during assembly. Pilot holes may be beneficial to prevent the wood from splitting when inserting screws.
Step 4 – Assemble the Frame/Body
Begin assembling the frame by attaching the legs to the pallets. Use wood screws to secure them in place. When attaching, provide enough torque so that the screws grip firmly but avoid over-tightening, which could crack the pallet wood.
Step 5 – Reinforce and Square
After the frame is assembled, check for squareness by measuring diagonals. Ensuring that the frame is square prevents wobbling once the bench is in use. Use additional screws or wood glue to reinforce joints if needed.
Step 6 – Attach Surfaces or Panels
Attach the cut 1″x4″ boards to create a stable top and shelves. Space them evenly and attach using screws, maintaining even distance from the edges for a clean look.
Step 7 – Sanding and Edge Treatment
Once the structure is complete, sand all surfaces with progressing grits of sandpaper to remove splinters and rough edges. Be sure to clean off the dust between grit changes to ensure a smooth finish.
Step 8 – Finish Application
Apply your chosen wood finish—whether it’s a sealant, paint, or stain. Be mindful of the drying times and number of coats recommended. Depending on climate, you’d want to ensure proper sealing for outdoor exposure.
FAQ
What tools do I need to build a potting bench?
You will need a circular saw, drill, sander, measuring tape, and safety gear.
How much time does it take to build a potting bench?
Most builders can complete this project in 4 to 6 hours, depending on your skill level.
Can I customize the potting bench design?
Absolutely! You can add shelves, hooks, drawers, or even a sink based on your needs.
Is the potting bench suitable for outdoor use?
Yes, with a proper finish, it can withstand outdoor conditions well.
What should I do if I cannot find pallets?
If pallets are unavailable, consider using plywood or reclaimed wood as alternatives.
How can I ensure my potting bench is durable?
Using quality wood treatments and ensuring proper assembly can greatly enhance durability.