
Introduction to DIY Lean-to Greenhouse
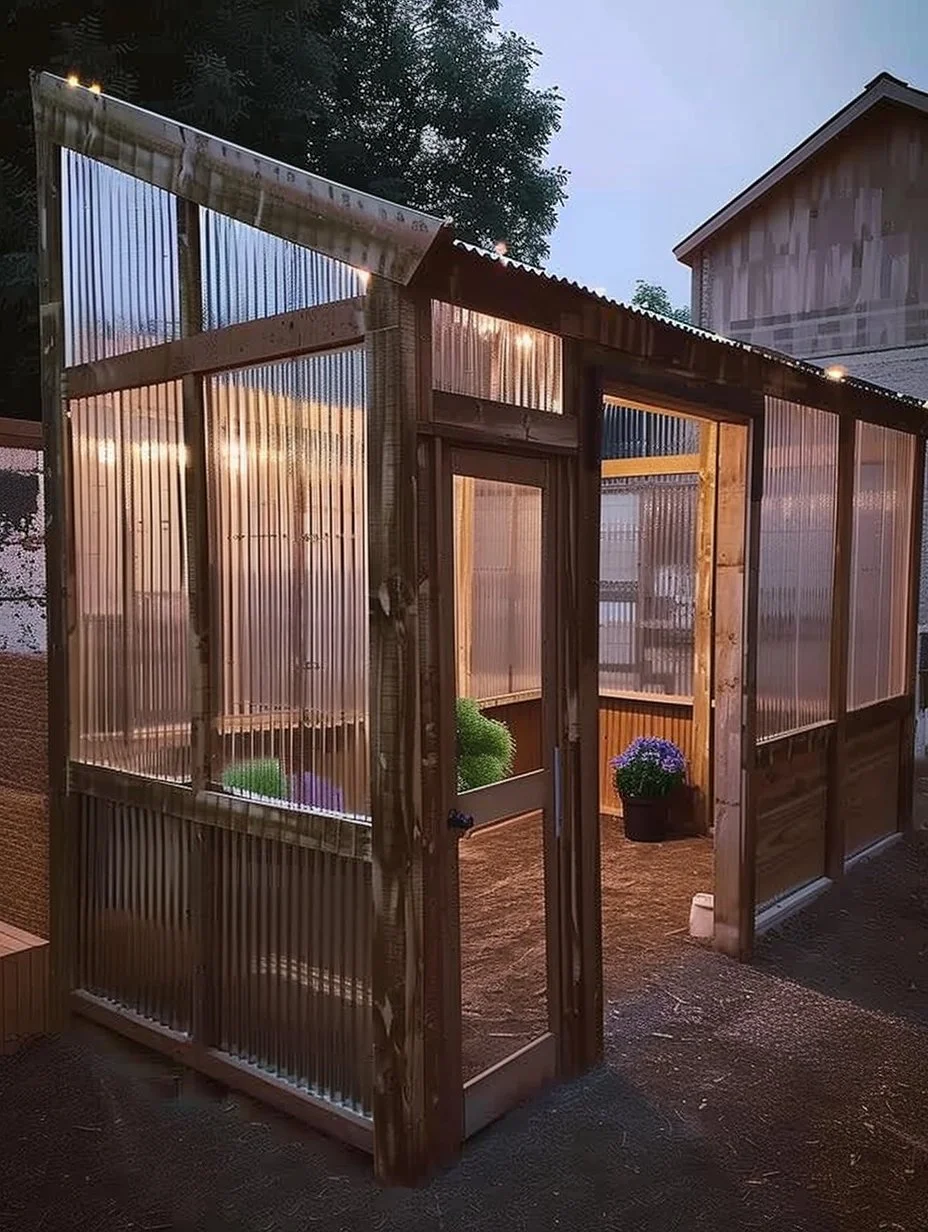
Have you ever dreamed of growing your own vegetables, herbs, or flowers right in your backyard? A DIY Lean-to Greenhouse could be the perfect solution for you. This build invites you to cultivate a thriving garden while maximizing your space efficiently. It’s not just a greenhouse; it’s a sanctuary for plants that can significantly extend your growing season.
Constructing a Lean-to Greenhouse is special because it cleverly utilizes existing structural elements, such as a garage or a wall of your home, to provide warmth and protection for your plants. This project is particularly affordable, often costing less than purchasing a pre-made greenhouse. It’s an outdoor project that can be tackled over a weekend, making it suitable for both novice and experienced DIY enthusiasts.
Imagine having a space where your plants can flourish, shielded from the elements but still enjoying the sun’s rays. In addition to being practical, the Lean-to design is space-efficient and strengthens your gardening journey by offering a designated area for planting. With a little time, effort, and creativity, you’ll create your own little slice of paradise where you can connect with nature.
Key Benefits of DIY Lean-to Greenhouse
Why You’ll Love This Build
- Durability: Built to withstand various weather conditions, ensuring your plants remain protected.
- Simplicity: The design is straightforward, making it accessible for all skill levels.
- Versatility: Suitable for a variety of plants, from delicate flowers to robust vegetables.
- Space-efficient: It makes the most of vertical space against a wall or building.
- Cost savings: Significantly less expensive than buying a prefabricated greenhouse.
- Improved plant growth: Creates an ideal microclimate for growing plants early in the season.
What Makes It Stand Out
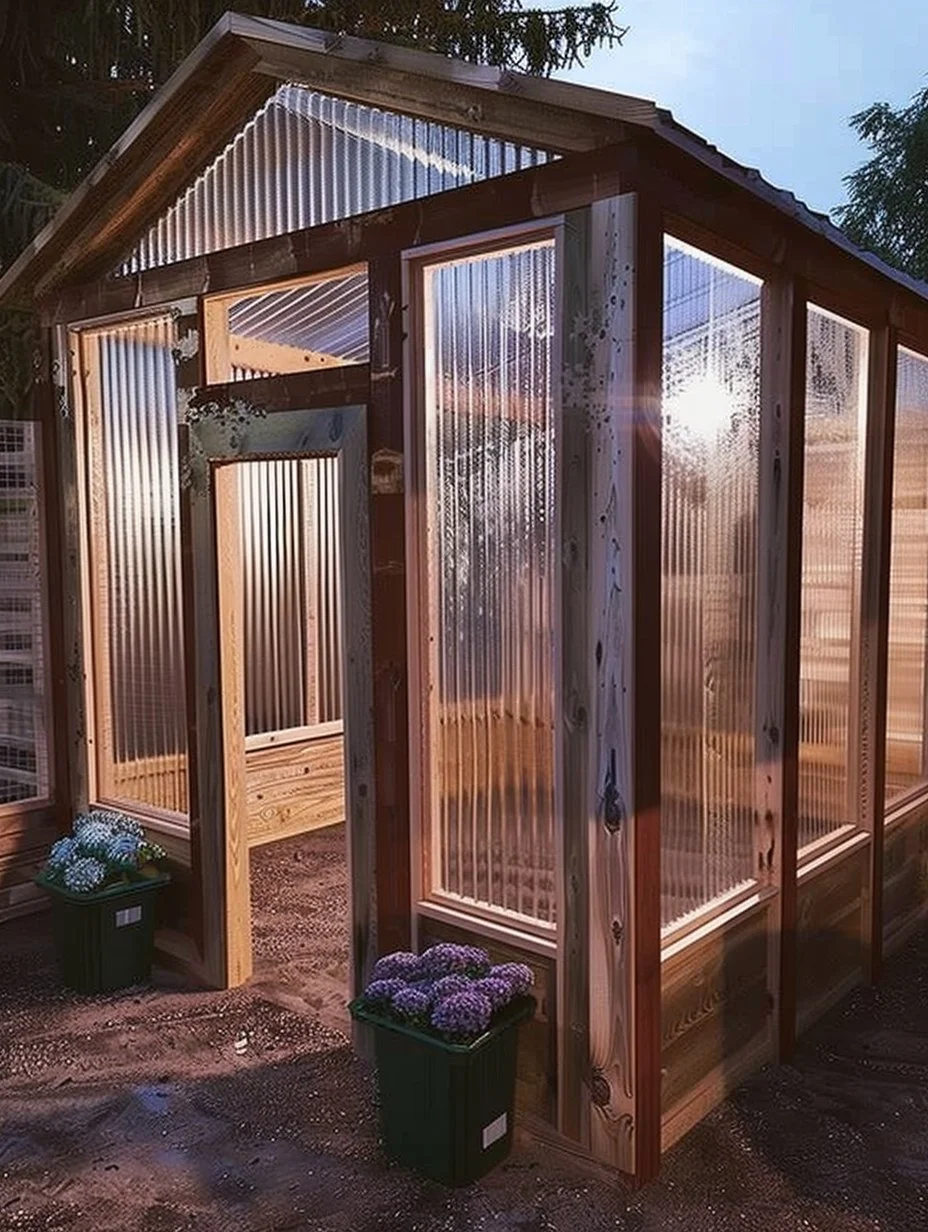
The DIY Lean-to Greenhouse stands out because it allows for fantastic customization options. You can adjust dimensions based on your available space and integrate features like ventilation systems and shelving to maximize usability. Its close proximity to your home means it’s easy to tend to your plants, making this project ideal for those with limited time.
This greenhouse shines in its originality. Instead of a freestanding structure that takes up yard space, the Lean-to utilizes existing buildings, blending seamlessly into the landscape. It’s a sustainable choice that also enhances your outdoor aesthetic.
Project Specs for DIY Lean-to Greenhouse
At-a-Glance Details
- Skill Level: Beginner to Intermediate
- Estimated Time: 1 weekend
- Estimated Cost (USD): $300 – $600
- Dimensions: Varies (typically around 8’ x 10’ / 243 cm x 305 cm)
- Indoor/Outdoor Suitability: Outdoor
- Tools Needed at a Minimum: Saw, drill, level
Materials and Tools for DIY Lean-to Greenhouse
Complete Materials List with Measurements
- Wood:
- 2×4 Lumber: 12 pieces, 8 feet (243 cm) long
- 1×6 Lumber: 8 pieces, 8 feet (243 cm) long (for side panels)
- Greenhouse Panels:
- Polycarbonate Panels: 8 sheets, 4 feet x 6 feet (122 cm x 183 cm)
- Fasteners:
- Wood screws: 1.5-inch (4 cm) – 1 box
- Hinges: 4 pieces
- Sealant:
- Weatherproof sealant
- Optional:
- Paint or stain for wooden elements
Complete Tools List
- Circular saw (or miter saw)
- Power drill
- Level
- Measuring tape
- Clamps
Substitutes and Alternatives
If you’re on a budget, consider using reclaimed wood for the frame. It adds character and can often be found at no cost. For panels, you could use plastic sheeting instead of polycarbonate for a more affordable option, though it may not be as durable. If you lack a power saw, a hand saw will suffice; just remember it will take a bit longer.
Cut List and Measurements for DIY Lean-to Greenhouse
- Vertical Supports:
- 2×4: 6 pieces at 7 feet (213 cm) – for side frame
- Top Frame:
- 2×4: 4 pieces at 8 feet (243 cm)
- Bottom Frame:
- 2×4: 4 pieces at 8 feet (243 cm)
- Side Panels:
- 1×6: 8 pieces at 6 feet (183 cm)
- Polycarbonate Panels:
- 8 sheets at 4 feet x 6 feet (122 cm x 183 cm)
Ensure that the grain of the wood runs vertically for strength. Use a 1/8” (3 mm) pilot hole for screws.
Safety and Prep for DIY Lean-to Greenhouse
While building your Lean-to Greenhouse, prioritize safety by wearing appropriate Personal Protective Equipment (PPE). This includes safety goggles, gloves, and a dust mask, especially while cutting wood or handling panels. Set up your workspace in a well-ventilated area to ensure the proper dispersal of sawdust and fumes.
Accuracy is key; always measure twice before cutting and use a level to ensure a straight build. Clamping pieces together while securing with screws will help maintain squareness and stability.
How to Build DIY Lean-to Greenhouse – Step-by-Step Directions
Step 1 – Prep and Layout
Begin by selecting a suitable wall against which to construct your greenhouse. Use a measuring tape to outline the dimensions of your Lean-to on the ground. Ensure it’s level and square by measuring diagonally across the corners.
Step 2 – Cut and Label Pieces
Using your circular saw, cut the 2x4s and 1x6s according to your cut list. Label each piece with a marker so that you can keep track as you assemble the various components.
Step 3 – Dry Fit and Mark Joinery
Before securing anything, do a dry fit of your pieces to ensure everything lines up correctly. Mark where your pilot holes need to be for screws, paying special attention to corners and joints.
Step 4 – Assemble the Frame/Body
Start assembling by attaching the vertical 2×4 pieces to the bottom frame using wood screws. Attach the top frame in the same manner, ensuring everything is square and level as you go.
Step 5 – Reinforce and Square
To reinforce the frame, add diagonal supports if desired. Check that your frame is square by measuring the diagonals. Adjust as necessary to eliminate any wobble.
Step 6 – Attach Surfaces or Panels
Once the frame is stable, begin attaching the side panels. Use wood screws to fasten the 1x6s in position. Be sure to leave spaces for polycarbonate panels.
Step 7 – Sanding and Edge Treatment
After assembly, sand any rough edges on the wood surfaces. Begin with a coarse grit and gradually move to finer grits for a smooth finish. Wipe away any dust with a damp cloth.
Step 8 – Finish Application
Apply weatherproof sealant to all exposed wood surfaces to protect against rot. If you choose to paint or stain, allow the first coat to dry according to the manufacturer’s instructions before applying a second coat.
Step 9 – Install Polycarbonate Panels
Fit the polycarbonate panels into their respective slots, securing them with screws and sealant to ensure an airtight fit.
Step 10 – Final Adjustments and Accessories
Once your panels are in place, add any additional features such as shelves or a door. Make sure everything is secured, and do some final checks for stability.
FAQ Section
What is a Lean-to Greenhouse? A Lean-to Greenhouse is a structure that is attached to an existing wall, utilizing the existing structure for support and warmth.
Can I build a Lean-to Greenhouse in a small yard?
Yes, because it maximizes vertical space and is attached to a wall, it is perfect for small yards.
How long does it take to build a Lean-to Greenhouse?
Typically, it can be assembled over one weekend by a DIY enthusiast.
Is a Lean-to Greenhouse cost-effective?
Absolutely. It’s often less expensive than buying a pre-fabricated greenhouse and can be made with reclaimed materials.
What types of plants can I grow in a Lean-to Greenhouse?
You can grow a wide range of plants, including vegetables, fruit, flowers, and herbs.
Do I need a permit to build a Lean-to Greenhouse?
Check with your local building authorities, as regulations may vary depending on your location.