
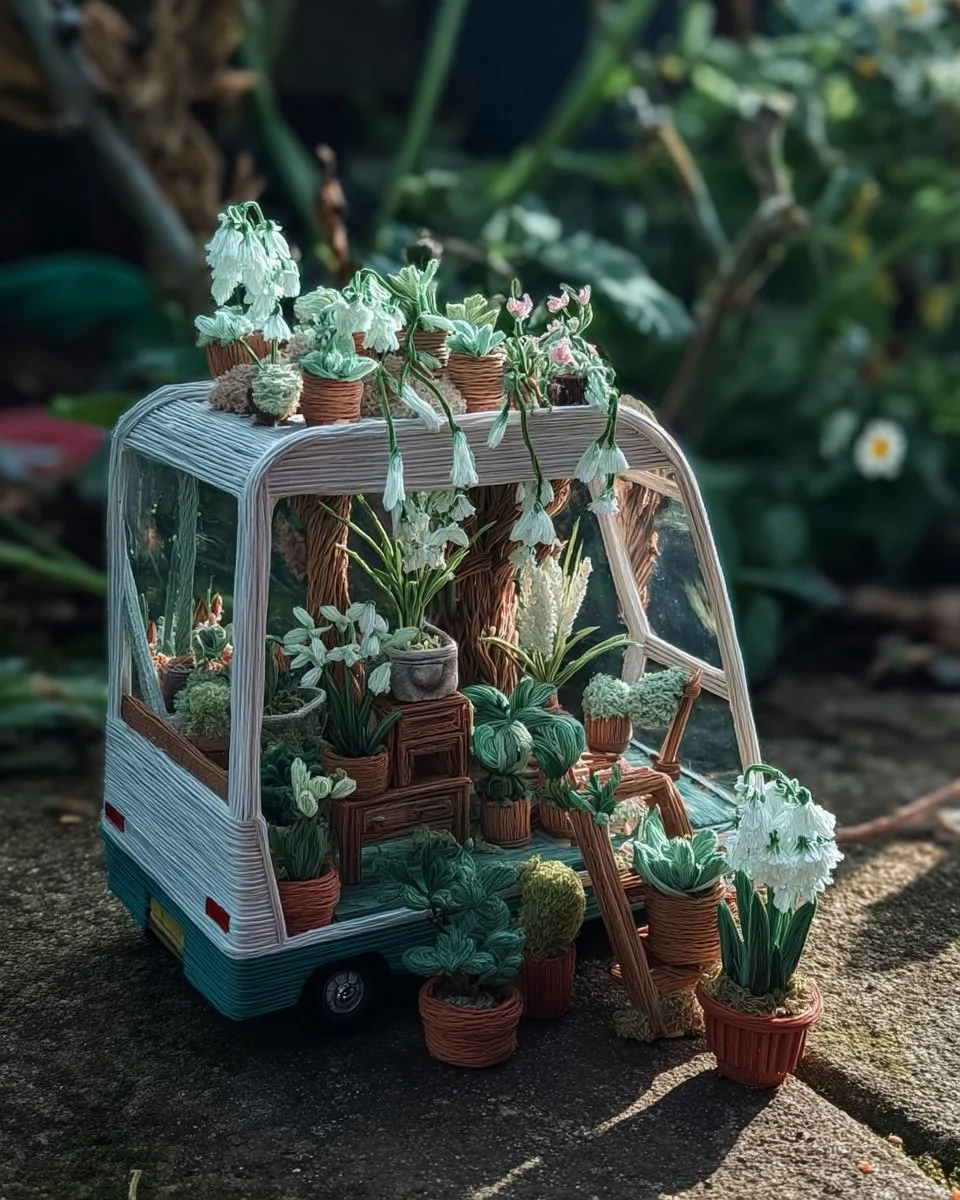
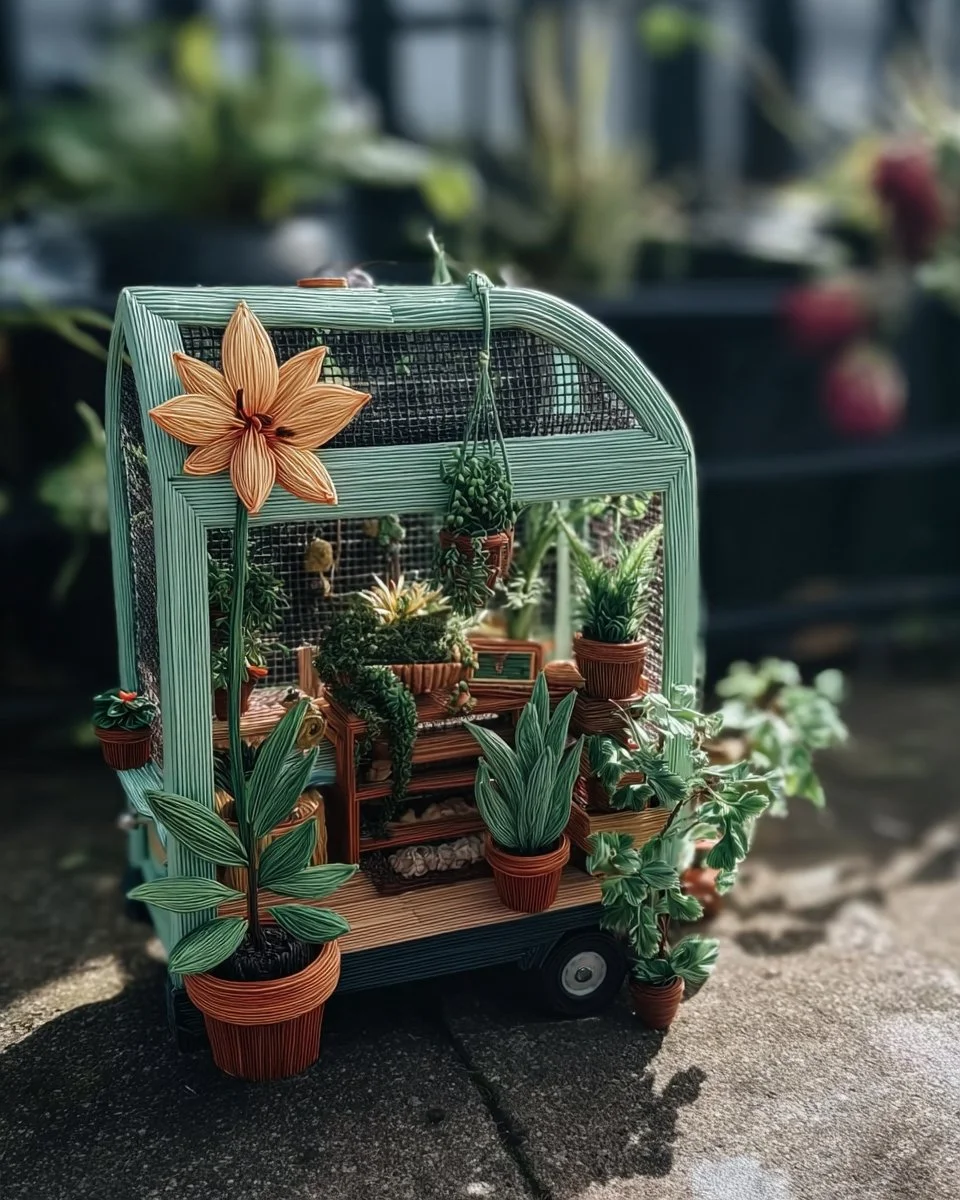
Introduction to Daily Creative Ideas
Are you tired of the same old craft projects that lack originality? Do you find yourself mindlessly scrolling through social media, looking for that perfect idea to spark your creativity? Welcome to the world of Daily Creative Ideas! This guide is designed to help you unlock a treasure trove of projects that are not only unique but also practical, affordable, and simple to execute. Imagine transforming your weekends into a flurry of creativity where you can create something beautiful, functional, or even whimsical, all while showcasing your artistic flair.
A key highlight of the Daily Creative Ideas is how accessible these projects are for everyone, regardless of your skill level. Whether you’re a seasoned DIY enthusiast or a complete beginner, there’s something here for you. Most of these projects can be completed in just a few hours and require minimal cost. Additionally, you can visually enhance your living space or make thoughtful gifts for friends and family.
What makes these Daily Creative Ideas truly special is their versatility. From indoor home decor to outdoor garden projects, you’ll find ideas that cater to various tastes and styles. And let’s not forget the satisfaction of creating something with your own hands. How often can you say that you made something completely from scratch? In the following sections, we’ll dive deeper into the benefits, uniqueness, and practical aspects of these creative ideas.
Table of Contents
Key Benefits of Daily Creative Ideas
Why You’ll Love This Build
- Durability: Projects are designed to stand the test of time, saving you money in the long run.
- Simplicity: Clear, step-by-step instructions make even complex builds manageable.
- Versatility: Perfect for a variety of styles and tastes, suiting both indoor and outdoor settings.
- Portability: Many projects can be adapted for different spaces or utilized in various ways.
- Weather Resistance: Some ideas include materials that hold up well against different weather conditions.
- Cost Savings: Create beautiful items without the premium price tag often seen in stores.
What Makes It Stand Out
Compared to store-bought items, Daily Creative Ideas stand out through their originality. Each project is a canvas for your creativity, allowing ample room for customization. You can alter colors, styles, or even repurpose materials to fit the aesthetic you’re aiming for. These projects also shine in their practicality; you can create functional items that enhance your daily life rather than just decorative pieces.
Moreover, by participating in these builds, you gain not only a crafted item but also a sense of accomplishment. Imagine the pride of crafting a beautiful, handmade bookend or a customized planter box. It’s an enriching experience that brings out your inner artist while also making your living space more personal and inviting.
Project Specs for Daily Creative Ideas
At-a-Glance Details
- Skill Level: Beginner to Intermediate
- Estimated Time: 2-4 hours
- Estimated Cost (USD): $20 – $100 (varies by project)
- Dimensions: Varies by project (customizable)
- Indoor/Outdoor Suitability: Most projects are versatile for both settings
- Tools Needed at a Minimum:
- Drill
- Saw (handsaw or power saw)
- Screwdriver
Materials and Tools for Daily Creative Ideas
Complete Materials List with Measurements
- Wood (Pine, Birch, or Cedar): 1″x 6″x 8′ (or equivalent in metric)
- Wood Glue: 1 bottle
- Screws: 1.25″ wood screws, quantity as needed
- Sandpaper: Various grits (60, 120, 220)
- Paint or Stain: 1 quart (or equivalent)
- Sealant: 1 quart (optional for outdoor projects)
Complete Tools List
- Drill: Cordless preferred for ease
- Saw: Either a handsaw or power saw for cutting wood
- Screwdriver: Phillips or flat-head based on screws used
- Measuring Tape: For accurate measurements
- Clamps: To hold pieces together during assembly
Substitutes and Alternatives
If you find certain materials hard to acquire, there are numerous substitutes available. Instead of cedar, consider using treated pine for outdoor projects, as it also withstands weather conditions well. For tools, if you’re on a budget, you can often rent power tools at local hardware stores.
When it comes to finishes, you can custom mix paint colors or try homemade natural stains using coffee, tea, or beet juice for a unique touch that’s eco-friendly.
Cut List and Measurements for Daily Creative Ideas
- Main Piece: 1″x 6″x 24″ (60 cm) – Cut to desired width and length
- Side Panels: 1″x 6″x 20″ (50 cm) – Adjust height as needed
- Top Surface: 1″x 6″x 28″ (70 cm) – Allow for overhang if desired
- Base Support: 1″x 4″x 24″ (60 cm) – For added stability
Make sure to pay attention to the grain direction while cutting wood. If you’re joining pieces, pre-drill holes to avoid splitting the wood.
Safety and Prep for Daily Creative Ideas
Before diving into your project, ensure you have the necessary personal protective equipment (PPE) such as safety glasses, gloves, and a mask if you’re sanding or working with chemicals. Set up a workspace that is clean, well-lit, and ventilated to avoid inhaling any dust or fumes.
Measuring accurately is crucial, so make sure to double-check your measurements before cutting. Use clamps to hold your pieces securely during assembly, and always follow safety protocols when operating tools to minimize risk.
How to Build Daily Creative Ideas – Step-by-Step Directions
Step 1 – Prep and Layout
Begin by gathering all necessary materials and tools. Lay out your workspace to ensure a clutter-free environment. Use a measuring tape to mark out the dimensions of your pieces on the wood, ensuring everything is squared correctly with a carpenter’s square.
Step 2 – Cut and Label Pieces
Using your saw, cut the marked pieces according to your cut list. It’s helpful to label each piece as you go, especially if you are working on multiple projects. Ensure your cuts are smooth for a better fit during assembly.
Step 3 – Dry Fit and Mark Joinery
Before applying any glue, perform a dry fit of all pieces to make sure everything aligns and fits properly. Mark where pilot holes will need to go to make assembly easier and prevent the wood from cracking.
Step 4 – Assemble the Frame/Body
Start assembling by applying wood glue to the edges that will be joined. Use screws to secure each piece, ensuring that they are tightly fitted. Use a drill with the appropriate bit to make your pilot holes before inserting screws, which helps maintain the integrity of the wood.
Step 5 – Reinforce and Square
Once the frame is assembled, check diagonal measurements to ensure everything is square. You can use a corner square or tape measure to verify that everything lines up correctly. This step is vital for stability.
Step 6 – Attach Surfaces or Panels
If your project involves surfaces or panels, now is the time to attach them. Again, use glue in addition to screws, spacing them evenly according to the project plan. Allow adequate curing time if you’re using glue for a strong bond.
Step 7 – Sanding and Edge Treatment
After assembly is complete, sand the entire project starting with a lower grit and moving to a finer one for a smooth finish. Pay special attention to edges and corners, as these areas often need additional smoothing.
Step 8 – Finish Application
Apply your chosen paint or stain using a brush or cloth. If you’re using an outdoor sealant, make sure it’s suited for the elements. Read the instructions on drying times and recoat if necessary to achieve the desired finish.
FAQ about Daily Creative Ideas
What types of materials can I use?
You can use various woods, recycled materials, or even fabric depending on your project.
Are these projects suitable for children?
Some projects can be modified for children, but adult supervision is advised for tool usage.
How long does it take to complete a project?
Most projects can be completed in 2-4 hours based on complexity.
Can I customize these ideas?
Absolutely! Feel free to adjust colors, sizes, and designs to suit your personal style.
What are good tools for beginners?
A drill, saw, measuring tape, and a screwdriver are essential starting tools.
How do I protect my finished piece?
Use a sealant to protect wood from moisture and damage, especially for outdoor projects.
Dive into the world of Daily Creative Ideas, and unleash your creativity. The possibilities are endless, and you may discover skills and interests you never knew you had!