
Introduction to Crochet House With Garden Free Patterns
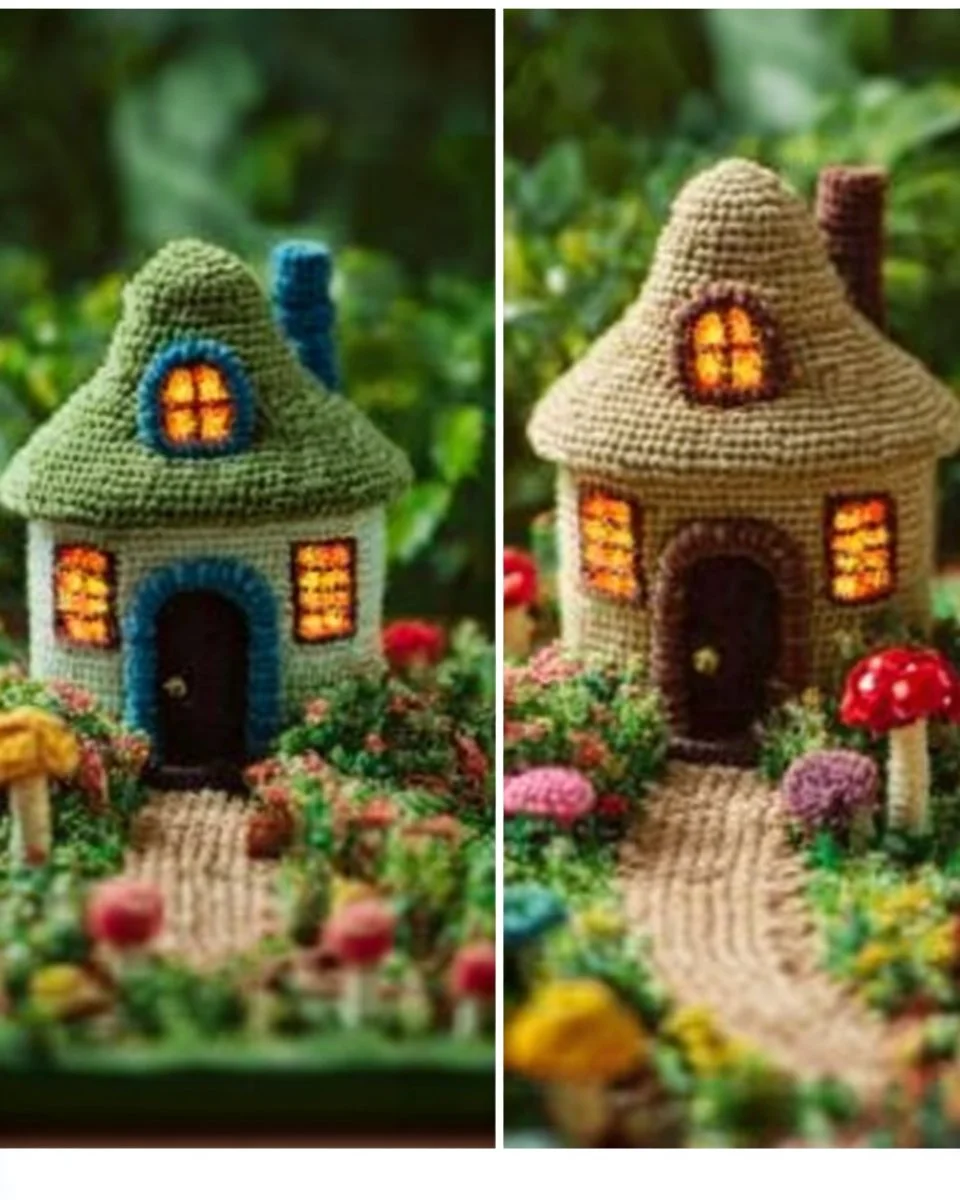
Have you ever dreamt of bringing a whimsical touch to your home or garden? A Crochet House With Garden Free Patterns is just the magical addition you need! This adorable crochet project allows you to express your creativity and crafting skills while creating something truly special. Imagine having a charming little crochet house nestled in your garden or displayed on a shelf, complete with cozy accessories—it’s bound to bring a smile to anyone who sees it.
Crafting this crochet project is not only fun but also practical. You can create stunning decor for both indoor and outdoor settings, making it an excellent choice for personalized gifts or even for your own collection. Plus, it’s an affordable project, costing far less than store-bought alternatives. Whether you are new to crocheting or a seasoned pro, the patterns are easy to follow and grant lots of room for customization.
In terms of time commitment, you can expect to spend a few hours on this project, depending on your speed and the intricacy of the designs you choose. The skill level required is beginner to intermediate, so don’t worry if you haven’t crocheted large pieces before. With some patience and practice, you’ll have a delightful crochet house ready to charm its onlookers!
Table of Contents
Key Benefits of Crochet House With Garden Free Patterns
Why You’ll Love This Build
- Durability: Made from yarn, these crochet houses withstand typical home or outdoor wear.
- Simplicity: Easy patterns make it approachable for all skill levels.
- Versatility: Customize your crochet house with different colors and accessories to match your style.
- Portability: Lightweight and compact for easy storage or transportation.
- Weather Resistance: Use outdoor-safe yarns to display them in gardens without fear.
- Cost Savings: Homemade creations often come at a fraction of buying premade items.
What Makes It Stand Out
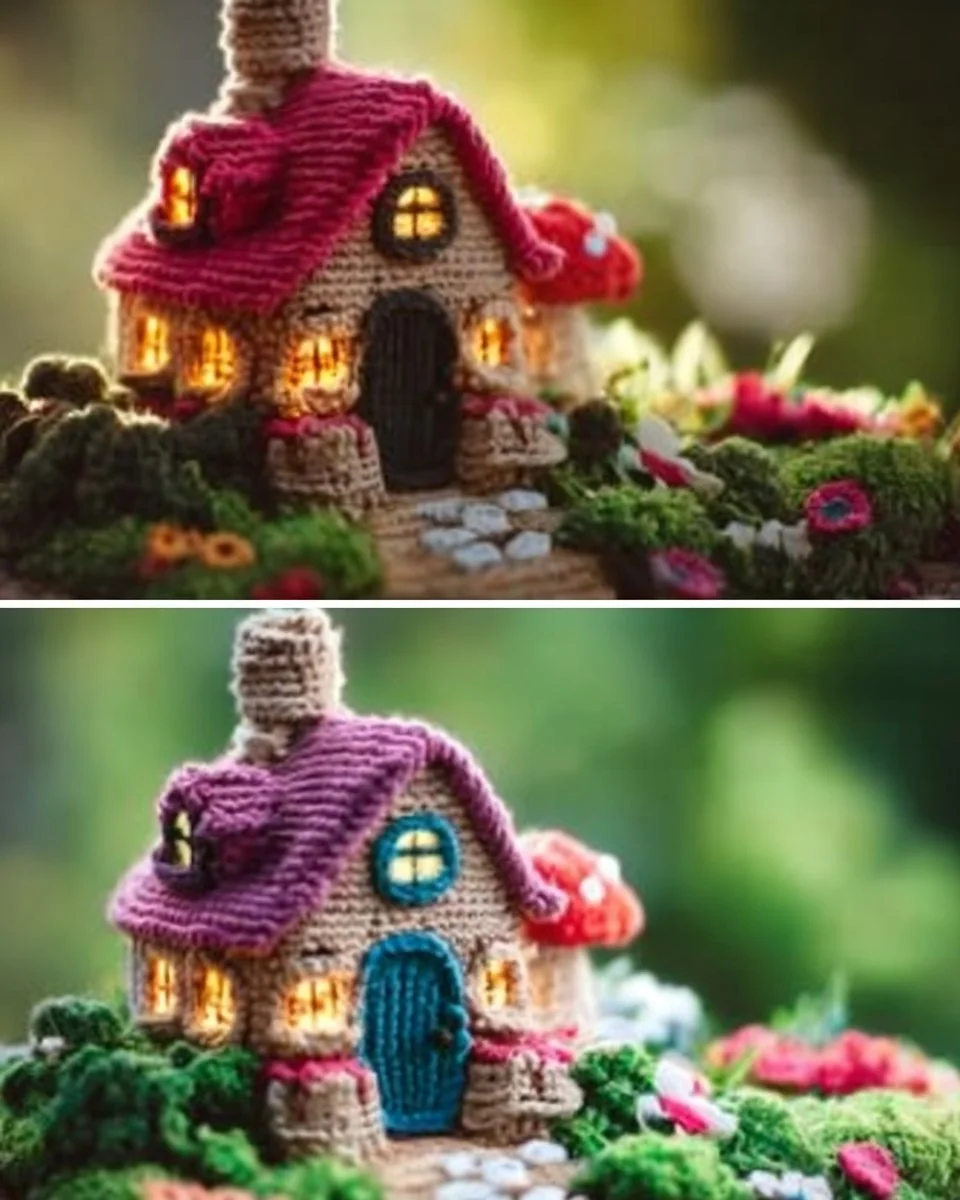
The Crochet House With Garden Free Patterns stands out thanks to its unique blend of artistry and functionality. You can craft one in various colors and styles suited to your personal aesthetic, making it unlike anything available in stores. Plus, they are perfect conversation starters or gifts for friends and family. Imagine the smiles on their faces when they receive a handmade, thoughtful present that they can display proudly.
Customization options are virtually endless. Feel free to experiment with different yarn types, embellishments, and stitch patterns to create a piece that truly reflects your personality. This adaptability makes it ideal for various uses—be it as a decorative item in your home, a unique garden accent, or a gift for a special occasion.
Project Specs for Crochet House With Garden Free Patterns
At-a-Glance Details
- Skill Level: Beginner to Intermediate
- Estimated Time: 4-6 hours
- Estimated Cost (USD): $20-$30
- Dimensions: 12” x 10” x 8” (30 cm x 25 cm x 20 cm)
- Indoor/Outdoor Suitability: Both (depending on yarn choice)
- Tools Needed at a Minimum: Crochet hook, scissors, yarn needle.
Materials and Tools for Crochet House With Garden Free Patterns
Complete Materials List with Measurements
- Yarn: Approximately 400-600 yards of worsted weight yarn in various colors (consider cotton or acrylic).
- Stuffing: 1 bag of polyester fiberfill for added structure.
- Embellishments: Beads, buttons, or embroidery floss for decoration.
- Optional: Wire or plastic canvas for extra stability (especially for outdoor use).
Complete Tools List
- Crochet Hook: Size H (5 mm) or size appropriate for your yarn.
- Scissors: For yarn cutting and trimming.
- Yarn Needle: For weaving in ends and assembling pieces.
- Measuring Tape: For accuracy in size.
- Tapestry Needle: For detailed embroidery or securing embellishments.
Substitutes and Alternatives
If you’re looking to save costs or adjust materials based on what’s available, don’t hesitate to substitute yarn types; just ensure that the weight remains similar. For example, if you can’t find wool or cotton, acrylic yarn is an excellent versatile option that works well and is often more affordable.
For tools, if you don’t have a favorite crochet hook size, simply adjust your hook based on yarn recommendations—just remember that size affects the final product’s tightness and drape. If you want to be more sustainable, consider using leftover yarn scraps for smaller projects to avoid waste.
Cut List and Measurements for Crochet House With Garden Free Patterns
- Base: 1 piece of 12” x 10” (30 cm x 25 cm) for the house foundation.
- Walls: 4 pieces of 10” x 8” (25 cm x 20 cm) for the house sides.
- Roof: 2 triangular pieces measuring 10” x 8” (25 cm x 20 cm) with a base of 12” (30 cm).
- Door: 1 piece of 4” x 6” (10 cm x 15 cm) for the door.
- Windows: 2 pieces measuring 3” x 3” (7.5 cm x 7.5 cm).
Make sure to weave in any ends and secure your pieces thoroughly during assembly. If you are using embellishments, be creative in adding these details at the end.
Safety and Prep for Crochet House With Garden Free Patterns
Before diving into your crochet project, ensure your workspace is organized. Have all your materials and tools accessible and set up a comfortable chair and good lighting to avoid straining your eyes. Always wear reading glasses if necessary!
Mark your yarn lengths and keep measuring tape handy; accuracy is essential for ensuring that pieces fit together nicely. If your pattern involves complex stitches, practice on a scrap piece of yarn first. Keep your workplace ventilated, especially if you’re using any finishing sprays or glues.
How to Build Crochet House With Garden Free Patterns – Step-by-Step Directions
Step 1 – Prep and Layout
Start by gathering all your materials and tools. Plan your color scheme and decide on any embellishments you want to feature.
Step 2 – Cut and Label Pieces
Cut all your pieces based on the measurements provided in the cut list. Label each piece if necessary to keep track and ensure nothing gets mixed up.
Step 3 – Dry Fit and Mark Joinery
Before assembling, lay out your pieces to visualize how they fit together. Ensure they align correctly and make any necessary adjustments.
Step 4 – Assemble the Frame/Body
Begin crocheting the body of the house. Use the appropriate stitches to join walls and base, maintaining even tension for a sturdy structure.
Step 5 – Reinforce and Square
Check that all angles are square. You can add rows of stitching around the base if more stability is needed. Adjust as necessary for any uneven edges.
Step 6 – Attach Surfaces or Panels
Crochet the roof using the triangular shapes. Ensure that it’s firmly attached and fits snugly on top of the structure.
Step 7 – Sanding and Edge Treatment
Although this step is typically for wooden projects, here, ensure any edges are neatly finished off. Weave in all ends and secure your work to prevent unraveling.
Step 8 – Finish Application
Add any final touches, such as sewn-on embellishments, painted doors, or windows. Allow any glue or paint to dry according to the manufacturer’s instructions before displaying your crochet house.
Frequently Asked Questions
What yarn should I use for outdoor displays?
Look for UV-resistant and weatherproof yarn, typically acrylic or cotton blends.
How long does it take to complete the project?
Expect to spend about 4-6 hours, but this may vary based on your experience level and the complexity of your design.
Can I wash my crochet house?
Yes, but it’s best to hand wash and air dry to maintain its shape and size.
Are there any advanced techniques involved?
While it’s beginner-friendly, understanding basic crochet stitches will help enhance your finished piece.
Can I modify the patterns?
Absolutely! Feel free to adjust dimensions or colors to create a unique version that fits your personal style.