
Introduction to 16+ Creative Fence Post Decoration Ideas
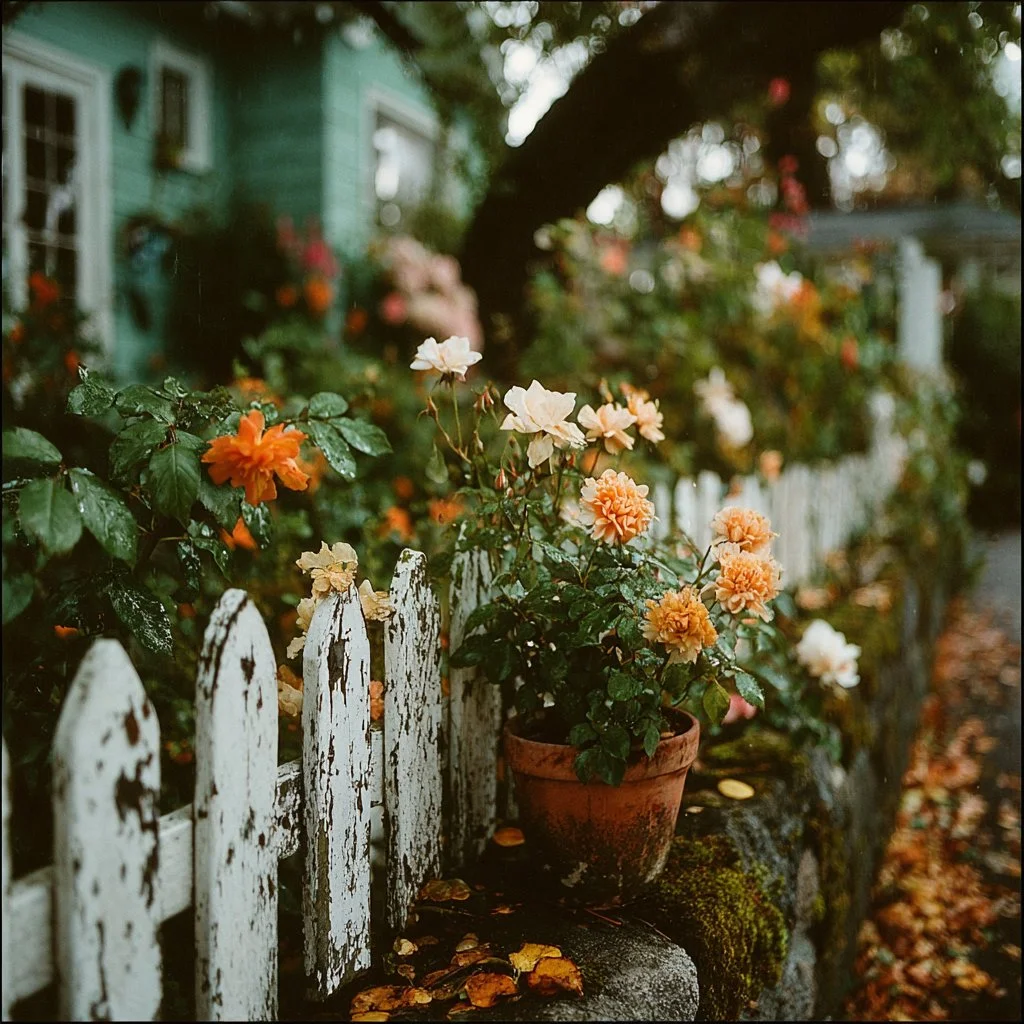
Have you ever gazed at your fence and thought it needed a little something extra? The fences that surround our homes often feel plain and neglected. However, dressing up your fence posts can instantly transform them into eye-catching focal points. Explore the world of 16+ Creative Fence Post Decoration Ideas that cater to various tastes and styles, from rustic charm to modern flair.
What makes these decoration ideas truly special? They are not only practical but also affordable, allowing you to enhance your outdoor space without breaking the bank. Whether you’re keen on a DIY weekend project or looking to add a unique touch to your garden, these ideas can elevate your fence’s appeal. With a mix of creativity and craftsmanship, you can create a stunning outdoor environment that reflects your individual style.
Projects like these can typically be completed in just a few hours, making them perfect for an afternoon of fun. Plus, you don’t need advanced skills to bring these ideas to life. They cater to every skill level, from beginners picking up tools for the first time to seasoned DIY enthusiasts. The satisfaction of creating something beautiful for your outdoor space is simply irresistible.
Key Benefits of 16+ Creative Fence Post Decoration Ideas
Why You’ll Love This Build
- Adds character to your outdoor space.
- Increases curb appeal and property value.
- Encourages creativity and custom expression.
- Affordable ways to personalize your garden.
- Quick projects that don’t require advanced skills.
- Versatile ideas suitable for all seasons and styles.
What Makes It Stand Out
One of the standout features of these 16+ Creative Fence Post Decoration Ideas is their originality. Each idea offers unique ways to express your personality and creativity, allowing your home to stand out in the neighborhood. Whether you opt for flower pots, fairy lights, or repurposed materials, there are endless possibilities for showcasing your style.
Customization is another important element. You can mix and match ideas or use color schemes that complement your home’s exterior. Unlike many store-bought options, these projects allow for a level of personalization that mass-produced decorations cannot match. From whimsically painted posts to elegant floral arrangements, decorate your fence posts to reflect your taste and personality.
Project Specs for 16+ Creative Fence Post Decoration Ideas
At-a-Glance Details
- Skill Level: Beginner to Intermediate
- Estimated Time: 3-5 hours
- Estimated Cost: $50 – $150 (depending on materials)
- Dimensions: Varies by design; typically 6-8 feet tall (1.8 – 2.4 meters)
- Indoor/Outdoor Suitability: Outdoor only
- Tools Needed: Drill, saw, measuring tape
Materials and Tools for 16+ Creative Fence Post Decoration Ideas
Complete Materials List with Measurements
- Wooden planks (1×4 inches, 10 feet long) for decorative patterns
- Outdoor wood paint or stain (1 quart)
- Garden pot (various sizes) for planters
- Twinkling fairy lights (100-200 lights) for illumination
- Decorative stones or pebbles (5 pounds)
- Adhesive or wood glue (1 bottle)
- Sandpaper (various grits)
- Weatherproof sealant (1 quart)
Complete Tools List
- Drill (cordless or corded)
- Saw (hand saw or power saw)
- Measuring tape (at least 25 feet)
- Paintbrushes or rollers (for paint/stain application)
- Clamps (to secure pieces while working)
Substitutes and Alternatives
You can swap traditional wooden posts with PVC or metal options for more durability, depending on climate. For paints, consider using eco-friendly options to minimize environmental impact. If you want to save on costs, check your local thrift shops for reclaimed materials or even discarded items that can be repurposed creatively.
Cut List and Measurements for 16+ Creative Fence Post Decoration Ideas
- Wooden planks:
- 4 pieces at 36 inches (91 cm) for decorative designs
- 2 pieces at 72 inches (183 cm) for vertical mounting
- Garden pot supports:
- 2 pieces at 12 inches (30 cm) for horizontal brackets
- Surface area for lights:
- Depending on the layout, cut 2-3 pieces at 24 inches (61 cm) for attaching fairy lights.
Safety and Prep for 16+ Creative Fence Post Decoration Ideas
Safety is crucial when working on your fence post decorations. Always wear personal protective equipment (PPE) like safety glasses and gloves to protect against splinters and debris. Setting up your workspace in an open, well-ventilated area is vital, ensuring ample lighting and space to organize your materials and tools.
Before starting, measure your fence posts accurately, marking them with a pencil for precision. Clamping components together while working ensures good quality joins and avoids accidents. This preparation sets you up for success and keeps the project enjoyable.
How to Build 16+ Creative Fence Post Decoration Ideas – Step-by-Step Directions
Step 1 – Prep and Layout
Begin by assessing your fence posts, deciding on the motifs or designs you want to implement. Once that’s determined, lay out your materials on the ground to get an idea of your arrangement. Make sure everything is square and fits the measurements you’ve marked.
Step 2 – Cut and Label Pieces
Using the saw, carefully cut your wooden pieces to the specified lengths. Label each piece according to its use – like “decorative top,” “support bracket,” or “light holder” – to avoid confusion later.
Step 3 – Dry Fit and Mark Joinery
Before gluing or drilling, assemble your pieces without adhesive. Check for fit, align angles properly, and mark any joinery spots for pilot holes. This step ensures accuracy and makes assembly easier.
Step 4 – Assemble the Frame/Body
Using the drill, begin assembling the main structure of your decorations. Secure the components with screws or adhesive as needed, ensuring that you do not overtighten and damage the wood.
Step 5 – Reinforce and Square
Reinforce your frame by double-checking for squareness. Use a measuring tape to check diagonal measurements; they should match. This prevents wobbliness and ensures your decorations are sturdy.
Step 6 – Attach Surfaces or Panels
Once your structure is stable, attach any panels or surfaces where you plan to add decorations. Ensure you leave enough space for plants or lights and securely fasten them with clamps until the glue sets.
Step 7 – Sanding and Edge Treatment
Use sandpaper beginning with a coarse grit, then progressing to finer grits for a smooth finish around the edges. This step is critical if you want to avoid splinters later on when handling your creation.
Step 8 – Finish Application
Apply your chosen outdoor paint or stain, using long, even strokes. Depending on the product, you may need multiple coats; be sure to allow ample drying time between applications. Once satisfied, apply a weatherproof sealant to protect your efforts against the elements.
FAQ
What materials are best for outdoor fence post decorations?
Using weather-resistant materials like treated wood or synthetic alternatives helps ensure your decorations last longer.
Can I use these ideas for any type of fence?
Yes, these ideas can work for wood, vinyl, or metal fences; you just need to adjust the materials accordingly.
How often should I maintain my fence post decorations?
Regularly check for damage or wear, and be prepared to repaint or re-seal them every few years for optimal durability.
Can I incorporate lights into my designs?
Absolutely! Adding fairy lights or solar-powered lamps is a fantastic way to enhance your fence post decorations, especially at night.
Where can I find unique decorative items for my posts?
Thrift shops, garage sales, and craft stores often have unique items that can be repurposed for your fence post decorations.