
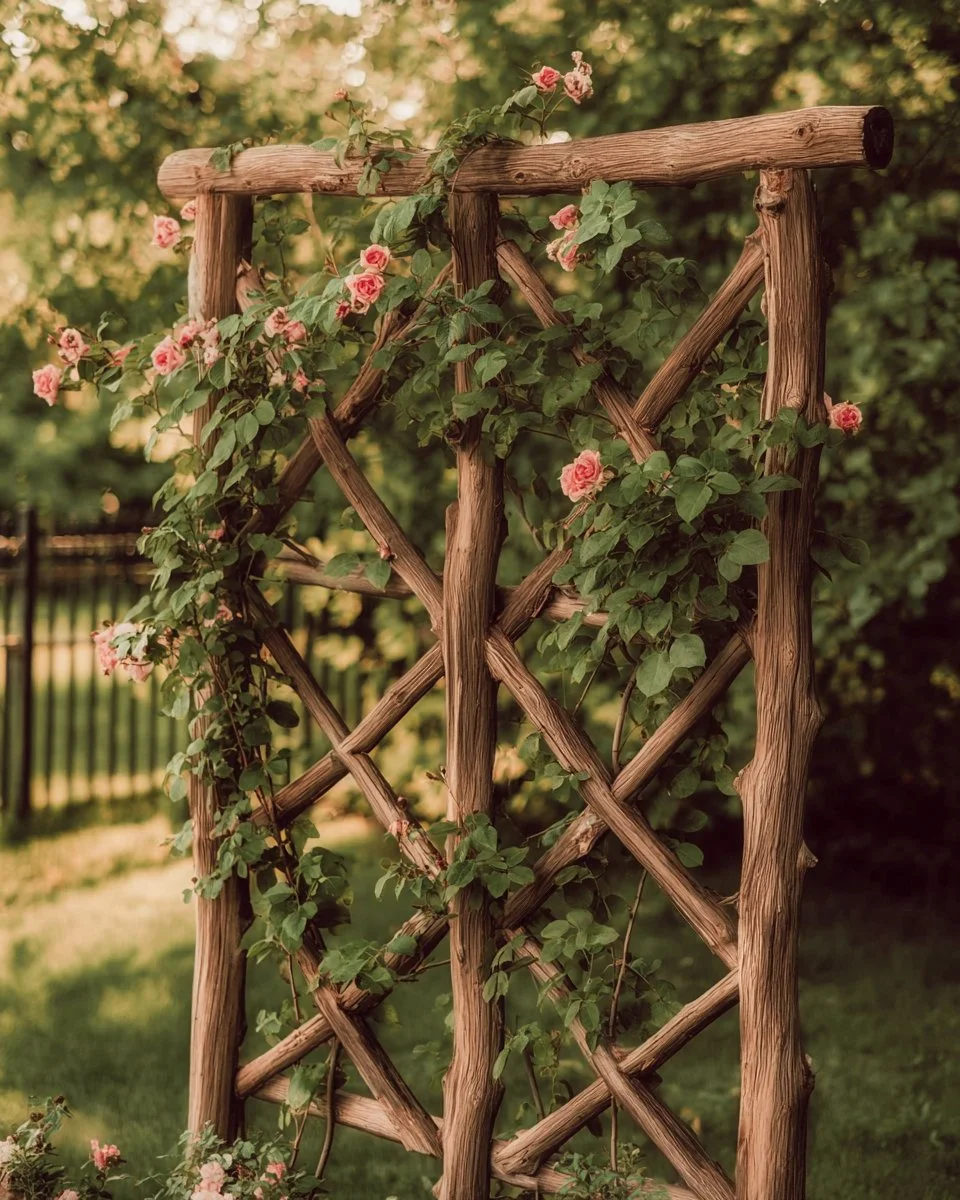
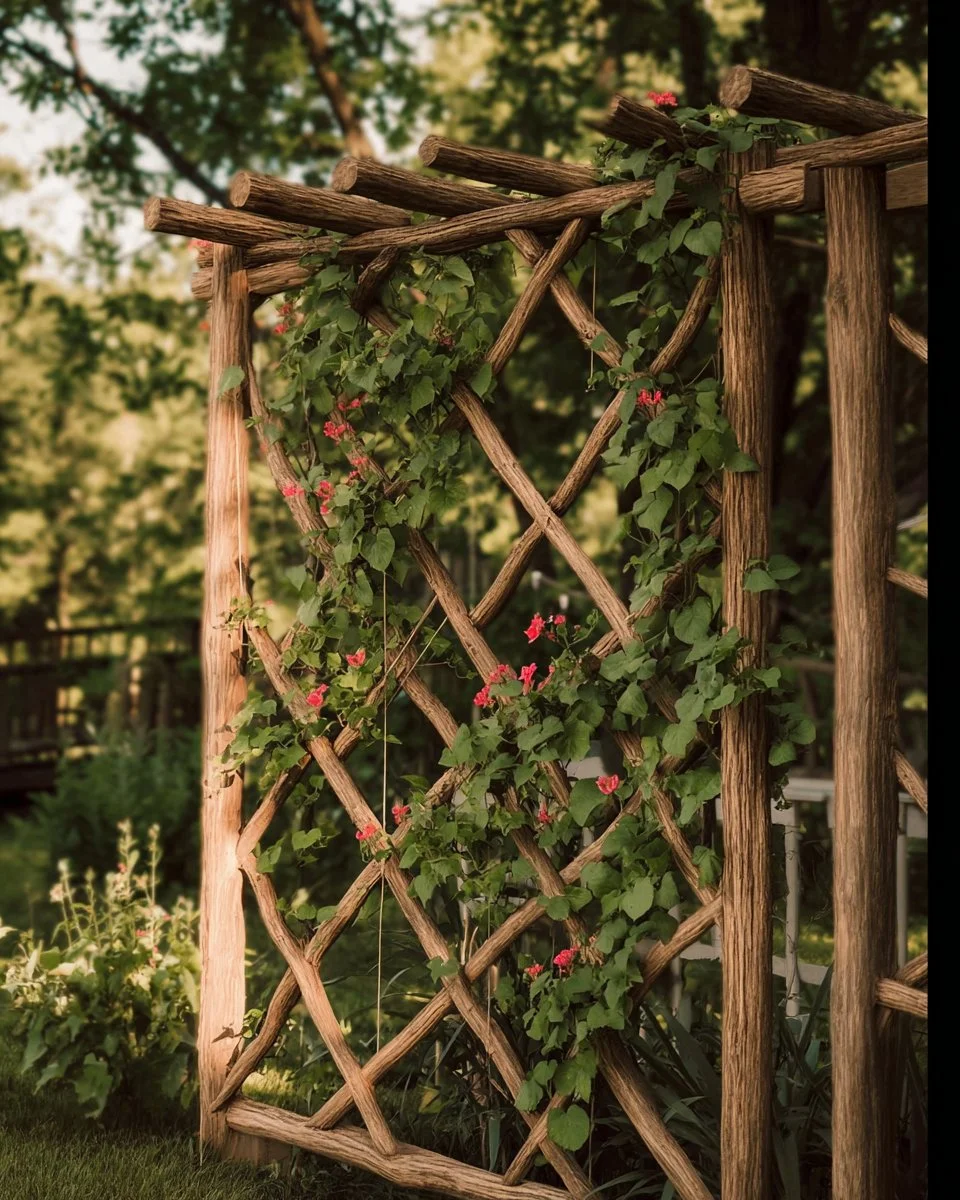
Introduction to 10 Innovative DIY Garden Trellis Ideas
Are you looking to transform your garden into a tranquil oasis? A trellis might be just what you need. With 10 Innovative DIY Garden Trellis Ideas, you can create beautiful vertical structure that not only supports climbing plants but also adds visual interest to your outdoor space. Imagine the sight of vibrant flowers or luscious vegetables climbing gracefully upwards, providing both shade and beauty.
What sets these trellis ideas apart is their adaptability. Whether you’re working with a small balcony or a sprawling backyard, there’s a project here for you. Plus, these builds are practical, affordable, and many can be completed in a weekend. With varying levels of complexity, from simple lattice structures to artistic designs, these trellis ideas cater to DIY enthusiasts of all skill levels. You don’t need to break the bank to add charm to your garden.
Table of Contents
Key Benefits of 10 Innovative DIY Garden Trellis Ideas
Why You’ll Love This Build
- Durable: Crafted from quality materials, these trellises will withstand the test of time.
- Simplicity: Most designs are straightforward, making them approachable for beginners.
- Versatile: Suitable for a wide range of climbing plants, from flowers to vegetables.
- Portability: Many trellises can be easily moved if you want to change your garden layout.
- Weather-resistant: Constructed to endure diverse weather conditions, ensuring longevity.
- Cost-saving: DIYing your trellis can be vastly cheaper than purchasing pre-made alternatives.
What Makes It Stand Out
These trellis ideas shine in their originality and customization options. Unlike store-bought versions, which often come in standard sizes and styles, these DIY projects allow you to personalize your trellis to fit your garden design perfectly. You can choose materials, colors, and even shapes that reflect your individual style.
Additionally, these trellis designs are often more robust and tailored to the specific plants you want to grow. This targeted approach frequently results in healthier plants and a more visually appealing garden.
Project Specs for 10 Innovative DIY Garden Trellis Ideas
At-a-Glance Details
- Skill Level: Beginner to Intermediate
- Estimated Time: 1–2 weekends
- Estimated Cost: $50–150 USD
- Dimensions: Varies; typically 4-8 feet (1.2-2.4 meters) high
- Indoor/Outdoor Suitability: Outdoor only
- Tools Needed at a Minimum: Saw, drill, measuring tape
Materials and Tools for 10 Innovative DIY Garden Trellis Ideas
Complete Materials List with Measurements
- Wood Lattice Panels: 4 (each 4×8 feet / 1.2×2.4 meters)
- Treated Lumber: 2×4 inches, 8 feet long (2 pieces)
- Wood Screws: 3-inch screws (1 box)
- Concrete Mix: 1 bag (for securing the base)
- Wood Stain/Paint: Optional, depending on your design preference
Complete Tools List
- Circular Saw: For cutting wood to the desired lengths
- Drill: To drive screws and create pilot holes
- Measuring Tape: Essential for accurate measurements
- Level: To ensure the trellis is upright
- Safety Gear: Safety glasses and gloves for protection
Substitutes and Alternatives
If you’re working within a tight budget, consider using reclaimed wood or untreated lumber that is available at local salvage yards. This can dramatically lower costs while adding unique character to your trellis. For tools, if you don’t own a circular saw, rental options are available at most home improvement stores. As for finishes, any weather-resistant exterior paint can suffice in place of high-end wood stain if you’re looking for affordability.
Cut List and Measurements for 10 Innovative DIY Garden Trellis Ideas
- Vertical Posts: 2 pieces at 6 feet (1.8 meters)
- Horizontal Support Beams: 2 pieces at 4 feet (1.2 meters)
- Lattice Panels: 4 pieces at 2 feet (0.6 meters) to fit between beams
- Note grain direction when cutting lumber to minimize warping.
Safety and Prep for 10 Innovative DIY Garden Trellis Ideas
Before you start, ensure you have appropriate personal protective equipment (PPE). Safety glasses and gloves are crucial when using power tools. Set up your workspace in a well-ventilated area and organize your materials for easy access. Accurate measuring and marking is essential; take the time to double-check your dimensions. Clamping pieces securely during assembly ensures better safety and more precise joining.
How to Build 10 Innovative DIY Garden Trellis Ideas – Step-by-Step Directions
Step 1 – Prep and Layout
Start by selecting the location for your trellis. Clear any obstructions such as weeds or rocks, and use a measuring tape to mark the area where the trellis will stand. Ensure the planned area receives ample sunlight for plants to thrive.
Step 2 – Cut and Label Pieces
Using a circular saw, cut your wood to the specified lengths from the cut list. Label each piece as you cut them to facilitate the assembly process later. Make sure to handle the saw carefully and follow all safety guidelines.
Step 3 – Dry Fit and Mark Joinery
Assemble your cut pieces without fastening them together. Check for fit and ensure everything aligns properly. Mark where you’ll need to drill pilot holes for the screws to avoid splitting the wood during assembly.
Step 4 – Assemble the Frame/Body
Begin by attaching the horizontal support beams to the vertical posts using wood screws. If assembling outdoors, ensure your frame is square by measuring diagonals; both measurements should be equal. Use the drill to secure screws firmly.
Step 5 – Reinforce and Square
Once the frame is assembled, check again for squareness. Adjust as necessary to prevent any racking. If needed, add diagonal braces to each corner for extra stability.
Step 6 – Attach Surfaces or Panels
Now, attach the lattice panels securely to the frame using additional wood screws. Space the screws evenly for a uniform look. Allow any adhesive to cure fully if applicable, as directed by the manufacturer.
Step 7 – Sanding and Edge Treatment
Using a sander, smooth all surfaces and edges to prevent splinters. Start with a lower grit and work your way up to a finer grit, ensuring a polished finish. Clean any dust away with a damp cloth.
Step 8 – Finish Application
If desired, apply wood stain or paint to protect your trellis from the elements. Follow the product instructions for drying and re-coat times. Ensure each coat is dry before re-applying, particularly if you are painting in humid conditions.
FAQ
What materials should I use for my trellis?
Cedar or redwood are excellent choices as they resist rot well.
Regular treated lumber also works for budget-friendly projects. How can I secure my trellis in the ground?
Dig a hole deep enough to accommodate the base of the posts, then fill with concrete for a stable foundation.
Can I use this trellis for vegetables?
Absolutely! Trellis structures are great for supporting climbing vegetables like tomatoes and peas.
How long will this build take?
Depending on your experience, expect to spend 1-2 weekends building your trellis.
Do I need to treat the wood before assembly?
It’s not required if using treated lumber, but applying a sealant can enhance longevity.
What plants work best for climbing on a trellis?
Consider using climbing roses, clematis, or pole beans—they are all visually appealing and flourish well on trellises.