
Introduction to How to Build a DIY Worm Composting Bin in Simple Steps
Have you ever wondered how to reduce waste while creating nutrient-rich compost for your garden? Building a DIY worm composting bin is not just a sustainable solution; it’s an engaging project that can transform your kitchen scraps into “black gold.” Imagine having an eco-friendly way to dispose of your food waste while simultaneously enriching your garden soil. This project stands out due to its affordability and unique approach to recycling waste.
With just a few materials and tools, you can have a fully functional worm bin ready before you know it. The best part? You don’t need to be a master carpenter; anyone with basic DIY skills can handle this project in a weekend. The estimated cost is minimal, making this an excellent option for anyone looking to indulge in sustainable gardening practices.
Whether you’re looking to start worm composting indoors or outside, this guide will take you through the entire process. Ready to dive in?
Table of Contents
Key Benefits of How to Build a DIY Worm Composting Bin in Simple Steps
Why You’ll Love This Build
- Easy to Make: The step-by-step instructions are straightforward, even for beginners.
- Space-Efficient: The bin can fit in small spaces, making it ideal for apartments or limited outdoor areas.
- Cost Effective: You can use mostly recycled materials, saving money compared to store-bought bins.
- Environmentally Friendly: Reduces landfill waste while providing natural fertilizer.
- Customizable: Tailor the bin size and design according to your specific needs.
- Educational: Great for teaching kids about composting and sustainability.
What Makes It Stand Out
This DIY worm composting bin project allows for originality and a personal touch. Unlike store-bought alternatives, you can customize the size and materials according to your preferences and space. You’re also in control of the cost, as you can use recycled materials to make your bin. The project shines in its adaptability, whether you’re an urban gardener looking for indoor solutions or someone with ample outdoor space needing a larger setup.
Project Specs for How to Build a DIY Worm Composting Bin in Simple Steps
At-a-Glance Details
- Skill Level: Beginner
- Estimated Time: 2-3 hours
- Estimated Cost: $20-$50 USD
- Dimensions: 24” x 16” x 12” (61 cm x 41 cm x 30.5 cm)
- Indoor/Outdoor Suitability: Suitable for both indoor and outdoor use
- Tools Needed at a Minimum:
- Drill
- Saw (handsaw or jigsaw)
- Screwdriver
Materials and Tools for How to Build a DIY Worm Composting Bin in Simple Steps
Complete Materials List with Measurements
- Plastic storage bin (20-30 gallons): for the main body of the composting bin.
- Wooden slats (1” x 2” x 8’): to create the structure if desired.
- Worm bedding (shredded newspaper or cardboard): as habitat for the worms.
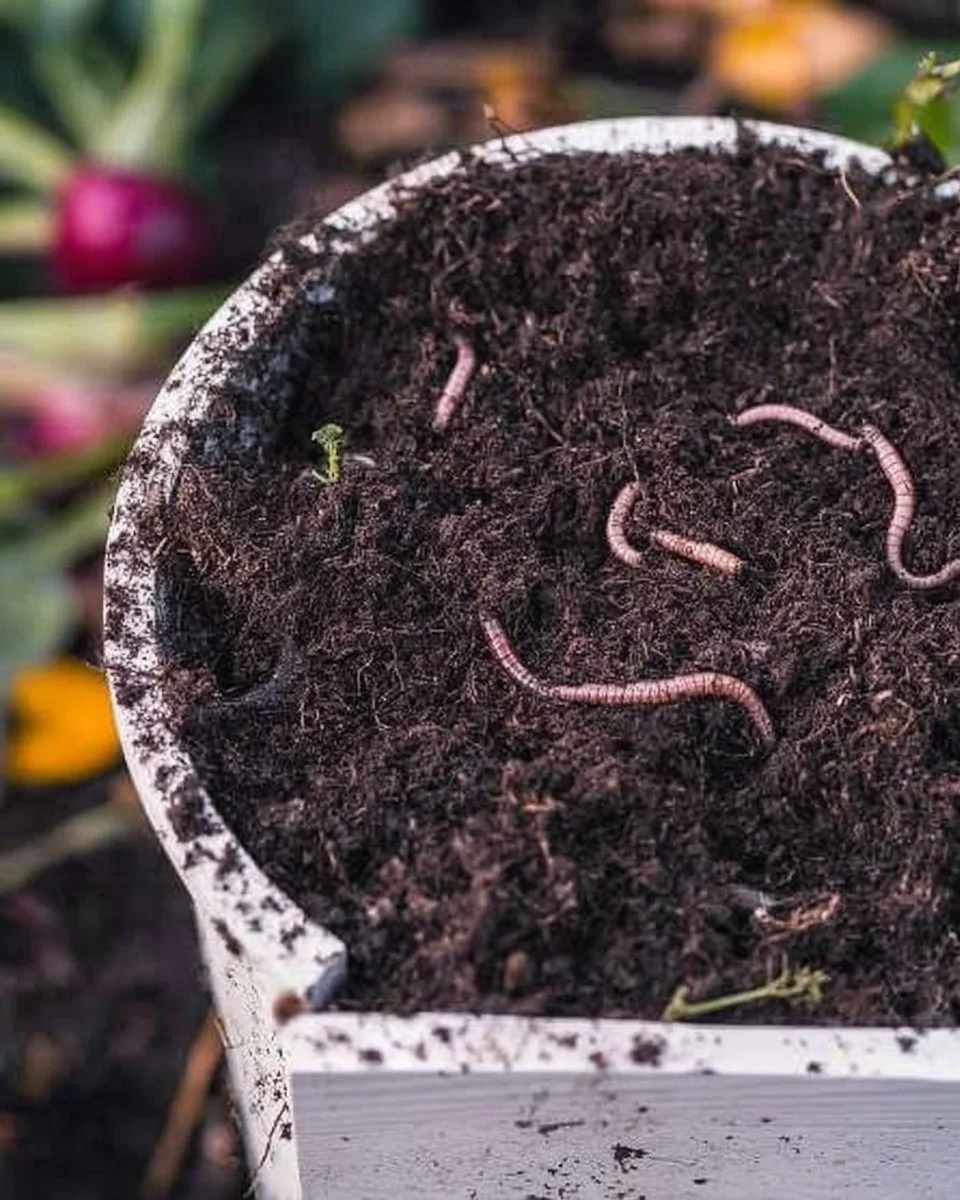
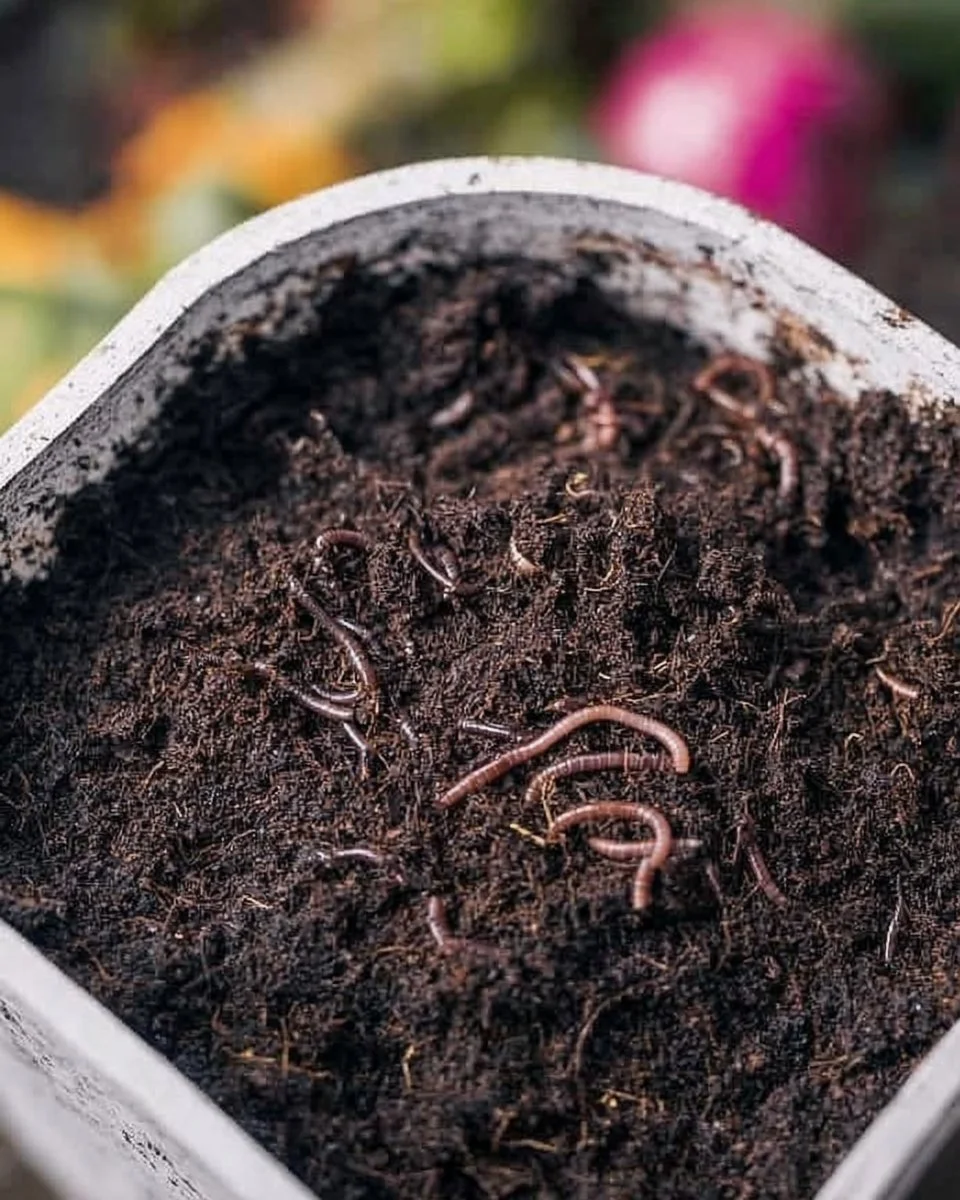
- Compost worms (Red wigglers or European nightcrawlers): your composting workforce.
- Drainage holes: drill bits for adding gaps in the bin.
- Aeration holes: drill bit for ensuring proper airflow.
Complete Tools List
- Drill: for making holes in the bin.
- Saw: for cutting wood slats, if using.
- Screwdriver: for securing any wooden frame if applicable.
- Measuring tape: for accuracy in dimensions.
- Clamps: to hold material in place while you work.
Substitutes and Alternatives
If you want to save on costs or utilize available materials, consider using a wooden crate instead of a plastic bin. You can also create a layered composting system with smaller bins stacked on top of one another, allowing for different composting stages. If you cannot find specific worms, visit local gardening groups or online marketplaces; sometimes, local composting clubs offer free or discounted worms.
Cut List and Measurements for How to Build a DIY Worm Composting Bin in Simple Steps
- Plastic bin: No cutting required, use as is.
- Wooden slats:
- 2 pieces of 24” (61 cm) for length
- 2 pieces of 16” (41 cm) for width
- 2 pieces of 12” (30.5 cm) for height
Pilot holes should be drilled if using screws for a wooden frame to prevent splitting. Ensure drainage holes are spaced 4-6 inches apart on the bottom of the bin.
Safety and Prep for How to Build a DIY Worm Composting Bin in Simple Steps
Before starting, ensure you wear gloves and goggles for safety, especially when using a drill or saw. Set up your workspace in a well-ventilated area to avoid inhaling dust. Measure all your materials accurately before cutting to avoid any mistakes. Clamp pieces together when assembling, which ensures a stable build and keeps your fingers safe when drilling or screwing.
How to Build How to Build a DIY Worm Composting Bin in Simple Steps – Step-by-Step Directions
Step 1 – Prep and Layout
Start by selecting a suitable location for your composting bin. Mark where your drainage holes will be placed, ensuring they are evenly spaced at the bottom of the bin. This will allow excess moisture to escape.
Step 2 – Cut and Label Pieces
If you are using wood to create a frame, cut two pieces to the length of 24” (61 cm) and two pieces to 16” (41 cm) for the width. Label them accordingly so you know which pieces fit together.
Step 3 – Dry Fit and Mark Joinery
Before you secure anything, dry fit the pieces together to ensure proper alignment. Mark where the screws will go, and pre-drill holes to avoid splitting the wood.
Step 4 – Assemble the Frame/Body
Use screws to attach the side pieces to the base of the bin. Ensure everything is square by measuring diagonally. The screws should be long enough to hold the pieces together firmly but shouldn’t protrude through the other side.
Step 5 – Reinforce and Square
Check the stability of your bin by testing it for wobble or racking. Adjust any loose screws and ensure that all corners are squared up properly before the assembly is complete.
Step 6 – Attach Surfaces or Panels
If using additional wooden surfaces, attach them securely using screws and check spacing between each for even coverage. A good practice is to leave some gaps for airflow.
Step 7 – Sanding and Edge Treatment
For safety and aesthetics, sand the edges and surfaces of any wood to eliminate splinters and rough spots. Start with a lower grit sandpaper and work your way up to a finer grit for a smoother finish.
Step 8 – Finish Application
Apply a non-toxic sealant or paint if desired to protect the wood but ensure it is safe for composting use. Allow it to cure fully according to instructions before introducing worms.
Frequently Asked Questions
Q: How many worms do I need for my composting bin?
A: Around 1 pound of worms per square foot of surface area is a good starting point.
Q: Can I compost meat and dairy in my worm bin?
A: No, avoid adding meat, dairy, and oily foods as they can attract pests and create odor.
Q: How often do I need to feed my worms?
A: Feed your worms every 1-2 weeks, adjusting based on how quickly they consume the scraps.
Q: Can I keep the bin indoors?
A: Yes, a DIY worm composting bin is perfect for indoor use, provided it’s in a cool spot.
Q: What should I do if my compost smells bad?
A: Check for overfeeding or excess moisture. Add dry bedding to balance the moisture level.