
Introduction to How To Make Your Own $10 Compost Bin & Why You Need One!
Are you looking for an affordable and eco-friendly way to manage your organic waste? Have you ever considered creating your own composting solution? The project on how to make your own $10 compost bin & why you need one! is not just a simple DIY endeavor; it’s an investment in sustainability and garden health. Composting is an incredible way to reduce kitchen waste and turn it into nutrient-rich soil for your plants.
This build stands out for its simplicity and cost-effectiveness. With just $10, you can create a compost bin that makes it easy to recycle organic materials. Whether you’re a seasoned gardener or just starting out, you’ll find this project incredibly beneficial. You can accomplish this task in about an hour and, best of all, you don’t need advanced skills or tools—it’s suitable for all DIY lovers!
By creating your own compost bin, you not only support the environment by reducing landfill waste but also produce rich compost that can improve your garden’s soil quality. Curious about how such an affordable project can be so effective? Stick around as we dive into the many reasons you should consider composting and how easy it is to build your own compost bin.
Table of Contents
Key Benefits of How To Make Your Own $10 Compost Bin & Why You Need One!
Why You’ll Love This Build
- Cost-Effective: At just $10, it’s one of the cheapest ways to start composting.
- Easy to Build: Perfect for beginners; no special skills required.
- Space Efficient: Fits in any backyard or garden, even small urban spaces.
- Recyclable Materials: Uses materials that are often discarded, making it environmentally friendly.
- Nutrient-Rich Compost: Produces high-quality compost to enrich your garden soil.
- Pest Resistant: A well-constructed bin can deter pests, unlike some homemade methods.
What Makes It Stand Out
This compost bin is particularly special because it’s designed with simplicity in mind. While there are many options available for purchase, a homemade version offers a unique opportunity for customization. You can modify the size, shape, or even the materials used based on your specific needs and preferences.
Another standout feature is its adaptability. The project is designed for outdoor use, making it perfect for gardens of all sizes. Unlike commercial compost bins, which can be expensive and made from less easily recycled materials, this DIY option uses items you likely already have or can acquire easily.
Project Specs for How To Make Your Own $10 Compost Bin & Why You Need One!
At-a-Glance Details
- Skill Level: Beginner-friendly
- Estimated Time: 1 hour
- Estimated Cost (USD): $10
- Dimensions: Approximately 4 ft x 4 ft x 3 ft (1.2 m x 1.2 m x 0.9 m)
- Indoor/Outdoor Suitability: Outdoor
- Tools Needed at a Minimum:
- Drill
- Measuring tape
- Saw (hand saw or power saw)
- Screwdriver
Materials and Tools for How To Make Your Own $10 Compost Bin & Why You Need One!
Complete Materials List with Measurements
- Wood Pallets: 4 pallets (standard size: 3.5 ft x 4 ft, approx. 1.2 m x 1.2 m)
- Hinges: 2 pairs (medium-duty)
- Screws: 1 box (1.5-inch screws)
- Wire Mesh: 1 roll (to cover the bottom for drainage)
Complete Tools List
- Drill: For making pilot holes and drive screws.
- Measuring Tape: Essential for accurate measurements.
- Saw: Hand saw or power saw for cutting pallets.
- Screwdriver: For assembling parts.
- Safety Gear: Gloves and safety goggles for protection.
Substitutes and Alternatives
If you’re looking to save even more money, you can often find pallets for free from local stores or businesses. Just make sure that they are heat-treated, not chemically treated. For screws, any sturdy outdoor screws work, but make sure they’re rust-resistant to avoid deterioration over time. In place of wire mesh, you can also use leftover hardware cloth or even cedar planks if you’re looking for a more durable base.
Cut List and Measurements for How To Make Your Own $10 Compost Bin & Why You Need One!
- Wood Pallet Size:
- 4 pieces at 3.5 ft x 4 ft (1.2 m x 1.2 m) – use for the sides and front/back.
- Additional supports:
- Optional wood or supports from the pallets can be used if you want to reinforce the corners.
- Mesh/Wire Cut:
- 4 ft x 4 ft (1.2 m x 1.2 m) for the base.
Safety and Prep for How To Make Your Own $10 Compost Bin & Why You Need One!
Before you start, make sure to wear safety goggles and gloves to protect yourself. Set up your workspace in a well-ventilated area that allows for easy access to materials and tools. Accurate measurements are vital to ensure the structure is sturdy and functional, so take your time to mark all dimensions before making any cuts. Clamping pieces together during assembly can enhance accuracy and stability.
How to Build How To Make Your Own $10 Compost Bin & Why You Need One! – Step-by-Step Directions
Step 1 – Prep and Layout
Start by selecting a flat area in your yard or garden where the compost bin will reside. Measure 4 ft x 4 ft (1.2 m x 1.2 m) for the footprint of your compost bin. Make sure it’s free from obstructions and within easy reach of a water source.
Step 2 – Cut and Label Pieces
Using your saw, cut the pallets if they are not already in the correct size. You’ll need four 3.5 ft x 4 ft (1.2 m x 1.2 m) pieces ready for assembly. Label each piece if necessary for easier assembly later.
Step 3 – Dry Fit and Mark Joinery
Lay out the pallets in the desired orientation. Make sure the corners align, and mark where you will be drilling pilot holes for screws. This will prevent the wood from splitting during assembly.
Step 4 – Assemble the Frame/Body
Attach the pallets together using screws. Drill two to three screws at each corner to ensure a sturdy structure. Use your drill to make pilot holes first for better accuracy and to avoid splitting the wood.
Step 5 – Reinforce and Square
Check that the frame is square by measuring diagonally from corner to corner. If both measurements are equal, your frame is square. Add additional screws to reinforce any weak joints for stability.
Step 6 – Attach Surfaces or Panels
If you want a closed-back compost bin, attach another pallet to the back. Use hinges to create an access door on one side or the front for easy loading and unloading of compost materials.
Step 7 – Sanding and Edge Treatment
Using sandpaper, clean up any rough edges or splintering pieces to avoid injury. Start with a coarser grit and finish with a finer one for a smooth surface.
Step 8 – Finish Application
Although not necessary, you might consider applying a natural wood sealant or stain to extend the lifespan of your compost bin. If applying, make sure to follow the manufacturer’s instructions for drying and recoating times.
FAQ About How To Make Your Own $10 Compost Bin & Why You Need One!
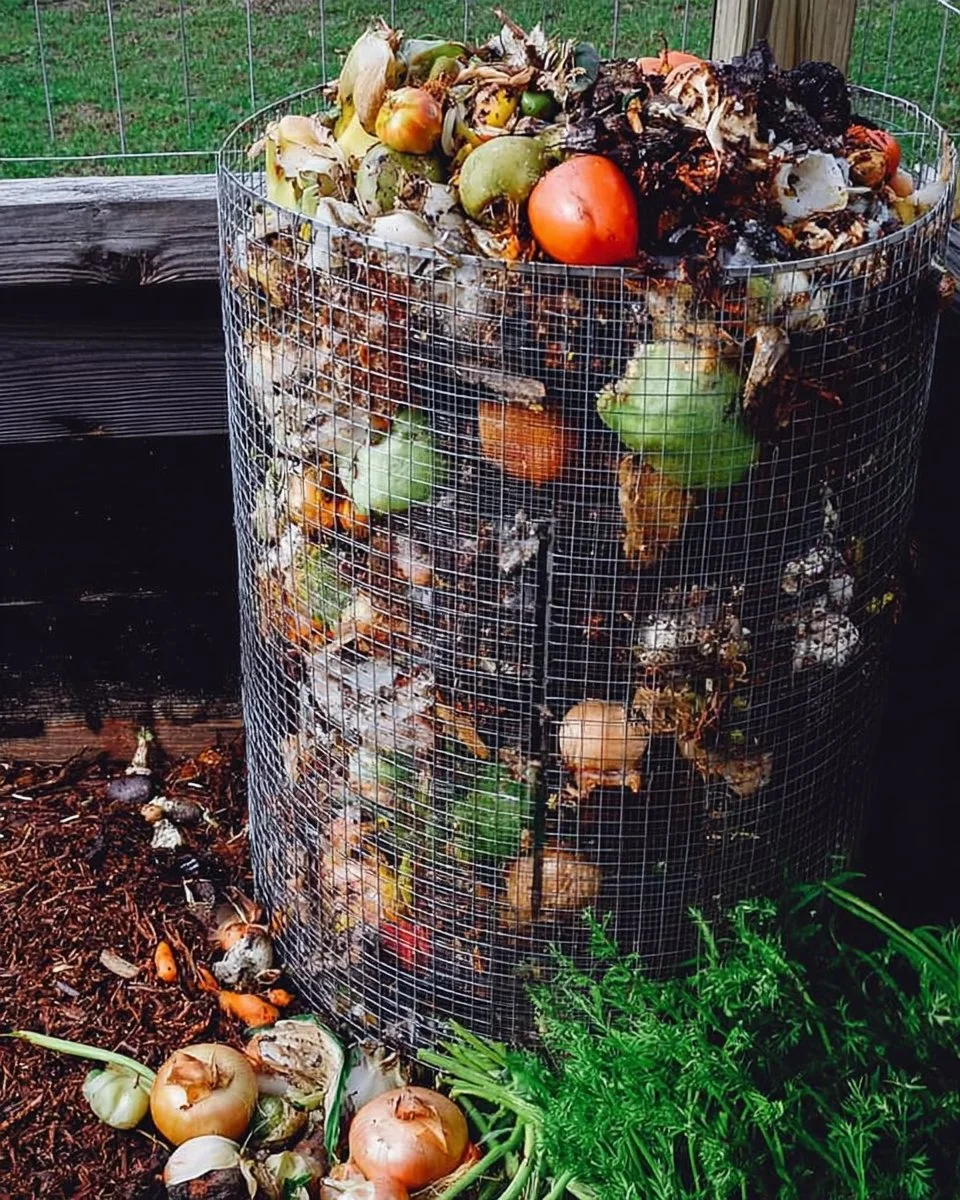
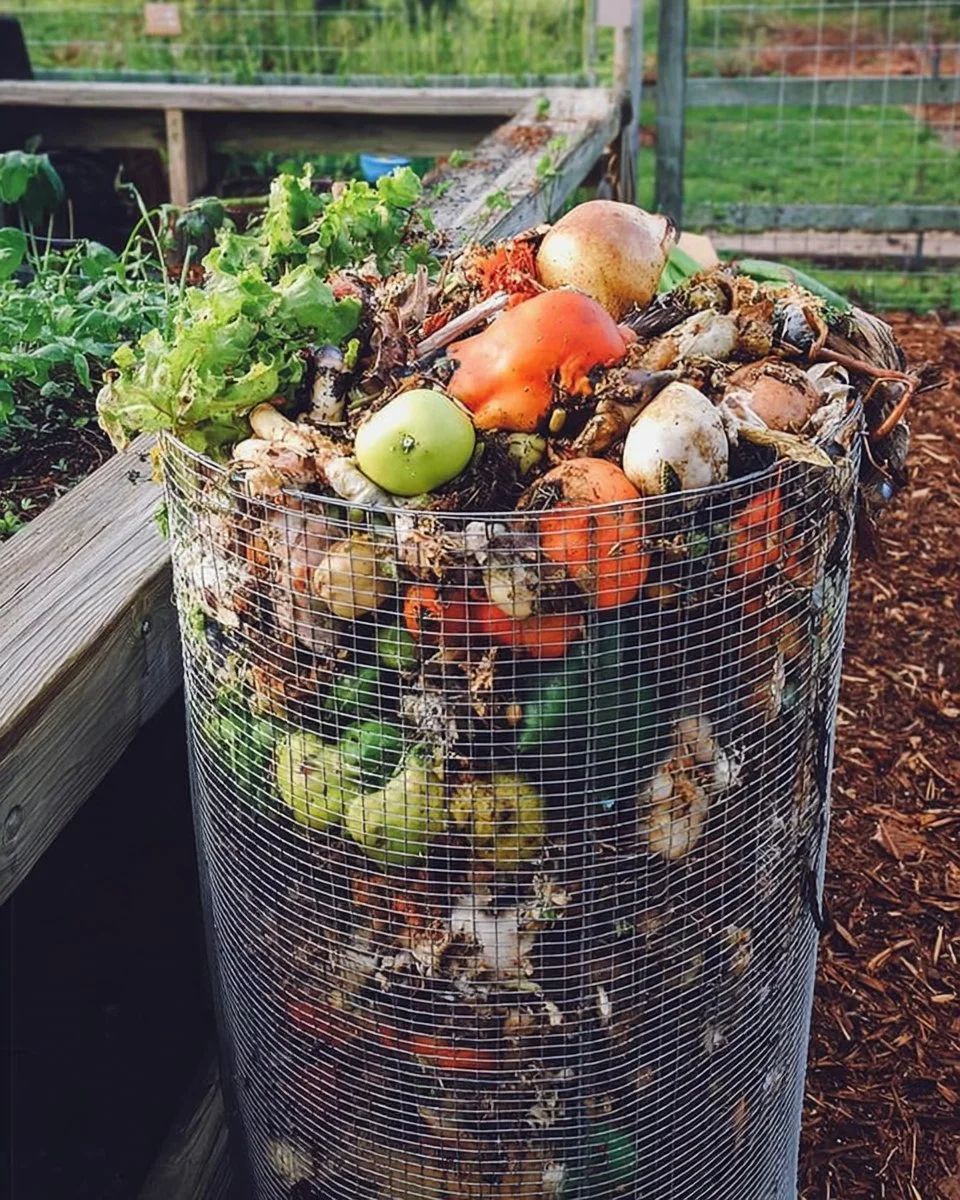
Q: What do I put in my compost bin?
A: You can include fruit and vegetable scraps, coffee grounds, eggshells, grass clippings, and dried leaves.
Q: Can I add meat or dairy to the compost bin?
A: It’s best to avoid adding meat or dairy, as they can attract pests.
Q: How often should I turn my compost?
A: Aim to turn your compost every 2-3 weeks for optimal aeration.
Q: Do I need to cover the bin?
A: While not necessary, covering can help retain moisture and heat.
Q: How long will it take to create compost?
A: Depending on conditions, it can take anywhere from a few weeks to several months.
By following these straightforward steps and applying the tips outlined here, you’ll soon have a useful compost bin that provides rich nutrients for your garden. Happy composting!