
Introduction to How to Protect Your Fruit
Have you ever watched helplessly as birds peck at your lovingly grown fruits or insect pests ruin your harvest? If so, you’re not alone. Many home gardeners and fruit enthusiasts face these challenges and wish for a simple solution. Learning how to protect your fruit can make a remarkable difference in your yield and help you savor your garden’s bounty.
This DIY project isn’t just practical; it’s essential for anyone who wants to maximize their harvest while minimizing any potential losses. Protecting your fruit can be cost-effective and straightforward, making it an accessible task for anyone, whether you’re an experienced gardener or a beginner.
This guide will provide insights into different methods you can use to shield your fruit from pests and harsh weather conditions. With an estimated time of just a few hours and an affordable budget, you can implement these strategies easily in your backyard or patio garden. Plus, it doesn’t require specialized tools—just some basic supplies and a little creativity!
Table of Contents
Key Benefits of How to Protect Your Fruit
Why You’ll Love This Build
- Cost-Effective: Investing in some materials and tools to protect your fruit can save you money in the long run by ensuring a plentiful harvest.
- Versatile Solutions: You can tailor your methods to different types of fruits and specific local conditions.
- Simple to Implement: Most protective measures are easy to set up, requiring minimal skills.
- Weather Resistance: Protection from harsh weather ensures your fruits grow healthy and are ready for harvest.
- Durability: Using robust materials will provide long-lasting protection for your fruit.
- Space Efficiency: Protecting your fruit doesn’t require large spaces and can be adapted to fit various garden sizes.
What Makes It Stand Out
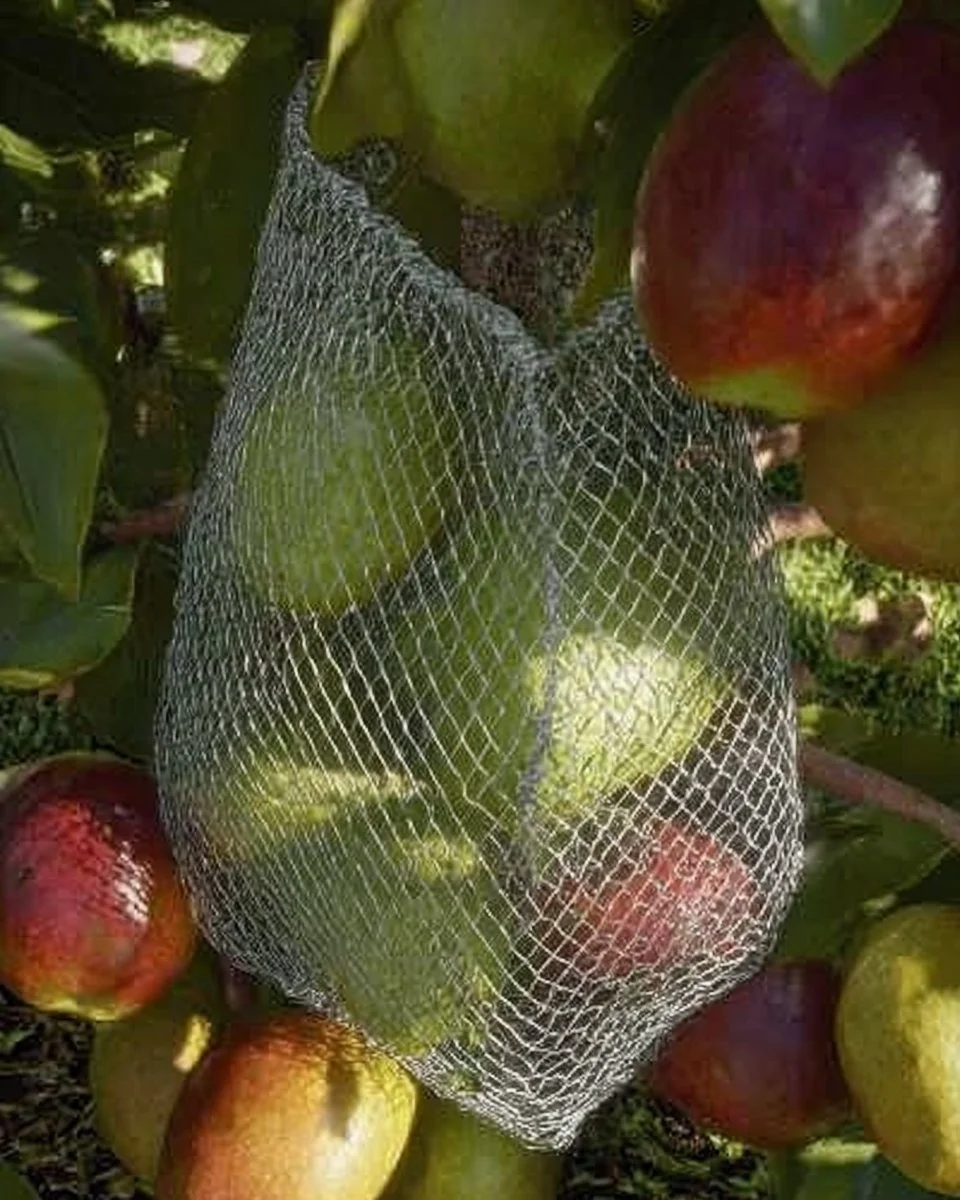
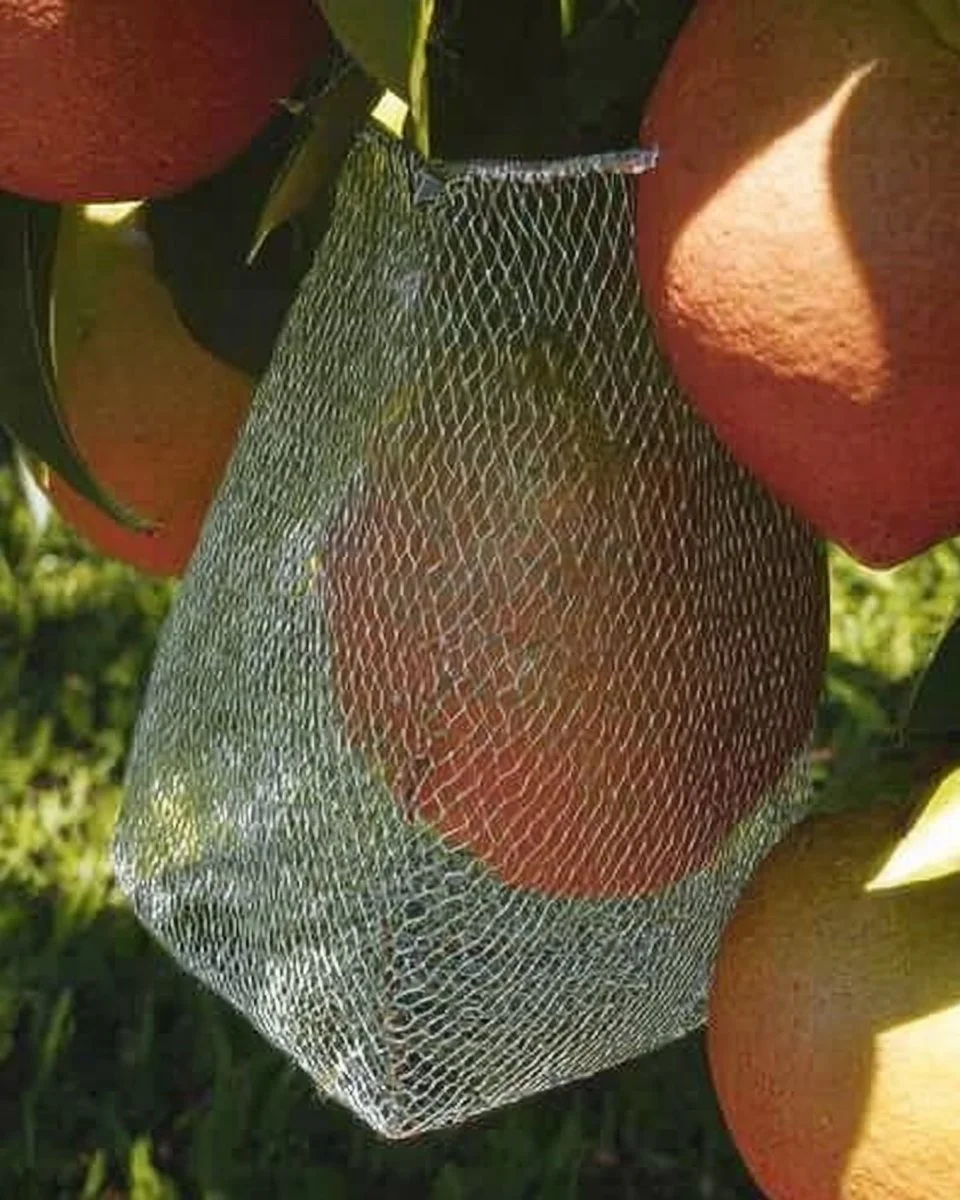
The beauty of learning how to protect your fruit lies in its flexibility. You can choose from various methods, such as using netting, organic repellents, or physical barriers, each offering distinct advantages. Customization options are abundant—whether you prefer a simple DIY garden netting solution or a more elaborate setup with wooden frames and protective coverings, you have many ways to shield your fruits from unwanted visitors.
This approach stands out from store-bought solutions, which may contain harmful chemicals or lack personalization. By crafting your protective measures, you can ensure they are sustainable, environmentally friendly, and tailored to your specific garden needs.
Project Specs for How to Protect Your Fruit
At-a-Glance Details
- Skill Level: Beginner to Intermediate
- Estimated Time: 2-4 hours
- Estimated Cost: $50 – $100
- Dimensions: Varies based on fruit types and available space
- Indoor/Outdoor Suitability: Primarily outdoor
- Tools Needed: Stapler, scissors, clamps
Materials and Tools for How to Protect Your Fruit
Complete Materials List with Measurements
- Bird netting: 25 feet (7.6 m) roll
- PVC pipes or wooden rods: 2 inches (5 cm) thick, 6 feet (1.8 m) long (for frames)
- Cotton yarn or string: 100 feet (30 m)
- Garden stakes: 3 feet (0.9 m) long, quantity as needed
- Weatherproof tarps (optional): For additional cover during storms
Complete Tools List
- Stapler: For securing netting
- Scissors: To cut netting and string
- Clamps: To hold pieces together while securing
- Utility knife: For precise cuts
- Measuring tape: To ensure accuracy
Substitutes and Alternatives
If you’re on a budget, consider using recycled materials. Old bedsheets or sheer curtains can serve as a temporary cover for fruits. Opting for lightweight plastic bottles can also provide individualized protection for specific fruits. Similarly, if the tools needed are unavailable, many can be rented or borrowed from neighbors or local community centers.
Cut List and Measurements for How to Protect Your Fruit
- PVC pipes or wooden rods: Cut to 6 feet (1.8 m) lengths.
- Garden stakes: If using, note dimensions should be 3 feet (0.9 m) long, driven 1 foot (0.3 m) into the ground.
- Netting: No specific cuts are required since it can be draped over frames.
Safety and Prep for How to Protect Your Fruit
Before you begin, always wear protective gloves and goggles when cutting materials or working with tools. Setting up your workspace neatly will ensure you have everything within reach, making your DIY project more efficient. Take the time to accurately measure all pieces to avoid frustration later. Ensure clamps are used to hold materials tightly, providing safer and more accurate assembly. Good ventilation helps, especially if you’re working outdoors; fresh air keeps your concentration sharp.
How to Build How to Protect Your Fruit – Step-by-Step Directions
Step 1 – Prep and Layout
Start by defining the area you want to protect. Measure the dimensions needed for your fruit trees or bushes, ensuring you leave room for growth and maintenance access.
Step 2 – Cut and Label Pieces
Using your measuring tape, cut the PVC pipes or wooden rods to the necessary lengths. Label each part clearly so you can keep track of what will serve as supportive posts and connecting structures.
Step 3 – Dry Fit and Mark Joinery
Before securing everything, do a dry fit of the pieces. Mark where the posts will go and where the netting will attach to ensure a snug fit.
Step 4 – Assemble the Frame/Body
Attach the rods or pipes together to create a frame around your fruit. Use screws or a stapler to secure connections closely, ensuring everything is tight and stable.
Step 5 – Reinforce and Square
Make sure the frame is square and reinforces it by checking whether the diagonals are the same length. This prevents wobbling and ensures longevity.
Step 6 – Attach Surfaces or Panels
Secure the bird netting over the frame. Use staples to ensure it is attached snugly without any gaps that pests could exploit. Make sure the netting reaches to the ground to keep out small ground critters.
Step 7 – Sanding and Edge Treatment
If using wood, sand down any rough edges to prevent injuries and ensure a more polished look. This step may not be necessary for PVC but is crucial for comfort and safety.
Step 8 – Finish Application
Optionally, you can apply a waterproof sealant if you have used wood to help it withstand weather changes.
Frequently Asked Questions
What materials do I need to protect my fruit? You will need bird netting, PVC pipes or wooden rods for structure, cotton yarn or string, garden stakes, and optional weatherproof tarps.
How much time will it take to build this protection? Expect the build to take about 2 to 4 hours depending on your experience and the specific fruit varieties.
Is this protection suitable for all fruit types? Yes, you can adjust the design to fit various types of fruits, making it versatile for most home gardens.
Can I use recycled materials instead? Absolutely! Old bedsheets or suitable plastic can be great alternatives for netting or covers.
Will this construction withstand bad weather? Yes, especially if you use sturdy materials and take the time to secure everything properly against wind and rain.
Is this a good project for beginners? Yes, it is an easy and manageable project for beginners, as it involves basic skills and widely available materials.