
Introduction to Top 37 Garden Edging Border Ideas: Spruce Up The Landscape
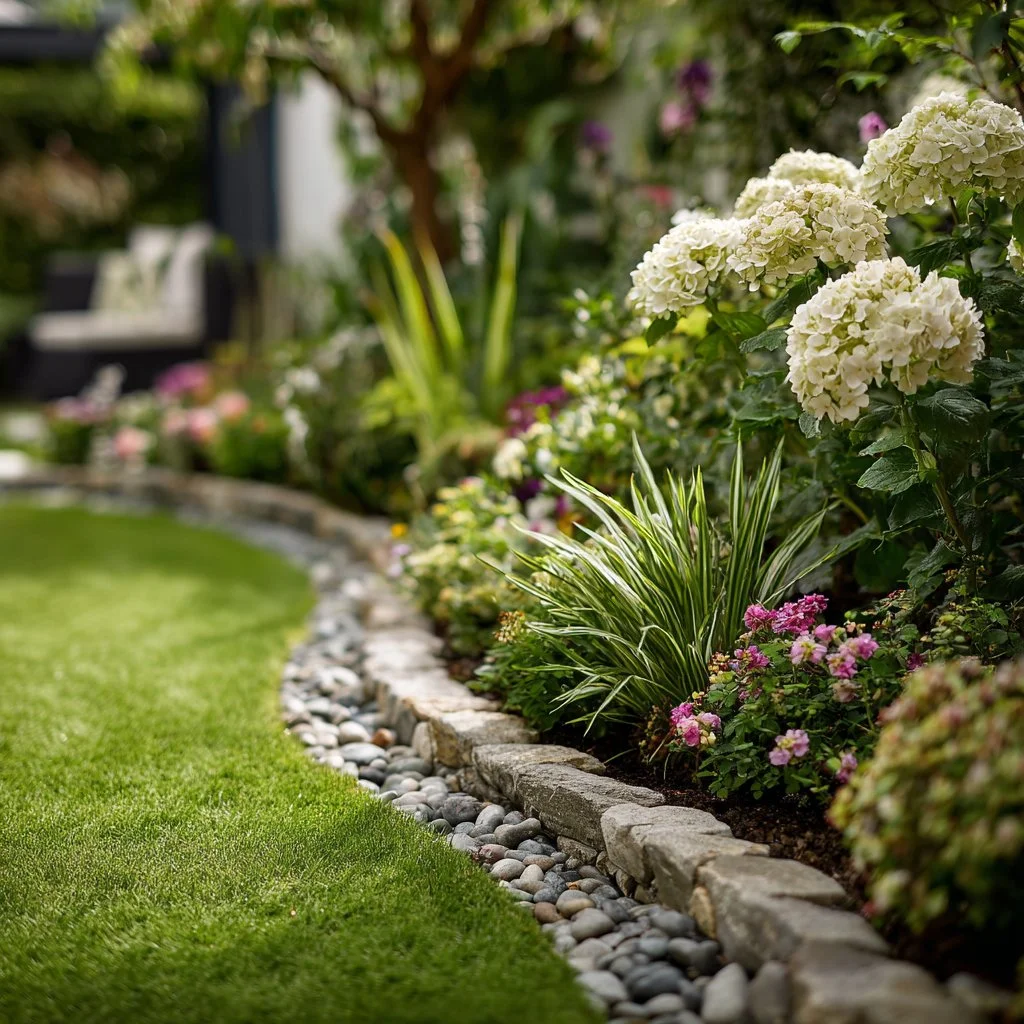
Are you looking for a way to enhance the beauty of your outdoor space? Garden edging can dramatically change the appearance of your landscape, providing structure, definition, and charm. The Top 37 Garden Edging Border Ideas offers endless possibilities to spruce up your garden while keeping it organized. Have you ever considered how simple materials can create stunning visual effects? Engaging in this DIY project can turn your ordinary yard into a picturesque haven.
This build is particularly special because it marries aesthetics with functionality. It’s not just about looking good; it’s about keeping your plants and soil in check. With various ideas showcased, you can find insulation against weeds and keep mulch in place while adding your unique touch to the garden. This project is affordable and perfect for all skill levels, whether you’re a novice exploring your creativity or an experienced gardener looking for a new way to embellish your landscape.
Expect to spend just a weekend on this project, with costs varying based on your material choice—ranging from budget-friendly wood to classy stone pavers. No matter your preference, there’s a project here for you!
Key Benefits of Top 37 Garden Edging Border Ideas: Spruce Up The Landscape
Why You’ll Love This Build
- Durability: Materials like stone and wood resist decay and damage over time.
- Simplicity: Most ideas are easy to assemble with basic tools and supplies.
- Versatility: Various styles suit any garden theme or personal preference.
- Portability: Many edging options can be moved or adjusted easily.
- Weather Resistance: Choices like plastic or metal withstand harsh conditions.
- Cost-Efficiency: Save money by utilizing inexpensive materials or recycling items.
What Makes It Stand Out
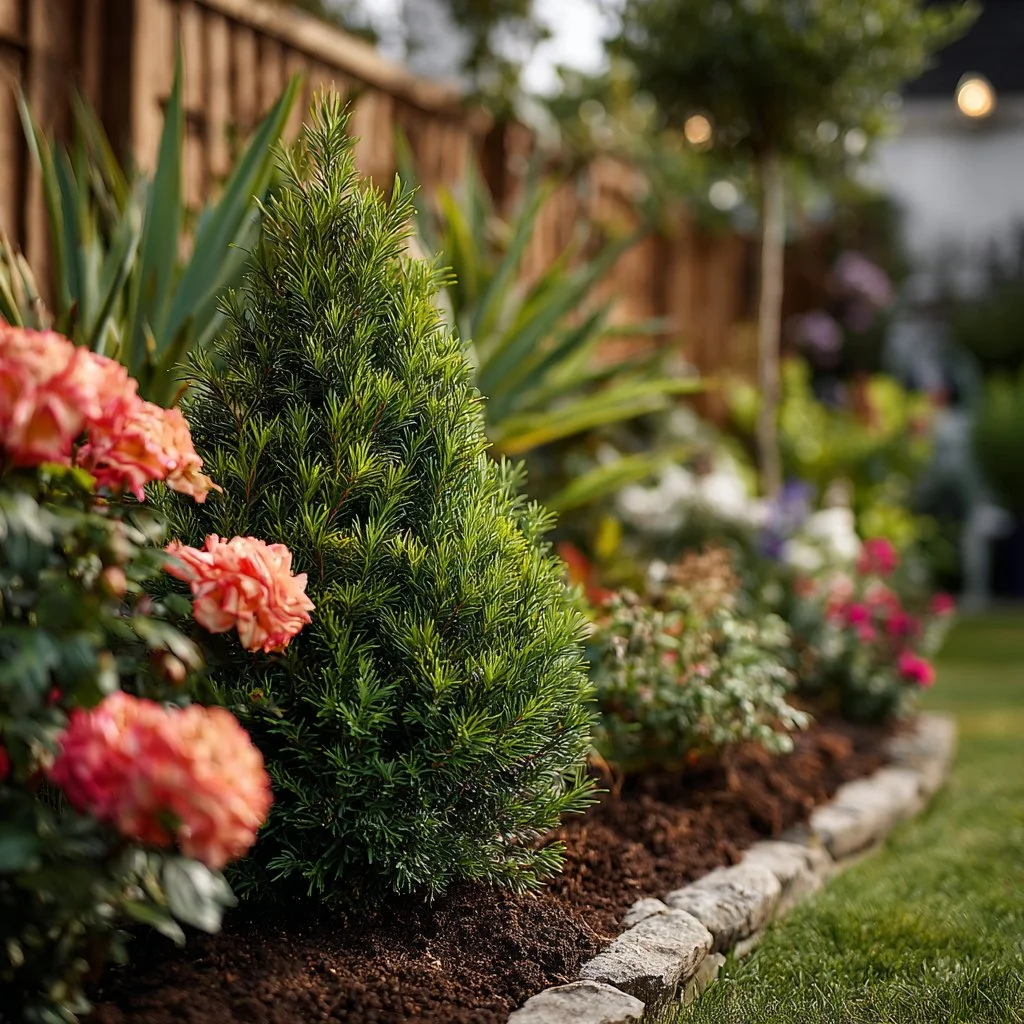
The unique aspect of designing your garden edging is the level of customization it allows. You can play with colors, shapes, and layouts to find something that resonates with your garden’s personality. Unlike store-bought options, these DIY solutions grant you the freedom to express creativity and tailor each element to function in harmony with your landscape.
Additionally, handmade edging can address specific garden needs more effectively than generic alternatives. Whether you need raised borders to prevent soil erosion or decorative stones to add flair, you can design a solution that meets both aesthetic and practical demands. This approach not only enhances visual appeal but also maintains the health of your plants over time.
Project Specs for Top 37 Garden Edging Border Ideas: Spruce Up The Landscape
At-a-Glance Details
- Skill Level: Beginner to Intermediate
- Estimated Time: 1 Weekend
- Estimated Cost (USD): $50 – $300 (based on material choice)
- Dimensions: Varies by design
- Indoor/Outdoor Suitability: Outdoor only
- Tools Needed at a Minimum: Shovel, level, saw (if using wood), hammer, measuring tape
Materials and Tools for Top 37 Garden Edging Border Ideas: Spruce Up The Landscape
Complete Materials List with Measurements
- Wood
- Cedar or pressure-treated boards (2”x4” – 6 pieces, lengths vary)
- Wood stakes (4” – 6 pieces)
- Stone
- Pavers or natural stones (approximately 1 ton, varies with design)
- Plastic Edging
- Flexible plastic edging (20’ roll)
- Mulch or gravel
- Sufficient to fill gaps (1-2 bags depending on area size)
Complete Tools List
- Shovel (for digging and clearing ground)
- Level (to ensure even layout)
- Saw (hand saw or power saw for wood)
- Hammer (for stakes and securing edges)
- Measuring tape (to measure lengths accurately)
Substitutes and Alternatives
If you’re on a budget or cannot find the preferred materials, you can substitute wood for recycled pallets or use bricks in place of stone for a classic look. If wood is unavailable, bamboo can serve as an eco-friendly alternative that provides natural appeal. Depending on your garden’s climate, look for weather-resistant finishes or sealants to prolong the life of your wooden or paver edges.
Cut List and Measurements for Top 37 Garden Edging Border Ideas: Spruce Up The Landscape
- Wood
- 2”x4” boards: 4 pieces at 4’ (122 cm), 2 pieces at 6’ (183 cm)
- Stones
- Pavers: cut to size based on design, typically a standard patio stone size (12” – 30 cm)
- Stakes
- Wood stakes: cut to 12” (30 cm) for anchoring
Always ensure to measure twice before cutting to maintain accuracy and keep grain direction consistent for aesthetic purposes.
Safety and Prep for Top 37 Garden Edging Border Ideas: Spruce Up The Landscape
Before diving into the build, safety should be your priority. Always wear personal protective equipment like gloves and safety glasses when working with tools or materials. Set up your workspace in a well-ventilated area, especially if you’ll be using sealants or paints.
Careful measuring and marking are crucial for a successful project. Use your measuring tape to delineate where the edging will go. You might also want to clamp pieces together where necessary to ensure precision. This initial setup can save you from mistakes further down the line.
How to Build Top 37 Garden Edging Border Ideas: Spruce Up The Landscape – Step-by-Step Directions
Step 1 – Prep and Layout
Begin by marking the area where your garden edging will go. Use stakes and string to create a straight line or even curves to define the layout clearly. Assess the land and level out any uneven spots, ensuring the area is ready for the edging.
Step 2 – Cut and Label Pieces
If you’re using wood, cut your pieces according to the cut list provided. Label each piece to avoid confusion later in the assembly process. For stone or pavers, measure and cut them to fit your design perfectly.
Step 3 – Dry Fit and Mark Joinery
Before securing any pieces together, do a dry fit to check how they match up. Make any necessary adjustments. If joining wood pieces, mark where pilot holes will need to be drilled. This attention to detail will aid in alignment.
Step 4 – Assemble the Frame/Body
Begin assembling the frame by connecting your cut pieces. Use screws or nails as your fasteners, driving them in securely but not overly tight to avoid splitting wood. It’s crucial to merge pieces at right angles if applying edges to corners.
Step 5 – Reinforce and Square
Check for squareness by measuring diagonally across your frame. Adjust as necessary for an even base. This step will prevent any racking or wobble after the edging is installed. Adding brackets at corners can increase stability.
Step 6 – Attach Surfaces or Panels
For wood edging, attach the panels to the frame using screws spaced about 12 inches apart. If you’re using stone, position them closely together to minimize weed intrusion. Allow any adhesive used to cure as per instructions.
Step 7 – Sanding and Edge Treatment
Once assembled, take sandpaper to smooth out any rough edges or surfaces. Begin with a lower grit and progress to a finer grit for a polished finish. Make sure to clear away any dust to prepare for finishing.
Step 8 – Finish Application
Apply your chosen stain, paint, or sealant to protect your project and enhance its appearance. One coat may suffice, but multiple applications can enhance color and durability. Observe the recoat times during application as necessary.
FAQ for Top 37 Garden Edging Border Ideas: Spruce Up The Landscape
Can I use recycled materials for garden edging? Yes, recycled wood, bricks, or even metal can create unique and sustainable garden edging.
What materials are best for durability? Stone and treated wood are both excellent choices for lasting garden edging.
How deep should I set the edging? Generally, 4-6 inches deep is ideal to ensure stability while providing enough height to keep soil in place.
Is it necessary to dig trenches for my edging? Not always, but digging shallow trenches can help keep the edging secure and less prone to shifting.
How can I enhance the aesthetic appeal of my garden edging? Consider adding plants, ornamental stones, or mulch alongside to create a cohesive landscape look.
What is the best way to maintain my garden edging? Keep the area free of debris and routinely check for any shifts or damage to ensure longevity.