
Introduction to DIY Outdoor Planter Boxes: Step-by-Step Guide to Beautiful Garden Additions!
Have you ever wanted to brighten up your outdoor space with plants but felt overwhelmed? Building your own DIY outdoor planter boxes can be a rewarding project that adds beauty to your garden. Imagine creating unique, personalized planter boxes that perfectly complement your decor and house your favorite flowers or vegetables. This project is practical, affordable, and allows for extensive customization.
You don’t need to be a master carpenter to build these boxes. With basic skills and tools, you can craft stunning planters that align with your taste. Typically, you can complete this project in a weekend, and the cost can be as low as $50 depending on the materials you choose.
So, whether you want to add life to your patio, balcony, or garden, diving into DIY outdoor planter boxes is a great way to express your creativity. Let’s explore the benefits and the steps needed to bring these beautiful garden additions to life.
Key Benefits of DIY Outdoor Planter Boxes
Why You’ll Love This Build
- Durability: Built to last through the seasons with selected materials.
- Simplicity: Straightforward instructions make it easy for beginners.
- Versatility: Suitable for various plants and adaptable designs.
- Portability: Easy to move around your yard or patio.
- Weather Resistance: Proper finishes protect against the elements.
- Cost Savings: Cheaper than purchasing pre-made planters.
What Makes It Stand Out
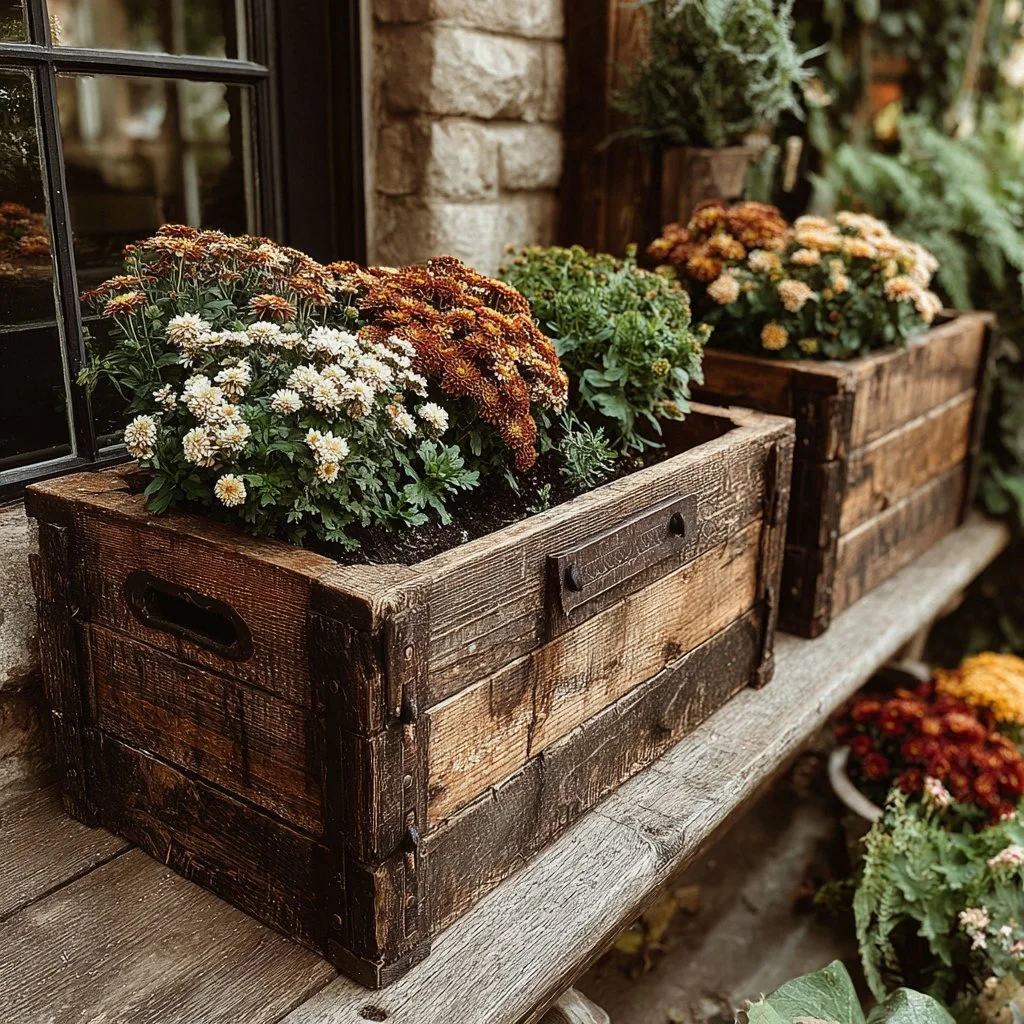
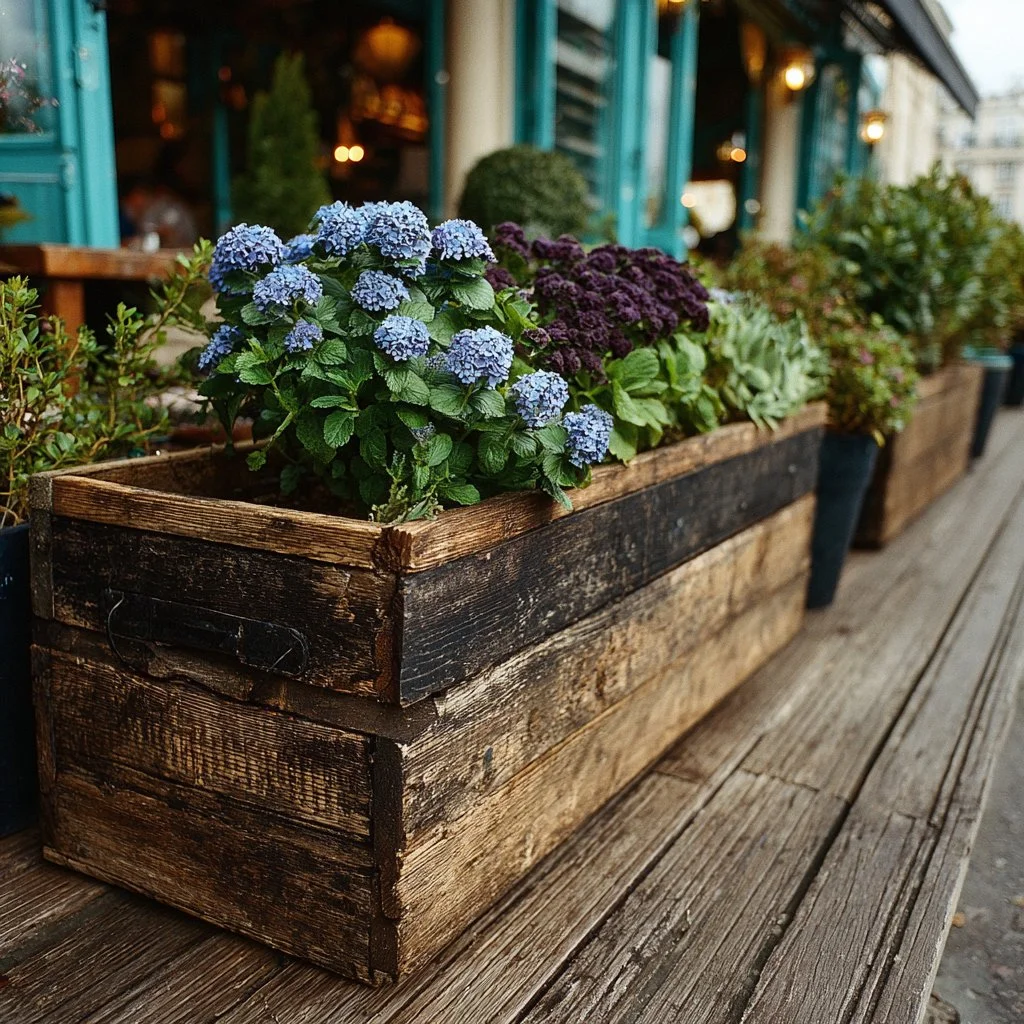
These DIY outdoor planter boxes are not just functional; they’re an excellent opportunity for creativity. Unlike store-bought alternatives, you can tailor the size, shape, and finish to match your home. You can incorporate specific features like built-in drainage or compartments, making these planters ideal for growing herbs, flowers, and even vegetables.
Additionally, building your own planter boxes allows you to pick the materials and styles that best suit your garden aesthetic. Whether you prefer rustic charm or a sleek modern look, the customization options are endless, giving you the chance to create a unique outdoor space.
Project Specs for DIY Outdoor Planter Boxes
At-a-Glance Details
- Skill Level: Beginner to Intermediate
- Estimated Time: 5-10 hours
- Estimated Cost: $50 – $200 USD
- Dimensions: 24″ L x 12″ W x 24″ H (61 cm x 30.5 cm x 61 cm)
- Indoor/Outdoor Suitability: Outdoor recommended
- Tools Needed: Saw, drill, measuring tape, level, screwdriver
Materials and Tools for DIY Outdoor Planter Boxes
Complete Materials List with Measurements
- Lumber:
- 2″x4″ pressure-treated lumber (4 pieces, 24″ each for sides)
- 1″x6″ cedar boards (3 pieces, 24″ each for the bottom)
- Wood screws: 2.5″ long (1 box, approximately 50 screws)
- Wood for legs: 4″x4″ posts (4 pieces, 24″ each)
- Wood finish (optional): Exterior wood stain or sealant
- Landscape fabric: 1 roll (to line the inside)
Complete Tools List
- Circular saw or miter saw
- Drill with drill bits
- Measuring tape
- Level
- Screwdriver or impact driver
Substitutes and Alternatives
If you’re looking for budget-friendly materials, consider using reclaimed wood for the boxes. It can give a unique, rustic look to your planters while keeping costs down. For the screws, you can also use galvanized screws to prevent rusting in outdoor conditions. If you want a quick finish, opt for a spray sealer instead of brushing on multiple coats.
Cut List and Measurements for DIY Outdoor Planter Boxes
- Lumber Cuts:
- 4 pieces of 2″x4″ lumber: 24″ (61 cm) each for the sides
- 3 pieces of 1″x6″ cedar boards: 24″ (61 cm) each for the bottom
- 4 pieces of 4″x4″ posts: 24″ (61 cm) each for legs
- Pilot Holes:
- Pre-drill for 2.5″ screws using a 1/8″ drill bit
- Grain Direction: Align wood grain for strength when layering.
Safety and Prep for DIY Outdoor Planter Boxes
Before you begin building, it’s essential to focus on safety. Always wear PPE (personal protective equipment) such as safety goggles and a dust mask when cutting and sanding wood. Set up a workspace that is clean, well-ventilated, and free from clutter. Proper measurements are key, so take your time to mark out where cuts will be made. Clamping pieces while you work helps ensure accuracy and stability.
How to Build DIY Outdoor Planter Boxes – Step-by-Step Directions
Step 1 – Prep and Layout
Start by measuring out your workspace and laying down the lumber. Mark the cutting lines for your wood pieces based on the measurements listed in the cut list. Check to ensure everything is square by measuring diagonally across the lumber.
Step 2 – Cut and Label Pieces
Using your saw, cut the lumber according to your prepared layout. As you cut each piece, label them accordingly (e.g., Sides, Bottom, Legs) to avoid confusion during assembly.
Step 3 – Dry Fit and Mark Joinery
Before fastening anything, dry fit all the pieces together. This will allow you to make any necessary adjustments. Mark where pilot holes will be drilled for screws, ensuring they align correctly.
Step 4 – Assemble the Frame/Body
Begin by attaching the side pieces to the legs using wood screws. Drive in screws at pre-marked locations, ensuring the connections are tight. Double-check that everything is square and level as you go.
Step 5 – Reinforce and Square
Once assembled, check the frame’s stability and squareness by measuring diagonal corners. If there is any wobble, adjust as necessary and reinforce with additional screws if needed.
Step 6 – Attach Surfaces or Panels
Now it’s time to attach the bottom panels. Space the screws evenly, about every 12 inches (30 cm), on the cedar boards to ensure they are secured well. Allow for wood expansion by drilling pilot holes in the center of each spacing.
Step 7 – Sanding and Edge Treatment
Using sandpaper, start with a coarse grit and work your way to finer grits to smooth out any rough edges. This step is essential for ensuring a nice finish. Clean off any dust before moving on to the finish application.
Step 8 – Finish Application
Choose an exterior wood stain or sealant to protect your planter boxes. Apply evenly, following product instructions for drying times. If you choose to seal, ensure it’s suitable for outdoor wood use.
FAQ about DIY Outdoor Planter Boxes
How long do the planter boxes last?
With proper materials and care, they can last many years, especially if treated against weathering.
What type of wood is best for outdoor use?
Cedar and pressure-treated lumber are excellent for outdoor projects due to their resistance to rot.
Can I grow vegetables in these planters?
Absolutely! Ensure they are deep enough for the root systems of the vegetables you choose to plant.
How do I ensure proper drainage?
Incorporate drainage holes in the bottom or line the inside with landscape fabric to aid drainage.
Is it necessary to use a finish?
Applying a finish is recommended as it protects the wood from moisture and UV damage, prolonging its life.