
Introduction to How To Add Glass Marbles to Garden Fence DIY Project
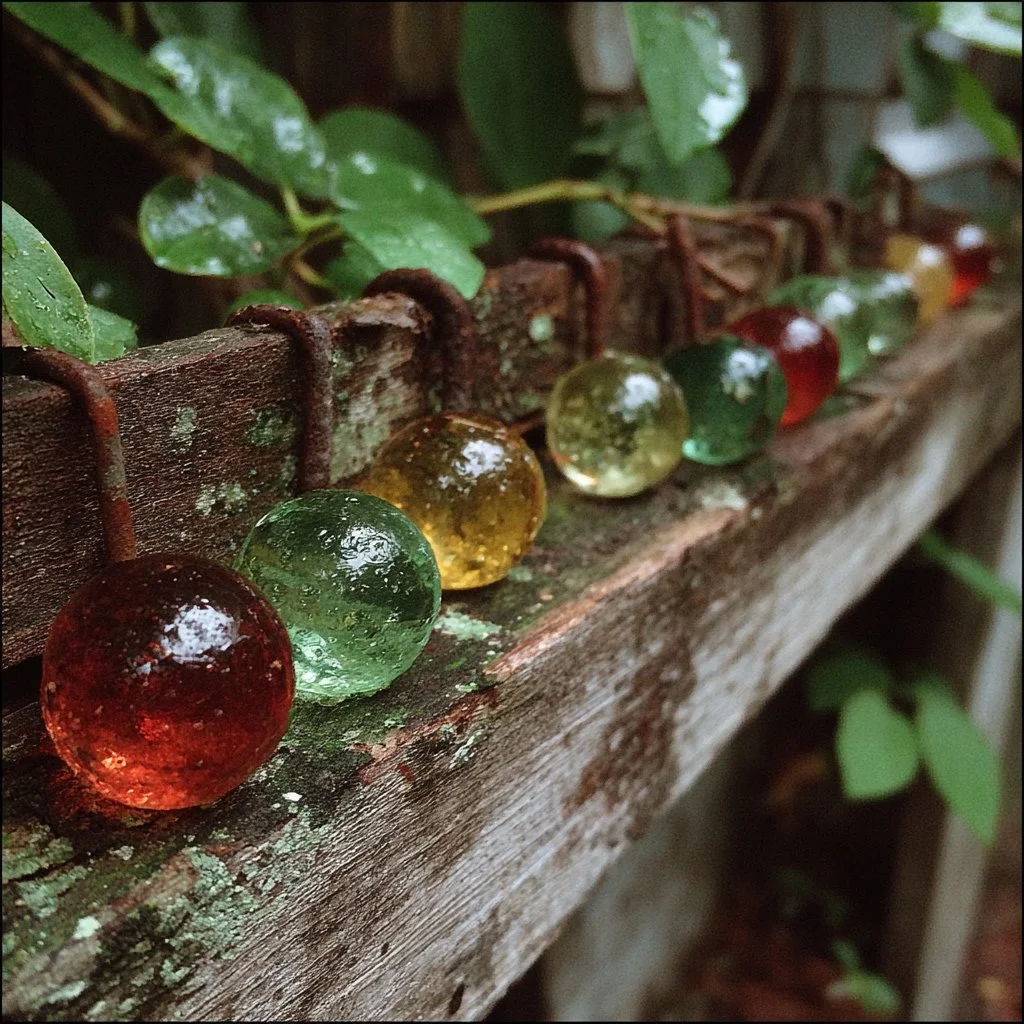
Have you ever wanted to add a splash of color and creativity to your garden fence? The How To Add Glass Marbles to Garden Fence DIY Project is the perfect solution! Whether you’re looking to beautify your outdoor space or simply express your artistic side, this project allows for the use of vibrant glass marbles that can transform a dull fence into a stunning masterpiece.
Not only is this project visually appealing, but it is also practical. The glass marbles can provide additional aesthetics to your garden while enhancing privacy and layer. Imagine spending time in a garden that’s not only a sanctuary but also an artistic haven.
This DIY project is not overwhelmingly complicated, making it suitable for various skill levels. With just a few materials and tools that are easy to access, you can create an eye-catching feature in your backyard without excessive costs. Expect to dedicate a weekend afternoon, and for a small budget, you can enjoy the satisfaction of creating something beautiful with your hands.
Imagine walking into your backyard and being greeted by a colorful array of marbles sparkling in the sunshine, inviting you to relax and unwind. The How To Add Glass Marbles to Garden Fence DIY Project lets you create a unique and inviting atmosphere for your outdoor living space.
Key Benefits of How To Add Glass Marbles to Garden Fence DIY Project
Why You’ll Love This Build
- Durability: Glass marbles withstand harsh weather conditions, making them a lasting feature.
- Simplicity: The project is straightforward, making it accessible even for beginners.
- Versatility: Customize your design based on your preferred colors and patterns.
- Portability: Easy to move marbles and rearrange for different aesthetic options.
- Cost Savings: Inexpensive materials keep the budget-friendly.
- Space Efficiency: Adds charm without taking up physical space in your garden.
What Makes It Stand Out
One of the most exciting aspects of adding glass marbles to your garden fence is the originality of your design. Unlike store-bought decor, you have complete control over colors, patterns, and arrangements. This project allows you to inject your personality and creativity into your outdoor space.
Customization options are virtually limitless. You can choose to create intricate patterns or a simple random design—whatever suits your taste. Using this method means that every garden fence can be entirely unique, making your space stand out in your neighborhood.
Project Specs for How To Add Glass Marbles to Garden Fence DIY Project
At-a-Glance Details
- Skill Level: Beginner to Intermediate
- Estimated Time: 2-4 hours
- Estimated Cost: $50-$100 USD
- Dimensions: Based on the length of your fence (customizable)
- Indoor/Outdoor Suitability: Outdoor
- Tools Needed at a Minimum:
- Hot glue gun
- Paintbrush
- Safety goggles
Materials and Tools for How To Add Glass Marbles to Garden Fence DIY Project
Complete Materials List with Measurements
- Glass marbles (various colors): 1-2 bags for small sections, 3-4 bags for larger areas
- Waterproof adhesive: 1 bottle (4 oz / 120 ml)
- Paint (optional for base coat): 1 quart (1 liter)
- Primer (optional): 1 quart (1 liter)
Complete Tools List
- Hot glue gun
- Paintbrush
- Safety goggles
- Small sponge or towel (for clean-up)
- Measuring tape
Substitutes and Alternatives
If you’re on a budget or can’t find glass marbles, consider using alternative materials like river stones or even colorful beads. The adhesive can often be substituted with silicone sealant or other types of waterproof glue depending on availability. Many outdoor-friendly paints can also be used, ensuring that your design looks vibrant and lasts for years.
Cut List and Measurements for How To Add Glass Marbles to Garden Fence DIY Project
- Marble Placement: Measure the area of the fence you wish to enhance with marbles. Mark spacing for marbles based on personal aesthetic preference; generally, they can be spaced 2-3 inches apart (5-7 cm).
Safety and Prep for How To Add Glass Marbles to Garden Fence DIY Project
Before you start this project, ensure you have protective gear, including safety goggles to protect your eyes from any glue or debris. Set up your workspace in a well-ventilated area, especially if you’re painting. Accurate measuring and marking on your fence are crucial for a neat finish, so take your time. Clamping the marbles in place while the glue dries can help ensure they are secured properly.
How to Build How To Add Glass Marbles to Garden Fence DIY Project – Step-by-Step Directions
Step 1 – Prep and Layout
Begin by cleaning the area of the garden fence where you want to place the marbles. Ensure it’s free from dirt and debris. Mark the layout based on your design plan using a measuring tape to maintain even spacing.
Step 2 – Cut and Label Pieces
If you’re using any wooden borders to hold the marbles, cut them to size. Label each section clearly if you’re planning on using multiple colors or patterns to make assembly easier.
Step 3 – Dry Fit and Mark Joinery
Before attaching anything, dry fit the glass marbles and ensure that you’re happy with the layout. This will help guide your glue placement later on.
Step 4 – Assemble the Frame/Body
If using a wooden frame, now is the time to attach it to the fence using screws or brackets. Securely anchor the frame in place using your drill.
Step 5 – Reinforce and Square
Check that everything is square and secured. Use a level to ensure the frame is straight and properly aligned before moving to the next step.
Step 6 – Attach Surfaces or Panels
Using your carefully laid-out plan, start applying the glue to the back of each glass marble and attach them to your fence or frame. Keep a consistent pattern as you work along.
Step 7 – Sanding and Edge Treatment
If you’ve used wood, sand the edges to create a smooth finish. Remove any dust with a damp sponge or cloth.
Step 8 – Finish Application
Once all the marbles are securely attached and the glue has cured, consider applying a topcoat or sealant to enhance durability, especially if you used painted surfaces.

FAQ about How To Add Glass Marbles to Garden Fence DIY Project
Q: How durable are glass marbles in outdoor conditions?
A: Glass marbles are quite durable and can withstand various weather conditions without fading or breaking easily.
Q: Can I use other materials instead of glass marbles?
A: Yes, alternatives such as smooth stones or colored beads can work as well for a different aesthetic.
Q: How long does the adhesive take to cure?
A: Most adhesives take 24 hours to fully cure, but be sure to follow the specific instructions for the glue used.
Q: Is this project suitable for all types of fences?
A: Yes, as long as the fence is clean and solid, you can enhance nearly any type of fence.
Q: Can I customize the design?
A: Absolutely! The design can be tailored to fit any aesthetic, so feel free to let your creativity shine.
Q: How can I clean and maintain the glass marbles?
A: Simply wash the marbles with soapy water or a mild cleaner as needed to keep them looking vibrant.