
Introduction to 10 Creative Ways to Use Old Fences for Decor That Will Wow Your Eco-Friendly Friends!
Have you ever found yourself wondering what to do with that old wooden fence? Maybe it’s been replaced, or perhaps it has just seen better days. Instead of tossing it into the landfill, why not transform it into something beautiful and functional? Using old fences for decor not only aligns with eco-friendly practices, but it also adds rustic charm to your home or garden. Imagine inviting your eco-conscious friends over to admire a stunning vertical garden crafted from reclaimed fence boards or a unique piece of wall art that tells a story.
What makes this project so fascinating is its versatility; you can create everything from planters and benches to whimsical garden art. The best part? Most of these projects are inexpensive and require minimal tools. Whether you’re a crafting novice or a seasoned DIY expert, you’ll find plenty of ideas that suit your skill level and budget. This guide to 10 creative ways to use old fences for decor will not only inspire you but also give you the practical knowledge to start your projects this weekend.
Are you ready to breathe new life into those old fence boards? Let’s dive into the key benefits and creative possibilities that await you!
Key Benefits of 10 Creative Ways to Use Old Fences for Decor That Will Wow Your Eco-Friendly Friends!
Why You’ll Love This Build
- Sustainability: Repurposing old fences reduces waste and supports eco-friendly living.
- Cost-Efficient: Using materials you already have saves money while still achieving a unique look.
- Versatile Options: You can create anything from decor items to furniture, fitting various styles and needs.
- Personal Touch: Each project is a unique reflection of your creativity and vision.
- Easy to Customize: You can easily modify designs or finishes to match your home’s aesthetic.
What Makes It Stand Out
When compared to store-bought alternatives, using old fences stands out for its originality. Each piece you create carries a history and character that new items simply can’t replicate. The customization options are endless; you can choose to leave the wood rustic or paint it bright colors for a modern twist. Additionally, these projects typically take less time than expected and require minimal tools, making them approachable for DIY enthusiasts at all levels.
Project Specs for 10 Creative Ways to Use Old Fences for Decor That Will Wow Your Eco-Friendly Friends!
At-a-Glance Details
- Skill Level: Beginner to Intermediate
- Estimated Time: 1–5 hours depending on the project
- Estimated Cost: $10–$50 (depending on materials and finishes)
- Dimensions: Varies by project. Common sizes include planters (24”x12”/61cmx31cm), wall art (4’x2’/1.2m x 0.6m).
- Indoor/Outdoor Suitability: Both! Choose projects according to your needs.
- Tools Needed at a Minimum:
- Hammer
- Drill
- Saw
- Sandpaper
- Paintbrush
Materials and Tools for 10 Creative Ways to Use Old Fences for Decor That Will Wow Your Eco-Friendly Friends!
Complete Materials List with Measurements
- Old Fence Boards: Quantity based on project size. Look for sturdy boards.
- Wood Glue: For secure joining of pieces where necessary.
- Outdoor Paint or Sealant: Optional, for weatherproofing outdoor items.
- Screws/Nails: Size depends on board thickness; typically 1.5-2.5 inches (4-6cm).
- Sandpaper: Various grits to smooth edges (80-220 grit).
Complete Tools List
- Hammer: For driving in nails.
- Drill: For making pilot holes and driving screws.
- Saw: A handsaw or power saw for cutting boards to size.
- Sandpaper: For finishing edges and surfaces.
- Paintbrush: If applying paint or sealant.
Substitutes and Alternatives
If you don’t have old fence boards available, consider using reclaimed wood from pallets or barn wood. These materials offer a rustic look and can often be found inexpensively. For tools, if a power saw isn’t available, a hand saw works just as well for smaller projects. You can always substitute wood glue for screws in projects that don’t require heavy structure, reducing the need for additional tools.
Cut List and Measurements for 10 Creative Ways to Use Old Fences for Decor That Will Wow Your Eco-Friendly Friends!
- Planter Box:
- 2 pieces at 24″ (61cm) for length
- 2 pieces at 12″ (31cm) for width
- 1 piece at 24″x12″ (61cm x 31cm) for the bottom
- Wall Art:
- 4 pieces at varying lengths (24″ to 48″) for a collage
- Ensure you keep the grain direction consistent.
- Bench:
- 2 pieces at 48″ (122cm) for the seat
- 4 pieces at 36″ (91cm) for legs/support.
- Hardware sizes will vary based on project size.
Safety and Prep for 10 Creative Ways to Use Old Fences for Decor That Will Wow Your Eco-Friendly Friends!
Before starting any DIY project, prioritize safety by wearing gloves and goggles to protect your hands and eyes from splinters and debris. Set up a clean workspace with enough room to maneuver your materials easily. Accurate measuring and marking are crucial for a successful build; double-check all measurements before cutting. Clamping can help hold pieces securely during assembly, ensuring everything goes together flawlessly. Lastly, work in a well-ventilated area, especially when sanding or applying finishes.
How to Build 10 Creative Ways to Use Old Fences for Decor That Will Wow Your Eco-Friendly Friends – Step-by-Step Directions
Step 1 – Prep and Layout
Start by gathering all materials and tools. Measure and mark your fence boards according to your cut list, ensuring accuracy with a square. Lay out pieces to visualize your project and make any adjustments as needed.
Step 2 – Cut and Label Pieces
Use a saw to cut the boards to size. Label each piece with a pencil to prevent confusion during assembly. Take your time to ensure all cuts are straight and consistent for a polished look.
Step 3 – Dry Fit and Mark Joinery
Before gluing or nailing, dry fit all pieces to check alignment. Mark where screws or nails will go, and if using glue, apply a small amount to each joinery point. Clamp boards together for an even hold.
Step 4 – Assemble the Frame/Body
Begin assembling your frame or main structure by attaching the cut pieces together using screws or nails as marked. Ensure you start from one corner and work your way across to maintain alignment and strength.
Step 5 – Reinforce and Square
Check the assembly for squareness by measuring diagonals. If there is any wobble, adjust legs or joinery to ensure a sturdy build. Reinforce connections with additional screws if necessary.
Step 6 – Attach Surfaces or Panels
For projects involving surfaces, attach the boards securely using the appropriate fasteners, counting the spacing for a consistent look. Allow adhesive to cure as per the manufacturer’s instructions if applicable.
Step 7 – Sanding and Edge Treatment
Once your piece is assembled, sand all rough edges using progressively finer grits of sandpaper. This will help achieve a smooth finish and prevent splinters. Clean the surface afterward to remove dust.
Step 8 – Finish Application
Finally, apply your chosen finish, be it paint, stain, or sealant. Follow the manufacturer’s recommendations for multiple coats and cure times, ensuring you have outdoor-rated products for exterior projects.
FAQ
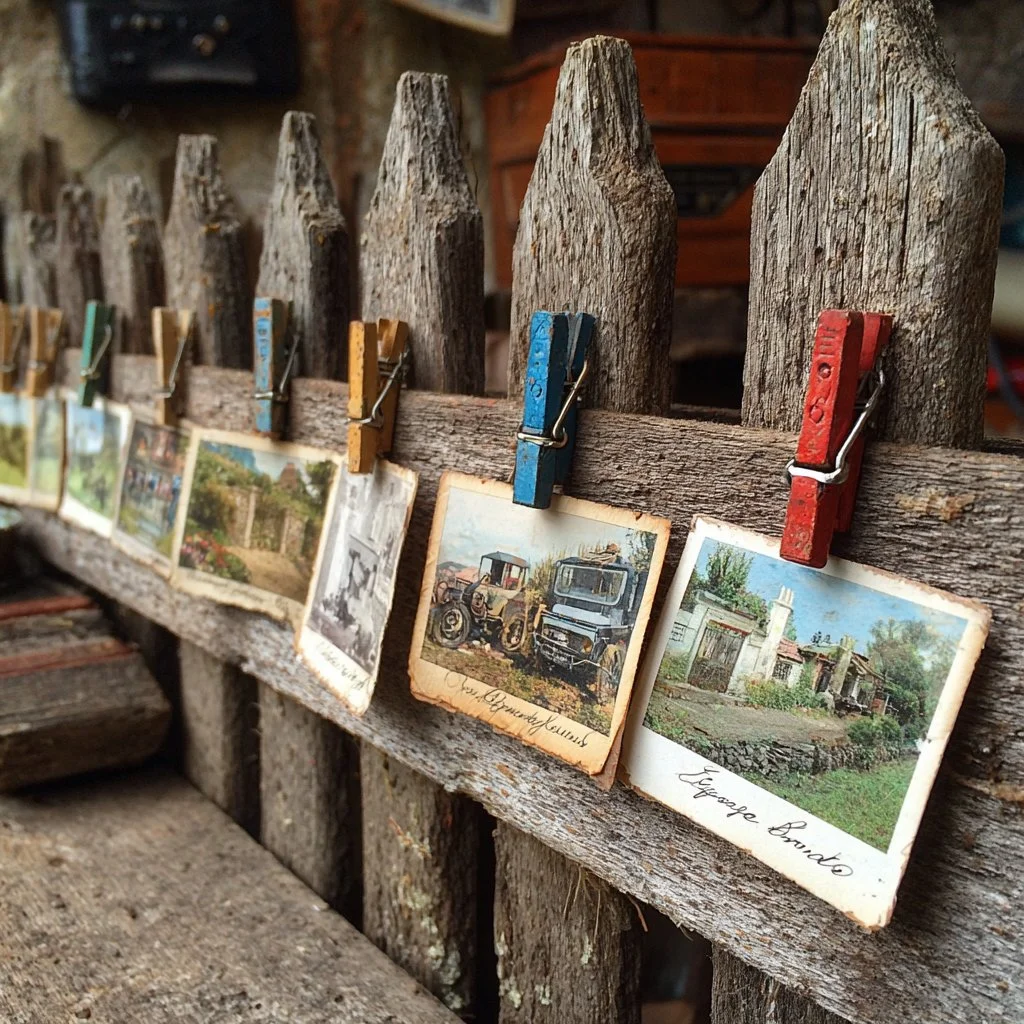
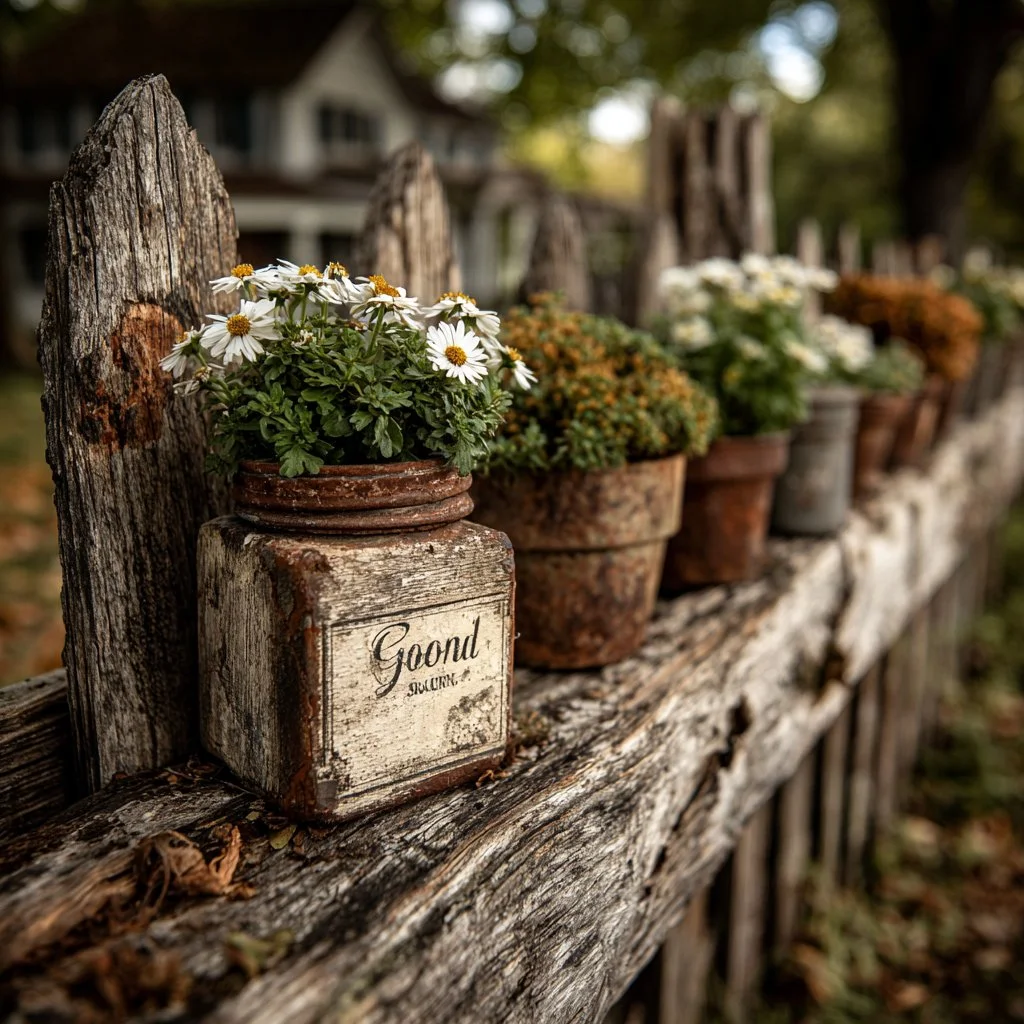
What types of projects can I create with old fences? You can create planters, wall art, furniture pieces, garden trellises, and more. The possibilities are endless!
Do I need a lot of tools to start? No! You can start with just a hammer, saw, and drill, making it accessible to everyone.
How long does it take to complete a project? It varies, but most projects can be finished in 1–5 hours. Plan accordingly based on complexity.
What’s the best way to treat old wood for outdoor use? Sand the wood thoroughly and apply an outdoor sealant or paint to protect it from the elements.
Can I customize these projects? Absolutely! Each project can be tailored with different finishes, sizes, and styles to fit your decor preferences.