
Introduction to Olive Garden Breadsticks
Nothing quite compares to the warm, fluffy sensation that is a freshly baked Olive Garden Breadstick. Have you ever wondered why these beloved breadsticks are a staple at so many gatherings? The sheer joy of pulling apart a soft, golden-brown breadstick, paired with a generous dip of marinara sauce or a spread of buttery garlic, is simply mouthwatering. Olive Garden Breadsticks are not just a side dish; they’re an experience that enchants both family and friends.
This recipe for Olive Garden Breadsticks is special for many reasons. It’s both easy and delightful, making it perfect for any occasion. Imagine serving these at your next dinner party, where guests can enjoy the aroma of fresh bread filling the air, or perhaps during a cozy movie night at home. What makes this recipe stand out is not only its iconic flavor but also its versatility. You can enjoy them plain, seasoned, or even stuffed with your favorite ingredients.
This homemade version allows you to recreate the magic of Olive Garden right in your kitchen. Whether you’re a seasoned chef or a cooking novice, this recipe is designed to guide you step-by-step to achieve the perfect breadsticks every time. Are you ready to embark on this delicious journey? Let’s dive into the enticing world of Olive Garden Breadsticks!
Key Benefits of Olive Garden Breadsticks
Why You’ll Love This Recipe
- Flavorful and Buttery: The rich garlic and buttery flavor will have everyone coming back for more.
- Quick and Easy: Simple ingredients and straightforward steps make this an accessible recipe for all.
- Versatile Serving Options: Pair these breadsticks with various sauces or use them as a base for other creative toppings.
- Homemade Freshness: Nothing beats the warm, fresh taste of breadsticks pulled straight from the oven.
- Perfect for Any Occasion: These breadsticks are suitable for family dinners, holiday gatherings, or casual get-togethers.
- Fun to Make Together: This recipe is an excellent opportunity for family cooking, allowing everyone to participate.
What Makes It Stand Out
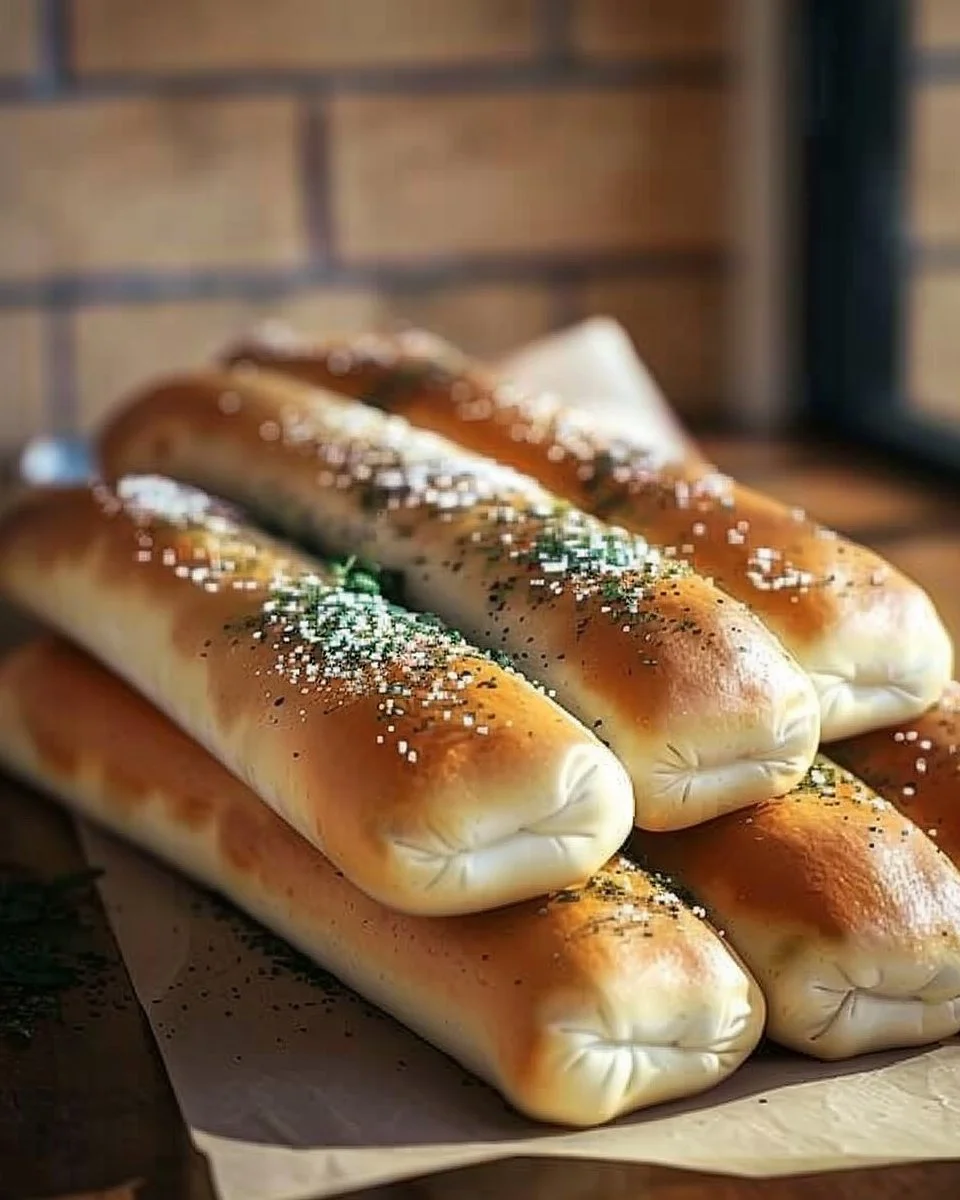
What truly makes Olive Garden Breadsticks stand out is their unique blend of flavors and textures. The exterior is perfectly golden, providing a slight crunch. Meanwhile, the inside is soft and chewy, creating an irresistible combination. This recipe captures every detail you love about the original, making it a must-try.
Customization is another highlight. While the classic version is always a hit, you can easily tweak the recipe to fit personal dietary preferences. Have fun adding herbs, cheeses, or even chili flakes to give your breadsticks a unique twist that reflects your style.
Ingredients for Olive Garden Breadsticks
Complete Ingredient List with Measurements
- 2 cups all-purpose flour
- 1 cup warm water (110°F)
- 2 ¼ teaspoons active dry yeast (1 packet)
- 2 tablespoons sugar
- 1 teaspoon salt
- 3 tablespoons unsalted butter (melted)
- ½ teaspoon garlic powder
- 1 teaspoon Italian seasoning
- Extra melted butter for brushing
Substitutes and Alternatives
If you’re looking to make this recipe more suitable for your dietary needs, there are several substitutes to consider. For those with gluten sensitivities, using a gluten-free flour blend can work remarkably well. Be sure to check that the yeast you’re using is labeled gluten-free.
Dairy-free individuals can substitute the unsalted butter with a plant-based margarine or coconut oil. If a lower-carb option is what you seek, you can explore almond flour or cauliflower-based dough alternatives. These adjustments allow you to enjoy Olive Garden Breadsticks while accommodating various dietary restrictions.
How to Make Olive Garden Breadsticks – Step-by-Step Directions
Step 1 – Prepare Ingredients
Start by gathering all your ingredients in one place. This organization helps streamline the baking process and ensures you don’t miss any steps.
Step 2 – Activate the Yeast
In a small bowl, combine warm water, sugar, and active dry yeast. Let it sit for about 5–10 minutes until it becomes frothy. This step ensures that the yeast is alive and ready to help your dough rise beautifully.
Step 3 – Mix Dry Ingredients
In a larger mixing bowl, combine flour, salt, garlic powder, and Italian seasoning. Mixing these dry ingredients together helps distribute the flavors evenly throughout your breadsticks.
Step 4 – Combine Wet and Dry Ingredients
Once the yeast mixture is frothy, pour it into the bowl with the dry ingredients along with the melted butter. Stir with a wooden spoon or spatula until a sticky dough forms.
Step 5 – Knead the Dough
On a lightly floured surface, turn out the dough. Knead it for about 5-7 minutes until it’s smooth and elastic. This process develops gluten, giving the breadsticks a great texture.
Step 6 – First Rise
Place the dough in a greased bowl, cover it with a clean kitchen towel or plastic wrap, and let it rise in a warm spot for about 1 hour, or until it doubles in size.
Step 7 – Shape the Breadsticks
After the dough has risen, punch it down to remove excess air. Divide it into equal portions, about 1 ounce each. Roll each portion into a 6-inch rope, and then place them on a greased baking sheet.
Step 8 – Second Rise
Cover the shaped breadsticks again with a towel and let them rise for an additional 20-30 minutes. This second rise helps achieve that fluffy texture you adore.
Step 9 – Prepare for Baking
Preheat your oven to 375°F (190°C). Once the breadsticks have risen, brush them lightly with melted butter for added flavor and before baking.
Step 10 – Bake and Enjoy
Bake the breadsticks for about 12-15 minutes until they’re golden brown. As they bake, the aroma fills your kitchen and makes it nearly impossible to resist trying one right away.

Serving Suggestions for Olive Garden Breadsticks
Best Occasions to Serve This Dish
Olive Garden Breadsticks shine at family gatherings, where their warm and inviting nature brings everyone together. They’re also ideal for date nights, where you can dip in marinara sauce and share an intimate meal. Furthermore, these breadsticks can elevate any casual cookout, making it feel a bit more special.
What to Serve With It
Serve Olive Garden Breadsticks alongside a fresh Caesar salad or a hearty bowl of minestrone soup for a complete meal. They are also perfect with any Italian dish like lasagna or spaghetti, allowing you to soak up all the delicious sauces.
How to Store Olive Garden Breadsticks Properly
Best Storage Practices
If you happen to have leftover breadsticks, store them in an airtight container at room temperature for up to 2 days. To keep them fresh longer, consider placing them in the fridge. However, for the best texture, consuming them within a couple of days is advisable because refrigeration can dry them out.
Reheating and Freezing Tips
When reheating, preheat your oven to 350°F (175°C) and place the breadsticks directly on the oven rack or on a baking sheet for a quick warm-up. Baking for 5-7 minutes usually helps restore their softness.
For long-term storage, you can freeze the breadsticks. Wrap them in plastic wrap and then place them in a freezer-safe bag. When you’re ready to enjoy them again, thaw at room temperature, and reheat in the oven as described.
Tips & Tricks for Olive Garden Breadsticks
Mistakes to Avoid
1 – Not Activating the Yeast Properly: Ensure your water isn’t too hot or cold. It should feel warm to the touch.
2 – Skipping the Kneading Step: Kneading develops gluten, which is essential for that perfect chewy texture.
3 – Over or Under Rising the Dough: Allow the dough to rise until it’s doubled in size for the best results.
4 – Incorrectly Measuring Flour: Use the spoon and level method for accurate measurement.
5 – Not Brushing with Butter: The butter adds flavor and helps achieve a beautiful golden crust.
Extra Tips for Better Results
For enhanced flavor, add fresh herbs like rosemary or thyme to the dough. You can also sprinkle sea salt on top just before baking for an added texture contrast. For a cheesy twist, incorporate shredded Parmesan or mozzarella into the dough for an irresistible experience.
Recipe Variations of Olive Garden Breadsticks
Creative Twists
1 – Cheesy Stuffed Breadsticks: Stuff the dough with mozzarella cheese before shaping for a delightful surprise.
2 – Herb-Infused Breadsticks: Add fresh herbs or garlic oil dough for a stronger aromatic flavor.
3 – Sweet Cinnamon Version: Mix in cinnamon and sugar and serve with icing for a unique dessert option.
Dietary Adjustments
For a vegan variation, replace the butter with coconut oil and use plant-based milk in place of regular milk if you decide to incorporate any. If you’re looking to make them gluten-free, ensure you use all gluten-free ingredients and adjust the rising time as necessary.
Conclusion about Olive Garden Breadsticks
If you’ve ever fantasized about whipping up your beloved Olive Garden Breadsticks from scratch, this recipe is your golden ticket. The combination of flavors, ease of preparation, and the joy of sharing them with friends and family makes these breadsticks a true culinary gem. Their fluffy texture and delightful taste are sure to impress anyone fortunate enough to partake. Don’t wait for your next restaurant visit—create memories with homemade Olive Garden Breadsticks right in your kitchen. Your taste buds will thank you!
FAQs about Olive Garden Breadsticks
How do I know if my yeast is active?
When mixed with warm water and sugar, active yeast will become frothy and bubbly after about 5-10 minutes.
Can I make Olive Garden Breadsticks ahead of time?
Yes, you can prepare the dough beforehand, let it rise, and then shape the breadsticks. Refrigerate before the second rise, and bake them fresh when ready to serve.
What can I dip Olive Garden Breadsticks in?
They’re excellent dipped in marinara sauce, Alfredo sauce, or even a simple herb-infused olive oil.
Can I freeze Olive Garden Breadsticks?
Absolutely! Wrap them tightly in plastic wrap and store in a freezer-safe bag. They can be frozen for several months.
What if my dough is too sticky?
If it’s sticky, gradually add more flour, a tablespoon at a time, until it reaches a workable consistency.
How can I make variations that are gluten-free?
Use a gluten-free flour blend and ensure all other ingredients are free from gluten to make a delicious gluten-free version.
What’s the best way to reheat the breadsticks?
Reheat them in a preheated oven at 350°F for about 5-7 minutes for the best texture.
Is there a way to add flavor to the breadsticks?
Indeed! Consider adding herbs, garlic, or cheese to the dough or topping them with fresh ingredients before baking.
How long do Olive Garden Breadsticks last?
When stored properly in an airtight container, they last up to two days at room temperature or up to a week refrigerated.
Can I modify the recipe to make them vegan?
Yes, simply replace the butter with a dairy-free alternative and ensure that all ingredients are vegan-friendly.
Enjoy your homemade Olive Garden Breadsticks!