
Introduction to How to Build a Raised Garden Bed
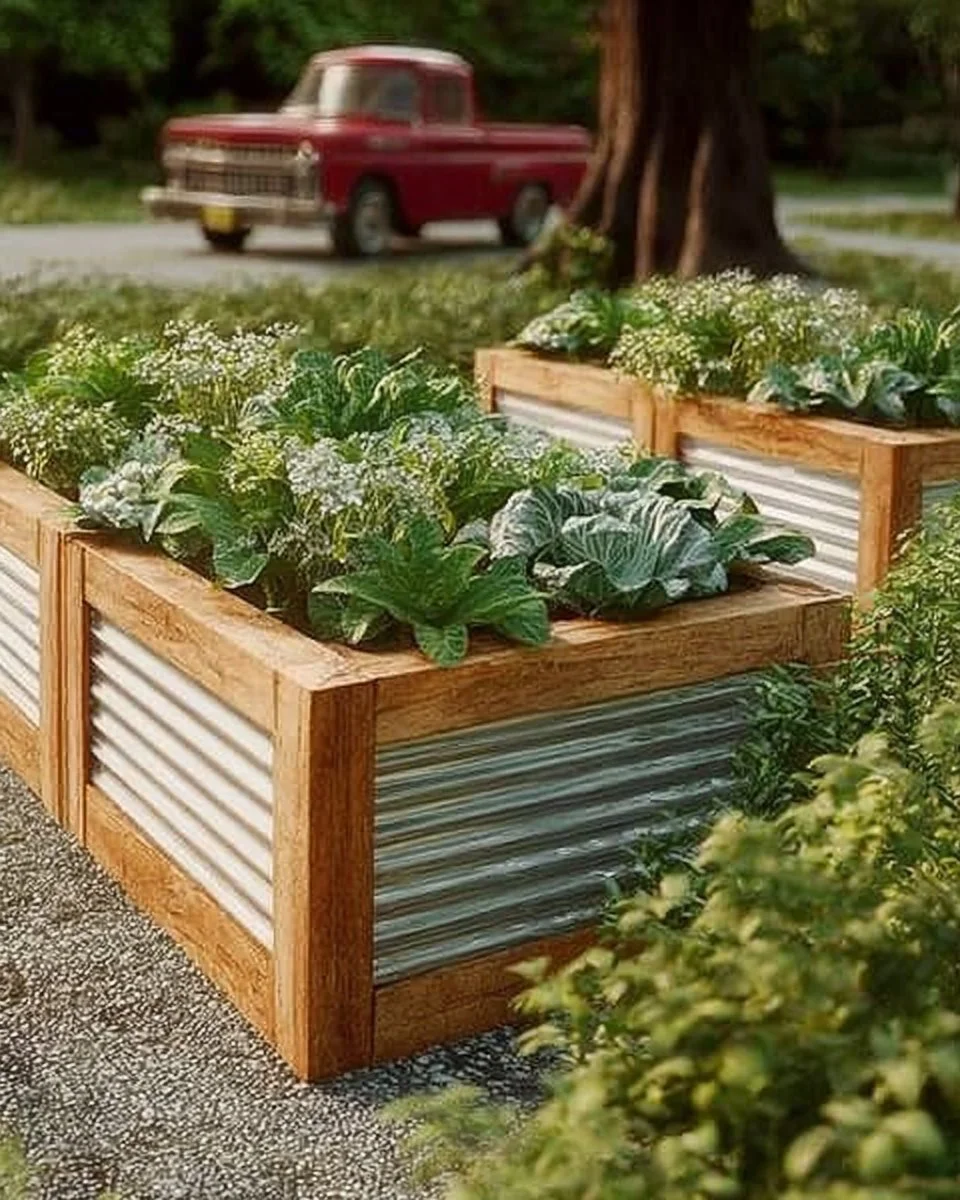
Have you ever walked through a garden and marveled at the neat, organized beds overflowing with vibrant vegetables and flowers? If so, you may have considered starting your own garden. Building a raised garden bed is an excellent first step that allows you to cultivate plants in a manageable and aesthetically pleasing way. But what exactly does it take to build a raised garden bed?
This project is special because it elevates your gardening experience not only physically but also in terms of accessibility and control over soil quality. Raised garden beds offer better drainage, prevent soil compaction, and make it easier to control weeds and pests. Plus, they can be a fantastic addition to your yard or patio, providing a unique focal point that can encourage both relaxation and productivity.
In terms of time, you can typically complete this project in a weekend, even if you’re a beginner. The cost can range from $50 to $200, depending on the materials you choose. This DIY project is suitable for both indoor (if placed near windows) and outdoor settings, making it incredibly versatile for anyone looking to grow herbs, vegetables, or decorative flowers.
Key Benefits of How to Build a Raised Garden Bed
Why You’ll Love This Build
- Durability: Made from sturdy materials that withstand the elements.
- Simplicity: Even beginners can easily follow the steps without hassle.
- Versatility: Customize it to fit your space and plant needs.
- Portability: Create smaller beds that can be moved as necessary.
- Weather Resistance: Certain materials resist rot and damage from moisture.
- Cost Savings: Lower your grocery bills by growing your own food.
What Makes It Stand Out
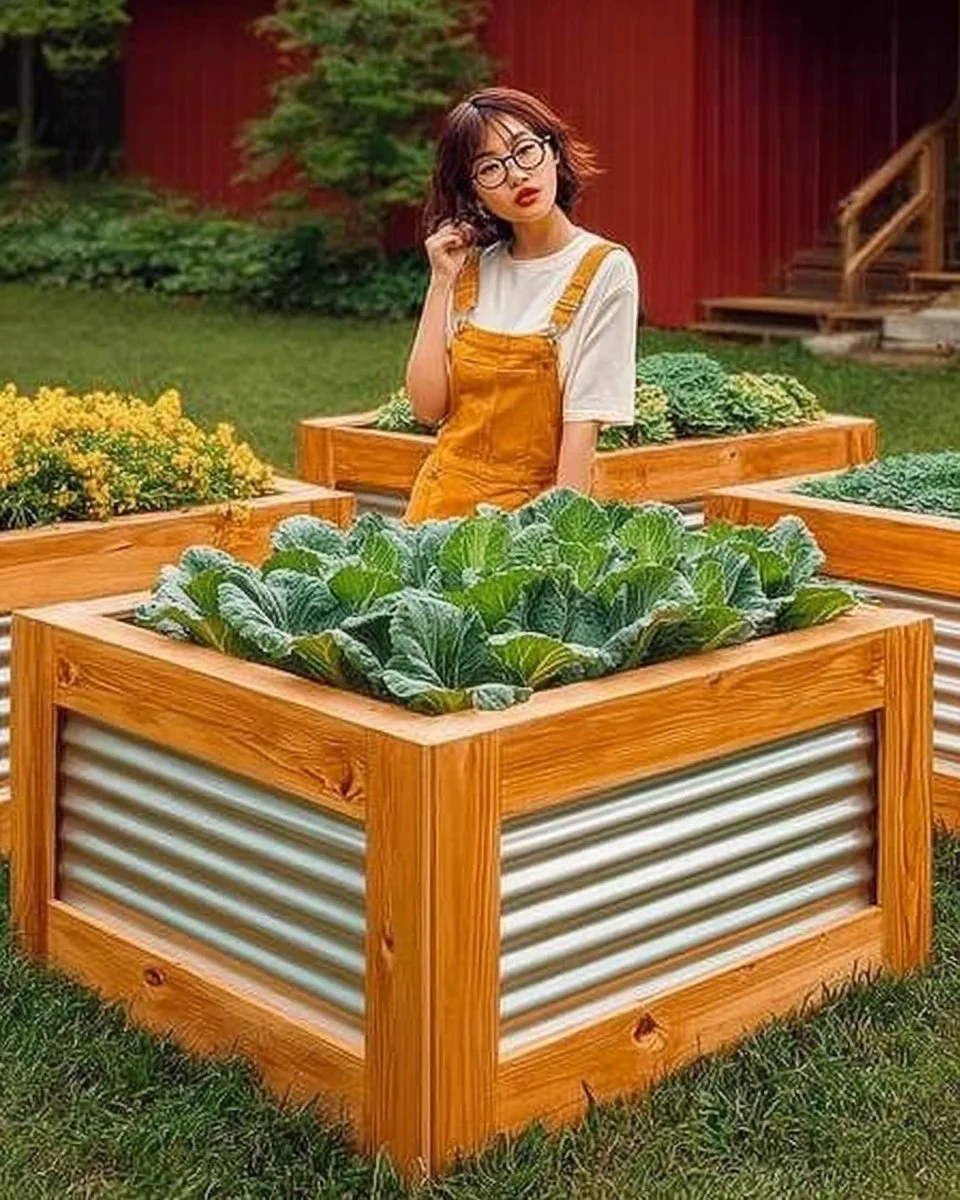
What sets a raised garden bed apart from traditional gardening methods is its ability to create a controllable environment for plants. You can enhance the soil quality specifically for the crops you choose to grow. This is especially beneficial for urban dwellers who may not have access to quality soil. Raised garden beds can be constructed in various designs, from simple rectangles to intricate patterns, making each one unique.
Unlike store-bought alternatives, building your own allows for personalization in dimensions, materials, and aesthetics. A raised garden bed can fit any space, whether it’s a small balcony or a large backyard, making it an ideal project for gardening enthusiasts of all levels.
Project Specs for How to Build a Raised Garden Bed
At-a-Glance Details
- Skill Level: Beginner to Intermediate
- Estimated Time: 4–6 hours
- Estimated Cost (USD): $50 to $200
- Dimensions: Common sizes are 4′ x 8′ (122 cm x 244 cm) or 3′ x 6′ (91 cm x 183 cm), can be adjusted as needed
- Indoor/Outdoor Suitability: Best suited for outdoor use
- Tools Needed at a Minimum: Hammer, saw, screwdriver, drill, measuring tape
Materials and Tools for How to Build a Raised Garden Bed
Complete Materials List with Measurements
- Wood boards (e.g., cedar, redwood):
- 4 boards 8′ long (2″ x 6″ or 5 cm x 15 cm) for sides
- 2 boards 4′ long (2″ x 6″ or 5 cm x 15 cm) for ends
- Wooden stakes (optional): 4 pieces, 2′ long (5 cm) for corners
- Wood screws: 3″ long (7.5 cm), approx. 20 screws
- Landscape fabric: 1 roll (3′ x 50′ or 91 cm x 15.24 m)
- Soil mix: 1 cubic yard (around 0.76 m³) of organic potting soil
- Mulch (optional): 1 bag for top layer
Complete Tools List
- Handsaw or circular saw
- Power drill with driver bits
- Measuring tape
- Level
- Safety goggles and work gloves
Substitutes and Alternatives
If you’re looking for budget-friendly alternatives, consider using reclaimed wood or composite materials that can resist rot while helping you save money. For those who may not have a power drill, a simple hammer and nails can also work, although it’s less efficient. If you can’t find landscape fabric, a thick layer of cardboard on the bottom works to suppress weed growth and maintains soil moisture just as well.
Cut List and Measurements for How to Build a Raised Garden Bed
- Side Boards: 4 pieces, 8′ long (244 cm)
- End Boards: 2 pieces, 4′ long (122 cm)
- Corner Stakes: 4 pieces, 2′ long (61 cm)
- Fasteners: Wood screws, 3″ (7.5 cm)
- Landscape Fabric: Cut to fit the bottom of the bed
Ensure you measure accurately and mark where to make your cuts. It’s also wise to pre-drill holes for your screws to avoid splitting the wood.
Safety and Prep for How to Build a Raised Garden Bed
Safety is paramount when embarking on any DIY project. Always wear safety goggles to protect your eyes from flying debris and work gloves to prevent splinters or cuts. Set up a designated workspace outdoors where you have ample room to maneuver and lay out materials.
Before beginning, double-check all your measurements to ensure accuracy. It can help to make a layout on the ground using chalk or string to visualize the dimensions. Clamping pieces together as you work will provide stability and ensure everything fits snugly. Good ventilation is essential if you’re working with treated wood as some treatments can release chemicals.
How to Build a Raised Garden Bed – Step-by-Step Directions
Step 1 – Prep and Layout
First, choose a level area in your yard with good sunlight. Measure out using your measuring tape, marking the corners with stakes. Make sure it’s the size you desire, typically about 4′ x 8′.
Step 2 – Cut and Label Pieces
Using your saw, cut the boards to the appropriate lengths as per your cut list. Label each piece with chalk or a marker to avoid confusion during assembly.
Step 3 – Dry Fit and Mark Joinery
Assemble the cut pieces together without screws to check for fit. Once satisfied, mark spots for pilot holes on the ends of the boards to facilitate easier screwing later.
Step 4 – Assemble the Frame/Body
Begin attaching the boards together by standing up your side boards and screwing them to the ends. Use at least three screws at each corner for added strength.
Step 5 – Reinforce and Square
Check the frame for squareness by measuring diagonally from corner to corner. Adjust if necessary, ensuring a square frame to prevent future issues.
Step 6 – Attach Surfaces or Panels
If using stakes, drive them into the ground at each corner for added stability before attaching the landscape fabric to the bottom of the frame. Make sure it covers all corners.
Step 7 – Sanding and Edge Treatment
Sand the edges of the bed to remove any splinters or rough spots, ensuring a smooth finish that’s safe to handle. Vacuum or blow off dust as you work.
Step 8 – Finish Application
If desired, apply a non-toxic wood treatment or sealant to prolong the life of the wood. Allow sufficient time for drying before adding soil.
Final Touches and Planting Tips
After constructing your raised garden bed, fill it with high-quality soil or a soil mix suitable for your chosen plants. Leave some space at the top for mulch, which can help retain moisture.
When planting, consider the sunlight requirements of your plants, spacing them appropriately for growth. Regular maintenance will ensure your raised bed thrives, allowing you to enjoy the satisfaction of growing your own garden.
FAQs about How to Build a Raised Garden Bed
What type of wood is best for raised garden beds?
Cedar and redwood are excellent choices due to their natural resistance to rot.
Can I build a raised garden bed without screws?
Yes, but using screws provides better stability. Nails can be an alternative, albeit less effective.
How deep should a raised garden bed be?
A depth of 12-18 inches (30-46 cm) is ideal for most vegetables.
How long will a raised garden bed last?
With proper care and the right materials, a raised garden bed can last over 10 years.
What should I fill my raised garden bed with?
A mixture of compost, potting soil, and topsoil will provide the best growing environment for your plants.