
Introduction
Have you ever looked at a thriving ZZ plant and thought, “I wish I could grow one just like that from a cutting”? You’re not alone! Many plant enthusiasts marvel at the glossy, dark green leaves of the ZZ plant (Zamioculcas zamiifolia) and wonder if they can propagate their own. Well, today’s your lucky day! In this guide, we’ll explore 8 foolproof tactics to grow a ZZ plant from cuttings. Not only are these plants stunning, but they’re also incredibly low maintenance. By the end of this article, you’ll feel confident and ready to embark on your own propagation journey!
Table of Contents
Understanding ZZ Plants
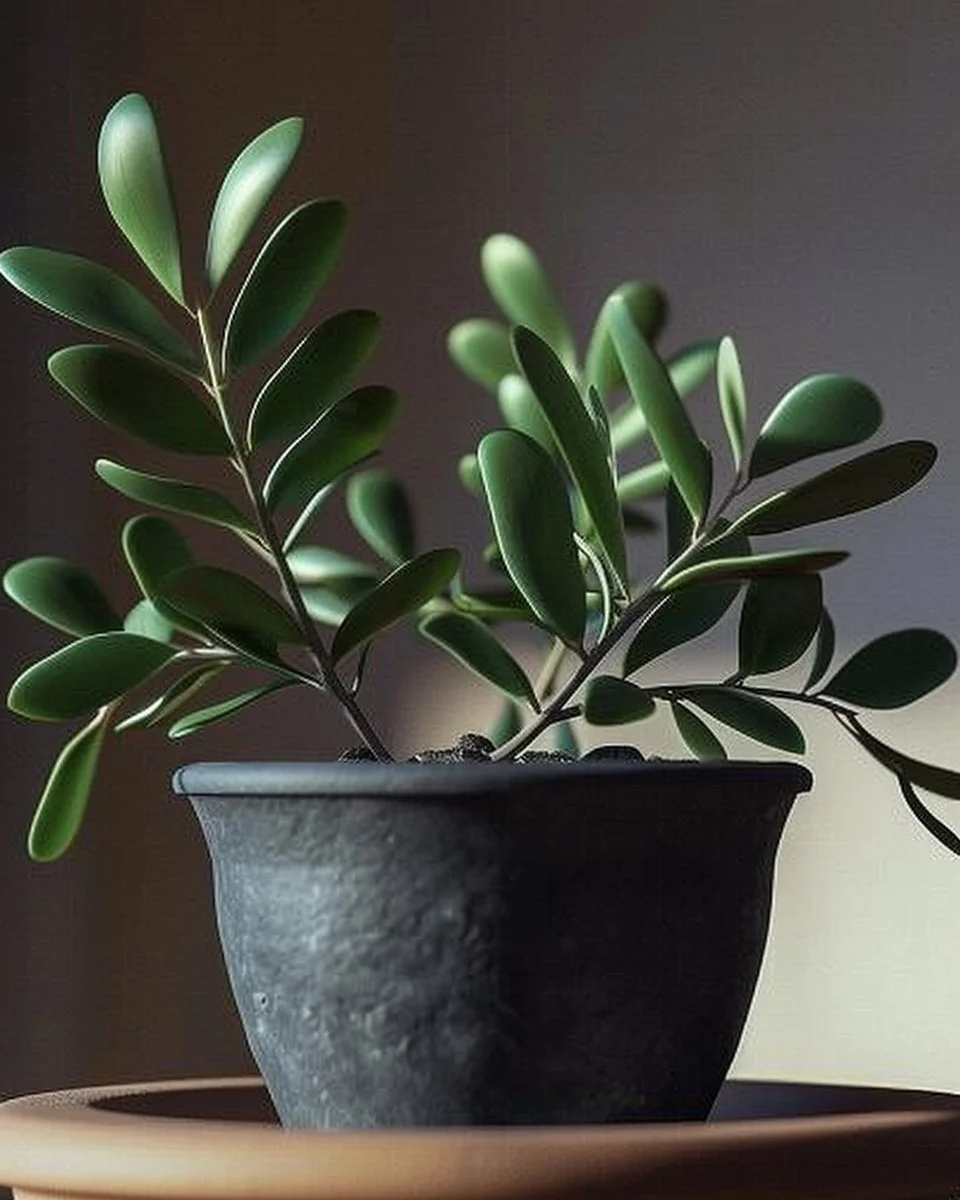
Characteristics of ZZ Plants
ZZ plants are known for their glossy, thick leaves that can thrive in a range of conditions. They were initially found in East Africa and have become popular houseplants due to their hardy nature. These plants can survive in low light and require minimal watering, making them an ideal choice for anyone, from beginners to seasoned plant parents.
The Benefits of Growing from Cuttings
Growing ZZ plants from cuttings is not only rewarding; it’s also a fantastic way to expand your indoor garden without spending much. Plus, you can share cuttings with friends or give them as unique gifts! Given their resilience, you’ll be pleasantly surprised by how easily they root and flourish.
Preparing for Propagation
Selecting the Right Cutting
When it comes to propagating ZZ plants, selecting the right cutting is crucial. Look for healthy stems with at least two to three leaves. Ideally, the cutting should be around 4 to 6 inches long. Ensure that the stem has no signs of disease or damage. Healthy cuttings are your best bet for successful propagation.
Tools and Materials Needed
To start your propagation adventure, gather the following tools:
- Clean, sharp scissors or pruning shears
- A small container for water (if you’re propagating in water)
- Well-draining potting soil (if propagating in soil)
- A transparent plastic bag or a mini greenhouse (for humidity control)
Having these materials ready will set you up for success.
Implementation Tactics
Choosing the Right Medium
One of the first decisions you’ll make is whether to propagate in water or soil. Both methods have their merits. Water propagation allows you to observe root development, while soil propagation is more traditional and can reduce the risk of rot.
Water Propagation vs. Soil Propagation
If you choose to propagate in water, fill your container with enough water to submerge the cut end of the stem, leaving the leaves above water. In a few weeks, you’ll see roots developing. For soil propagation, plant the cutting directly in well-draining soil, water lightly, and cover it with a plastic bag to create humidity. Each method can yield successful results, so feel free to experiment and see what works best for you!
Timing Your Cuttings
Timing is essential when propagating ZZ plants. The best time to take cuttings is during the growing season, typically in spring or early summer. During these months, the plant is most energetic and can support new growth effectively.
Maintaining Optimal Conditions
After planting, ensure your cuttings are in a warm, bright location. While ZZ plants can tolerate low light, they thrive in bright, indirect sunlight. Avoid direct sunlight, as it can scorch the leaves. If you’re propagating in water, change the water every week to keep it fresh and oxygenated. If you’re using soil, mist your cuttings or place a plastic bag over the pot for a few weeks to maintain humidity.
Caring for Your New ZZ Plants
Watering and Light Requirements
Once your cuttings have rooted, it’s crucial to establish a routine for their care. ZZ plants prefer to dry out between waterings. Ensure that you’re not overwatering, as this can lead to root rot. Water your plants when the top inch of soil feels dry to the touch. As for light, continue providing bright, indirect sunlight, and watch your plants flourish!
Fertilizing for Growth
To give your new ZZ plants an extra boost, consider fertilizing them with a balanced houseplant fertilizer every few months during the growing season. This will encourage healthy growth and vibrant leaves. Just remember not to over-fertilize, as this can be harmful to your plants.
Troubleshooting Common Issues
Even with the best care, you may encounter some challenges when propagating ZZ plants. Yellowing leaves can be a sign of overwatering, while slow growth may indicate insufficient light or nutrients. If you notice your plants established in soil aren’t thriving, consider re-evaluating your watering and light conditions. It’s all part of the learning process, and with a bit of patience, you’ll find the right balance!
Conclusion
In summary, growing a ZZ plant from cuttings is an enjoyable and fulfilling process! By using these 8 foolproof tactics to grow a ZZ plant from cuttings, you’ll cultivate beautiful, resilient plants that can brighten your home and bring life to any space. Embrace the journey of propagation and enjoy nurturing your green companions. With a little patience and the right care, your plant collection will grow, and you can share your love for ZZ plants with others.
FAQs
Can ZZ plants grow in water indefinitely?
Yes, ZZ plants can grow in water, but they need to be transferred to soil once they develop a sufficient root system for long-term growth.
How often should I water my ZZ plants?
Water your ZZ plants every 1-2 weeks, allowing the soil to dry out completely between waterings.
Can I propagate a ZZ plant in winter?
While it’s best to propagate during the growing season, you can still try in winter, but be prepared for slower growth rates.
What should I do if my ZZ plant is getting too leggy?
If your plant becomes leggy, it may not be receiving enough light. Move it to a brighter location to encourage bushier growth.
Is it necessary to use a plastic bag for humidity?
While it’s helpful, especially for cuttings in soil, you can also use a small greenhouse or simply mist the plants regularly if you prefer.