
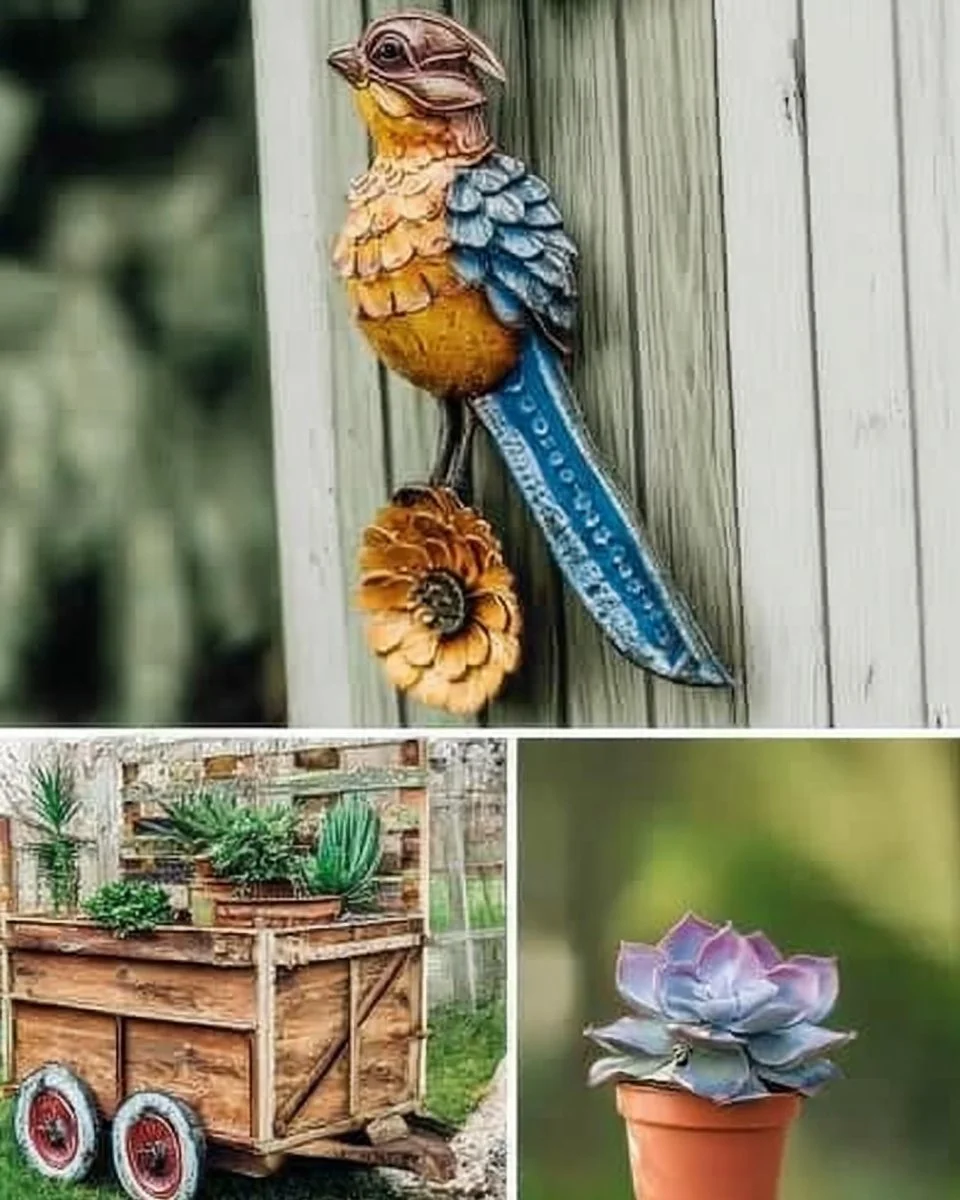
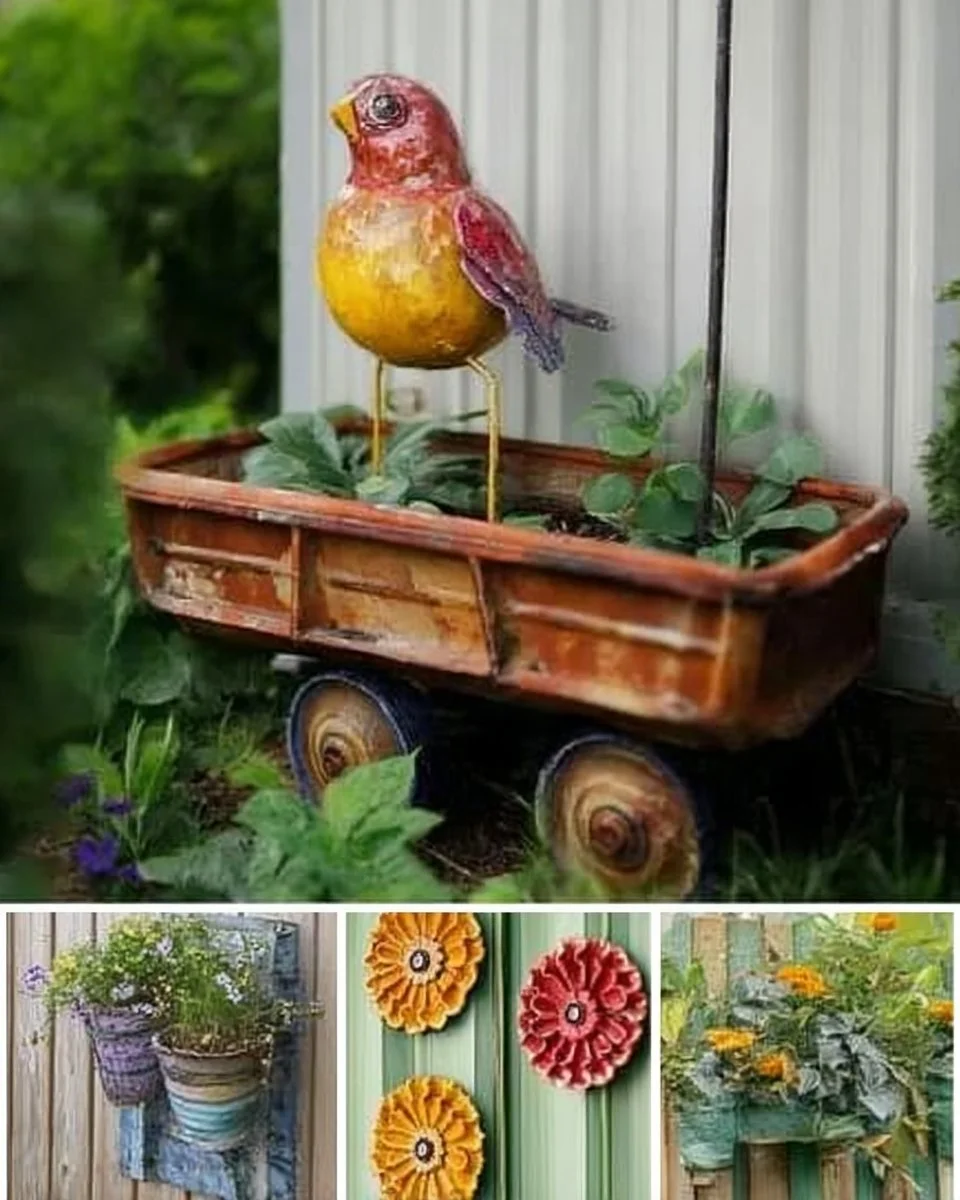
Introduction to 26 DIY Yard Art Ideas – Home Decor Garden Crafts
If you’re looking to add a personal touch to your outdoor space, then 26 DIY Yard Art Ideas – Home Decor Garden Crafts might just be the perfect project for you. With so many creative options, you can transform your yard into a vibrant reflection of your personality. Imagine walking through a garden filled with unique sculptures, whimsical decorations, and beautiful painted signs. These projects are not only enjoyable to create but can also enhance the aesthetics of your garden.
What makes these DIY yard art ideas special is their practicality and affordability. Who needs to spend a ton of money on store-bought decor when you can craft your own masterpieces? Most of these projects can be completed in a weekend, making them great for those looking to dive into a fun and fulfilling hobby. Plus, they can be made using materials you might already have on hand, making them budget-friendly.
Not only can these DIY yard art ideas be completed by anyone regardless of skill level, but they also offer endless possibilities for customization. Whether you want something colorful, rustic, or modern, you’ll find an idea that suits your style. These projects are primarily designed for outdoor use, so they can withstand various weather conditions, ensuring your hard work lasts for seasons to come.
Table of Contents
Key Benefits of 26 DIY Yard Art Ideas – Home Decor Garden Crafts
Why You’ll Love This Build
- Durability: Most projects use materials that can withstand the elements.
- Simplicity: Many of these ideas are straightforward and easy to follow.
- Versatility: There’s a wide range of styles to choose from to fit any garden aesthetic.
- Portability: Many art pieces can easily be moved to different locations in your yard.
- Weather Resistance: Properly finished projects can endure sun, rain, and wind.
- Cost Savings: DIYing is often much cheaper than purchasing similar items from stores.
What Makes It Stand Out
These DIY yard art ideas stand out because of their originality. Instead of opting for mass-produced items that everyone has, you can create something uniquely yours that expresses your creativity and personal taste. Customize colors, sizes, and materials to fit your vision and the specific themes of your garden.
Additionally, these projects shine in their ability to serve multiple purposes. Some serve as practical items, while others are purely ornamental. Using upcycled materials not only gives these pieces character but also aligns with sustainable practices, making your yard not only beautiful but environmentally friendly.
Project Specs for 26 DIY Yard Art Ideas – Home Decor Garden Crafts
At-a-Glance Details
- Skill Level: Varies from beginner to advanced
- Estimated Time: 1-10 hours depending on the individual project
- Estimated Cost: $10 – $100+, varies based on materials
- Dimensions: Varies; most pieces can be customized to your preferred size
- Indoor/Outdoor Suitability: Primarily outdoor
- Tools Needed at a Minimum: Saw, drill, paintbrush
Materials and Tools for 26 DIY Yard Art Ideas – Home Decor Garden Crafts
Complete Materials List with Measurements
- Wood (various types, e.g., cedar, pine) – 1″ x 6″ boards (2 pieces, 48″ long) for larger projects
- Paint or Stain – 1 quart (color of your choice)
- Clear sealant – 1 quart (for weatherproofing)
- Nails/Screws – 1 box of 1.5″ screws
- Brackets – 2-4 depending on the project
- Decorative elements (mosaics, beads, etc.) – assorted, as desired
Complete Tools List
- Circular saw or hand saw – for cutting wood pieces
- Drill – for pilot holes and driving screws
- Paintbrushes or rollers – for applying paint
- Sandpaper – various grits (e.g., 120, 220)
- Clamps – to hold pieces together during assembly
Substitutes and Alternatives
If you’re on a budget or short on specific materials, consider using reclaimed wood or any non-toxic materials you have at home. Repurpose old furniture, pallets, or even scrap metal for artistic flair. For tools, some of the tasks can be done with manual tools instead of power tools, making it accessible for those who may not have a full workshop available.
Cut List and Measurements for 26 DIY Yard Art Ideas – Home Decor Garden Crafts
- Wood pieces for a basic garden sign:
- 1 piece: 24″ x 4″ (60 cm x 10 cm)
- 1 piece: 36″ x 3″ (90 cm x 7.5 cm)
- Wood for sculpture bases:
- 4 pieces: 12″ x 12″ (30 cm x 30 cm) squares
- Pay attention to wood grain direction if the project requires cutting against the grain for aesthetics.
Safety and Prep for 26 DIY Yard Art Ideas – Home Decor Garden Crafts
Safety should always be your priority. Wear protective gear such as gloves, goggles, and a dust mask when cutting and sanding wood. Ensure your workspace is clean and well-lit, free of distractions. Always measure twice to avoid mistakes, and mark your measurements clearly. If you’re utilizing power tools, familiarize yourself with their operation to maintain efficiency and safety.
How to Build 26 DIY Yard Art Ideas – Step-by-Step Directions
Step 1 – Prep and Layout
Start by gathering all your materials and tools in a central workspace. Lay out your design and ensure you have enough space to work comfortably. Measure and mark your wood according to your cut list, ensuring accuracy for a clean finish.
Step 2 – Cut and Label Pieces
Using your saw, cut the pieces down to size according to your cut list. Label each piece based on its function (like ‘base’, ‘sign’, ‘decorative’) to make assembly easier later on.
Step 3 – Dry Fit and Mark Joinery
Before officially assembling, do a dry fit by placing all pieces together without securing them. This will help you visualize the final product and make adjustments. Mark where you will drill pilot holes or apply glue.
Step 4 – Assemble the Frame/Body
Start piecing together your project by attaching the main framework first. Use your drill to secure screws into the pilot holes, ensuring everything is tightly fastened.
Step 5 – Reinforce and Square
Check the structure is square by measuring the diagonals. Make adjustments if necessary to prevent wobble. Reinforce the connections with additional screws or brackets if needed.
Step 6 – Attach Surfaces or Panels
If your project involves panels, attach them at this stage. Space out your fasteners evenly to maintain a polished look and ensure they are securely fastened.
Step 7 – Sanding and Edge Treatment
Once assembled, use sandpaper to smooth out any rough edges. Start with a grittier paper to remove larger imperfections and finish with a finer grit for a smooth touch. Clean off dust before moving on.
Step 8 – Finish Application
Apply paint or stain to your artwork according to your preferences. If staining, allow for adequate drying time between coats. Once completed, finish with a clear sealant for protection against the weather.
FAQ
What materials do I need for these projects?
You’ll generally need wood, paint or stain, clear sealant, screws or nails, and decorative elements.
How long does it take to complete a project?
The time varies depending on the complexity of your chosen project, ranging from 1 to 10 hours.
Are these projects weather-resistant?
Yes, if sealed properly, they can withstand various weather conditions.
Can I use recycled materials?
Absolutely! Repurposing materials is a fantastic way to save money and add character to your art.
Do I need advanced skills to complete these projects?
No, there are projects suited for all skill levels, from beginners to advanced DIY enthusiasts.