
Creating a beautiful and productive garden space can feel like a daunting task, especially if you’re not sure where to begin. The good news? With the right inspiration and a few simple DIY techniques, you can transform your outdoor area into a thriving permaculture garden. This type of garden is about understanding natural ecosystems and using that knowledge to cultivate plants that support each other. Let’s dive into this project that will empower you to bring this vision to life!
Project Overview
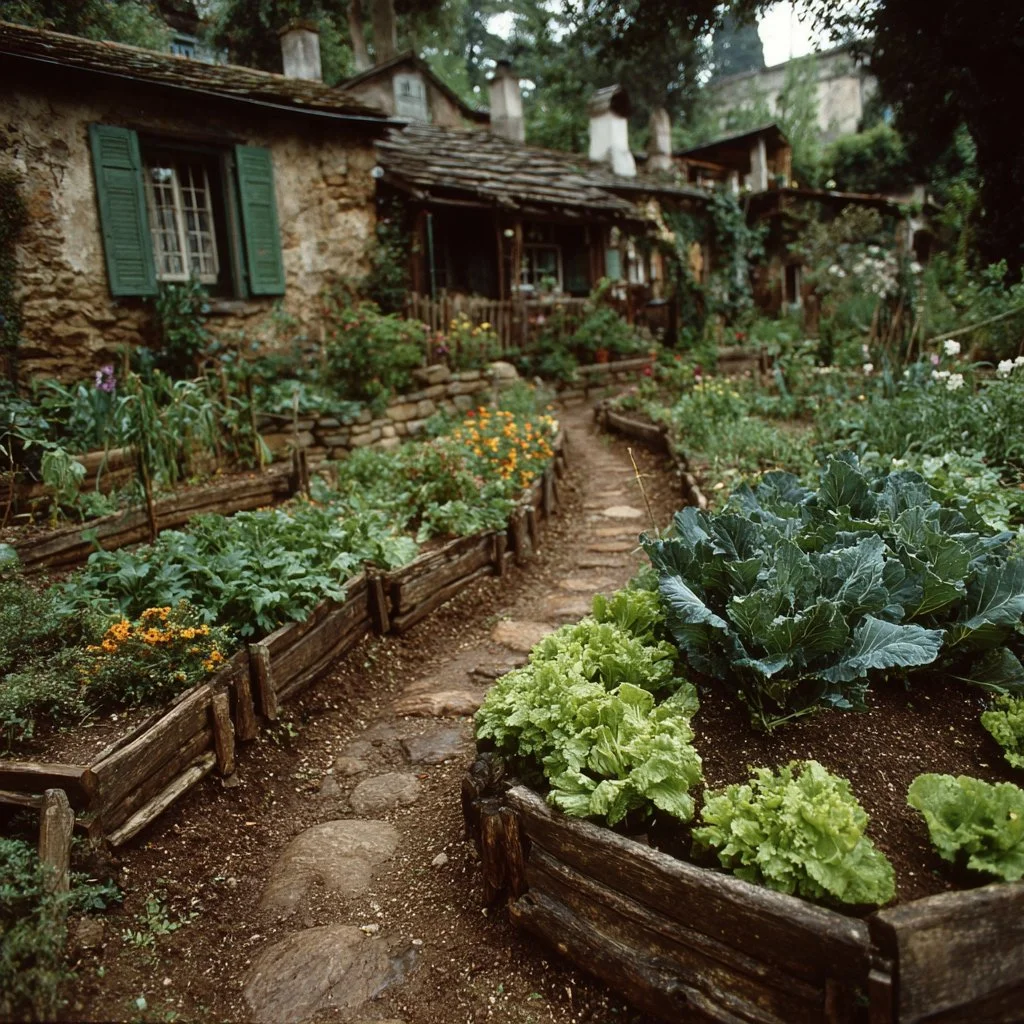
What this DIY project is: Design and build a permaculture garden bed.
Skill Level: Beginner
Estimated Time: 1-2 days
Estimated Cost: $50 – $150
Tools Required:
- Shovel or spade
- Hand trowel
- Rake
- Watering can or hose
- Gloves
Materials Required:
- Compost
- Wood chips or straw
- Seeds or seedlings
- Soil (if necessary)
- Optional: Rocks for borders
BEFORE THE PROJECT
Before beginning, assess your garden space. It may be an unused corner of your yard or an existing flower bed that needs rejuvenation. Common issues might include poor soil quality, limited sunlight, or weeds overwhelming the area.
- Common limitations:
- Soil that lacks nutrients
- Inconsistent sunlight
- Weedy or uneven surface
STEP-BY-STEP DIY PROCESS
Step 1: Preparation
Choose Your Location:
- Select a sunny spot that receives at least 6 hours of sunlight.
- Observe the area throughout the day to ensure it’s suitable.
Check Soil Quality:
- Dig a small hole to check for compaction and drainage.
- If your soil is poor, consider importing organic soil.
Clear the Area:
- Remove any weeds, rocks, or debris.
- Rake the area smooth.
Step 2: Execution
Build the Garden Bed:
- Decide on your garden bed size (4’x8′ is a standard size).
- If using wood for borders, cut pieces to size and assemble them.
Layer the Bed:
- Start with a base layer of coarse materials (twigs, leaves).
- Add a layer of green materials (grass clippings, kitchen scraps).
Step 3: Assembly / Transformation
Add Soil and Compost:
- Mix equal parts of compost and soil and fill the bed.
- Leave a few inches at the top for planting.
Plant Your Seeds/Seedlings:
- Choose companion plants (like tomatoes and basil) to enhance growth.
- Follow spacing guidelines on seed packets.
Step 4: Finishing Touches
Water the Garden:
- Use a watering can or hose to gently soak the soil, helping to settle it around the seeds.
Mulch:
- Apply a layer of wood chips or straw to retain moisture and suppress weeds.
Setup a Simple Trellis (if necessary):
- Use bamboo stakes or simple fencing to support climbing plants.
Practical Tips:
- Avoid planting too densely; give each plant room to grow.
- Note areas that might need additional sunlight and plan future adjustments.
Common Mistakes to Avoid:
- Overwatering; make sure not to saturate the soil.
- Ignoring companion planting principles.
AFTER THE PROJECT
After your permaculture garden bed is set up, admire the lush, verdant transformation of your space! You’ll notice a more organized area, enhanced biodiversity with various plantings, and a sense of accomplishment that comes from growing your own vegetables.
Improvements:
- Visual: The garden will look vibrant and alive compared to the previous bare or weedy area.
- Functional: The ecosystem within the bed will work together, producing better yields.
- Cost-saving: You’ll save on grocery costs, as you’ll have homegrown produce at your fingertips!
Pro Tips & Customization Ideas
Personalize Your Garden:
- Add decorative rocks or upcycled materials as garden markers.
- Incorporate native plants to attract local pollinators.
Optional Upgrades:
- Install a drip irrigation system for efficient watering.
- Build vertical planters to maximize small spaces.
Budget-Friendly Alternatives:
- Use reclaimed wood for garden borders.
- Start seeds indoors in recycled containers to reduce costs.
Safety & Maintenance Tips
Basic Safety Precautions:
- Wear gloves to protect your hands while gardening.
- Be cautious with tools and follow their usage instructions.
Maintenance:
- Regularly check for weeds and pests.
- Water your garden consistently, especially during dry spells.
- Add organic compost annually to replenish nutrients.
Conclusion
Transforming your outdoor space into a thriving permaculture garden is not only a fulfilling DIY project but also a step towards sustainable living. By following these steps, you can create a beautiful and productive garden. So why wait? Gather your tools and materials, and let your creativity flourish in your new garden! You can do it!